
Remember when I mentioned a craft challenge using catalogs? Here is the first project I came up with… A Cheez-It cup transformed into a cute decoupaged pumpkin treat cup. What do you think of it?

Not only would this adorable pumpkin treat cup make a great Halloween decoration, it can also be give to trick-or-treaters or to someone special. If your someone special prefers something other than Cheez-It Crackers (affiliate link), don’t worry! These cups come in a variety of different cookie and cracker options, like my husband’s favorite, Keebler Mini Fudge Strip Cookies
(affiliate link). Why not grab one of each flavor and then grab your catalogs and start decorating them.
Supplies Needed to Make a Decoupage Pumpkin Treat Cup:
- Treat Cup
- Catalogs and/or Magazines
- Mod Podge
- Twine
- Hair Spray
- Small Wooden Spool (mine was about 1-inch tall)
- Brown Paint
- Hot Glue Sticks
Tools Needed:
- Scissors
- Foam Brush
- Marker
- Hair Dryer
- Paint Brush
- Hot Glue Gun
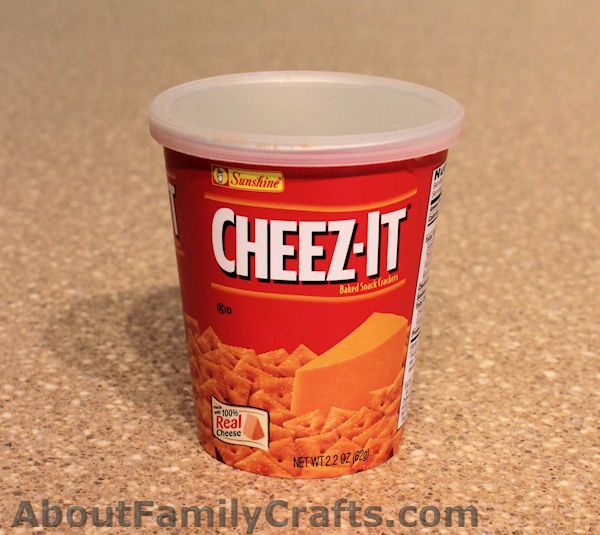
The Cheez-It snack cup I used stands about 5-inches tall (2.2 ounces). They usually have big bins of them in the center aisles at Walmart (or you can use one of my affiliate links above). As I already mentioned, you have plenty of choices when it comes to the kind of treat cup you want. If you can’t find the same treat cups that I used, you can do this with any container with a lid.
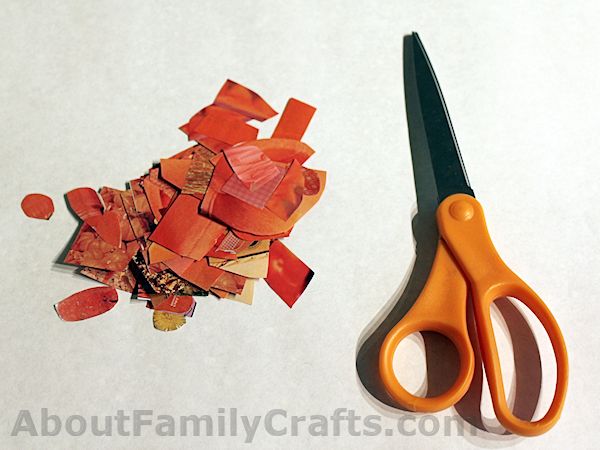
Before you can start decorating your treat cup, you need to grab your catalogs and/or magazines and start cutting out anything orange. It is okay, and even desirable, to use different shades of orange. You want the pieces to be a variety of shapes, sizes, and even textures. I found I ended up with a lot of small piece. Most were an inch or smaller.
Now you can start working with the Mod Podge. Take the lid off of the container and set it aside (don’t worry, the cup should still be sealed with paper. Spread a generous amount of Mod Podge on a section of the cup.
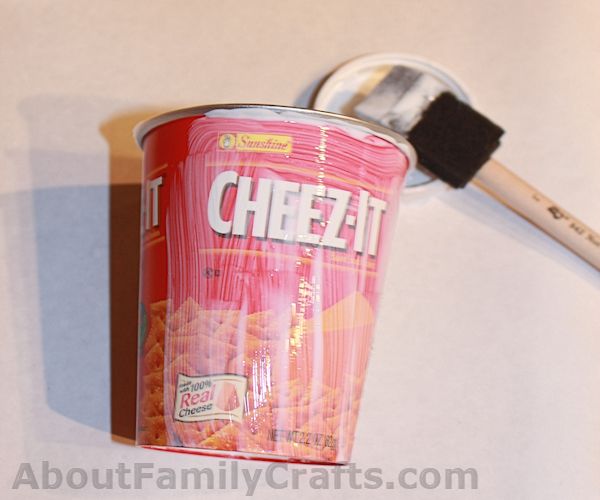
Start laying pieces of orange catalog pictures on the Mod Podge. As you lay each piece on, brush a little Mod Podge over the top of it. You will want the pieces to overlap so you cannot see any of the original treat cup design. So sorry this picture doesn’t show it real well because the orange catalog pieces are too close in color to the treat cup!)
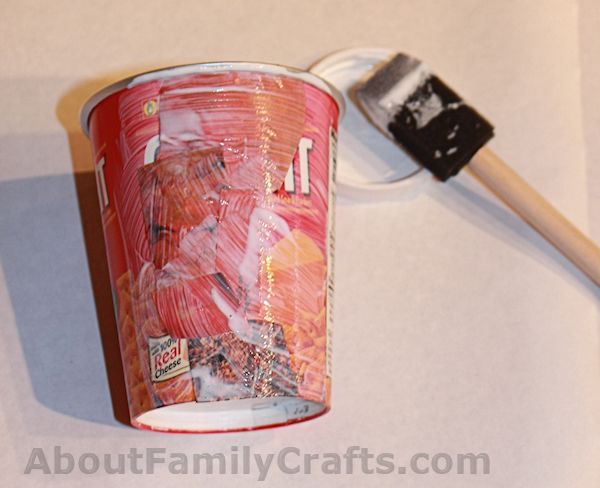
Continue doing this until the entire container is covered. Set it aside so it can dry.
Now do the same with the lid. I did the top first and then the side of the lid… If I were to do it again, I would do the sides first. When you do the sides, try to make sure the piece is big enough to fold over the top at least a 1/2-inch. Set the lid aside so it can dry.

While you are waiting for the Mod Podge to dry, you can work on the stem and the vine. For the stem, you can just use the wooden spool as is. I actually wanted to dirty mine up a bit so I covered it with watered-down brown paint and then wiped off any excess.
To make the vine, cut a 20-inch piece of twine. Spray the twine with hair spray and wrap it around a marker.
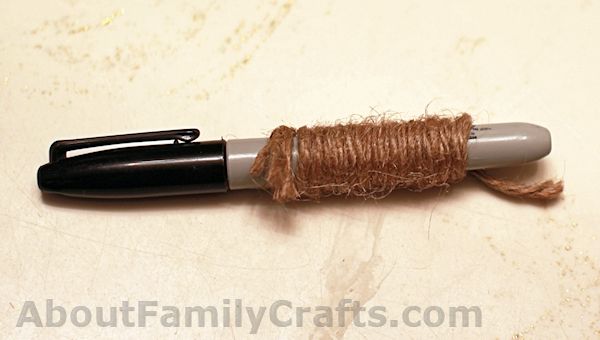
Hold the twine in place on the marker and dry it using a hair dryer. If you don’t want to use a hair dryer, you can just let it sit and dry on it’s own. Once the twine is dry, slide it off the end of the marker.
Glue one end of the vine in the center of the lid. Glue the stool on top of the vine.
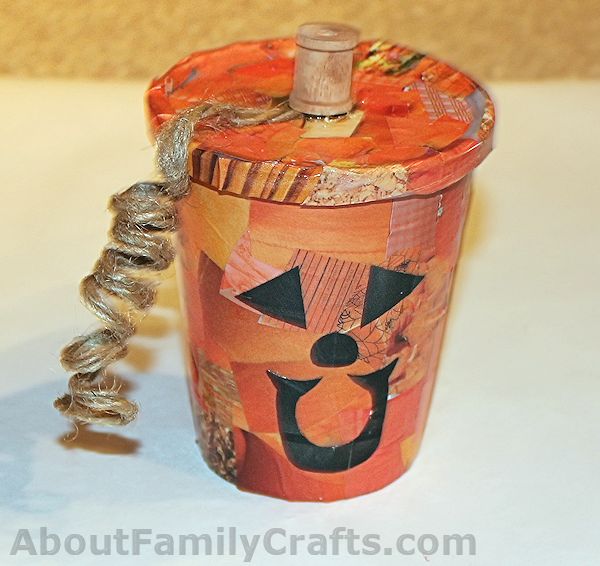
Your decoupage pumpkin treat cup is now done! Who will you make one for?
Disclosure: As noted above, this post contains affiliate links. See my disclosure policy for details.


9 comments for “Decoupage Pumpkin Treat Cup”