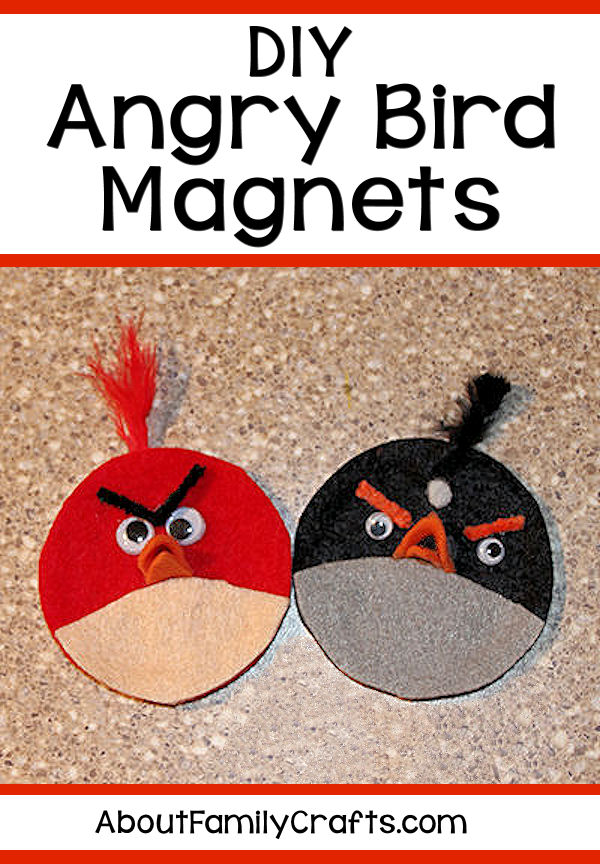
Grab any flat, round object you have lying around the house and use it to make your favorite Angry Bird characters. I used some canning jar lids, but you can use a lid from any jar you have, a juice can lid, or even a small milk jug lid.
Gather together these supplies, use your imagination and have fun!
Supplies Needed to Make a DIY Angry Birds Ornaments:
- Round, Flat Lid
- Felt or Craft Foam
- Chenille Stems
- Google Eyes
- Feathers
- Craft Glue or Hot Glue Sticks
- Thin Ribbon
- Any Other Misc. Items You Want to Use
Craft Tools Needed:
- Pen or Pencil
- Scissors
- Hot Glue Gun (optional)
The first thing you want to do is cover your lid with felt or craft foam. Set the lid down on a piece of felt or craft foam and trace around it using a pen or pencil. Cut it out and glue it to your lid.
I suppose before you cut out your felt or craft foam you need to decide which bird (or pig) you are going to make. Choose the color of felt or craft foam that goes along with the character you chose.
Once you have the circle glued to your lid, cut another piece of felt (or craft foam) in a contrasting color to be your bird’s belly/body and glue it in place.
Grab some orange felt and cut out two triangles to be your bird’s beak. Glue these onto the lid just above the piece of felt you glued on to be the body. Use felt to cut out any other facial features or other details for the specific Angry Bird character you chose.
Glue two google eyes on you bird and then use the chenille stem to create eyebrows (if desired). Don’t forget to add a little piece of feather on top of your bird’s head! Let all of the glue dry.
Once your bird (or pig) is made and all of the glue is dry, you can add a ribbon for hanging. Cut a piece of ribbon about 12-inches long. Flip your Angry Bird over – fold the ribbon in half to form a loop and then glue the two ends of the ribbon to the back, top of your character. Let the glue dry and your Angry Bird is ready to hang up. If you prefer, you can glue a magnet on the back instead of a ribbon loop.


