What do you think of this DIY clothespin poinsettia?
Initially, I was going to call this project a Christmas tree ornament, but then I figured it could actually be much more than that. Not only would this clothespin poinsettia make a lovely ornament, it could be used as a gift topper, decoration or even a special DIY gift. They so are fast and easy to make, you might just want to make several and use them for all of the ideas I suggested and much more.
Supplies Needed to Make a DIY Clothespins Poinsettia:
- 12 One Piece, Flat Clothespins
- Red Pom-pom (Approximately 1-inch)
- 10 Large, Yellow Beads
- Red and Green Acrylic Paint
- Craft Glue or Hot Glue Sticks
- Ribbon, Twine, Dowel, or Paint Stick
Tools Needed:
- Paint Brush
- Hot Glue Gun (optional)
Divide your clothespins into two different piles. One pile will have 4 clothespins in it and the other will have 8.
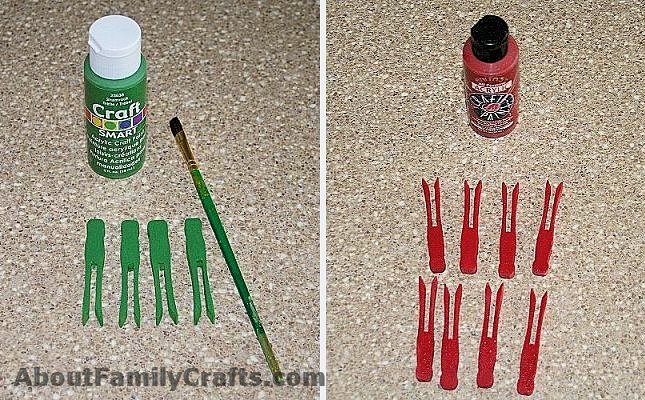
Grab the clothespins in the smaller pile and paint all 4 of them green. Paint the other 8 clothespins red. Let the paint dry and then turn them over and paint the other side. Make sure you get into all of the nook and crannies. Let the paint dry.

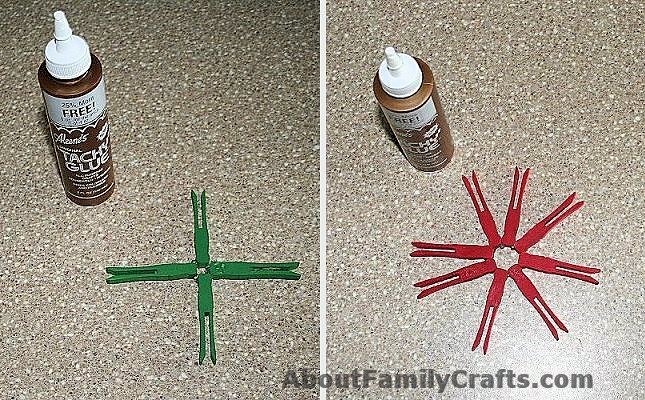
Glue the 4 green clothespins together so they look like a + sign. Glue the round ends of the red clothespins together in a circle shape. Use the pictures here as a guide. Let the glue dry completely before you move them.

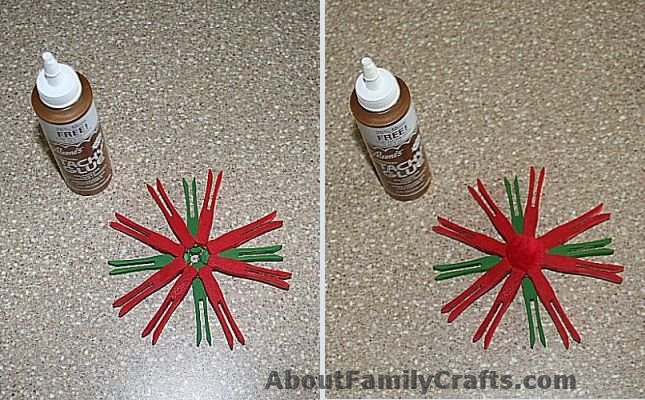
Once the glue is dry, glue the circle of red clothespins on top of the green clothespins. Be generous with the glue!
Squirt a generous amount of glue onto the red pom-pom. Set the pom-pom in the hole made by gluing the red clothespins together.

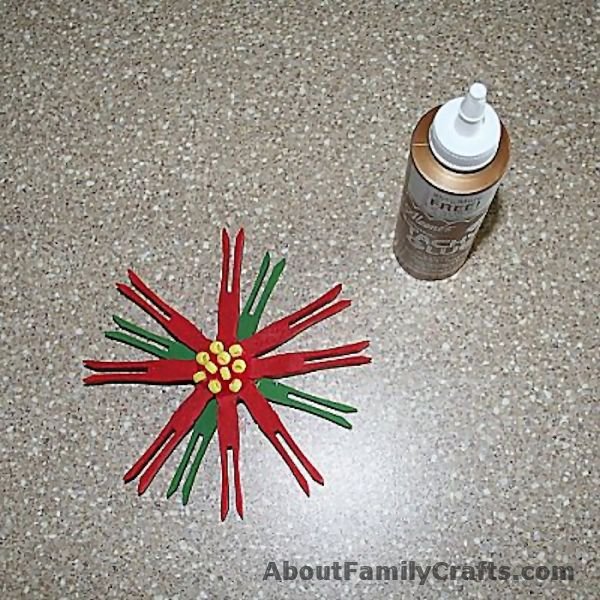
Finally, glue the yellow beads onto the red pom-pom. Let the glue dry.  If you are making your poinsettia into a Christmas tree ornament, make a loop of ribbon or twine and glue it to the backside of the poinsettia. If you want to make a stem for your flower, paint a dowel or paint stick green and glue it to the back of the poinsettia.


1 comment for “DIY Clothespin Poinsettia”