
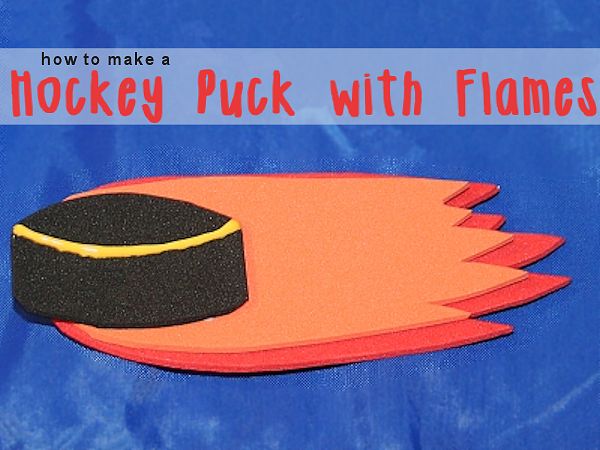
My household is full of hockey fans, so I figured why not play around with some hockey craft ideas. Working on this project kept our fingers busy while we were watching the Olympic hockey games.
I made this hockey puck and flames out of craft foam and used it as a pin to wear. You can make it out of craft foam, felt, or paper. It can be used as a pin, a magnet, or you can simply hang it up or glue it to something.
Supplies Needed to Make The Flaming Hockey Puck:
- Craft foam (or felt or paper)
- Paper (to print out template)
- Pen or pencil
- Craft glue or hot glue sticks
- Dimensional paint
Tools Needed:
- Scissors
- Hot glue gun
Once you gather together your supplies, download and print out the puck and flames patterns. You can use either the PDF or the JPG versions of the template. (Please excuse the shaky lines on the flames, I wasn’t going to stress to make them perfect when you will only be cutting them out!)

You can adjust the size of your pattern depending on what you want to make out of the puck. If you want to make a pin, like I did, the pattern pieces might be a little large. The pattern I printed out was about half the size of the original.
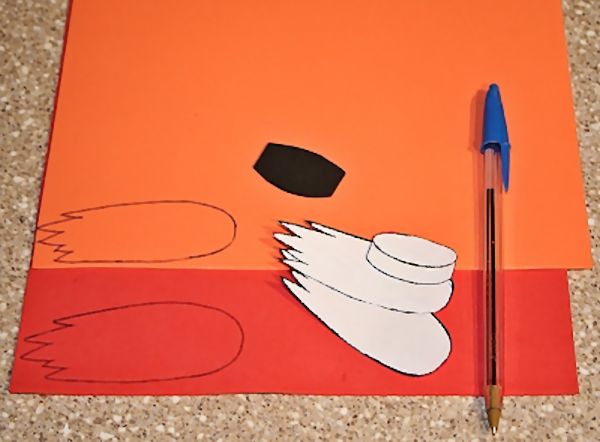
Cut out the three paper pattern pieces and then trace them onto the craft foam. I used black craft foam for the puck, and two different shades of orange for the flames. Of course, you can use any colors you like. If you are making these pucks for a specific team, why not use the team colors for the flame?
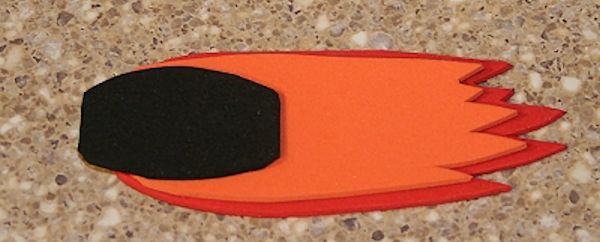
Now you can assemble the flaming puck. Lay the large flame piece on your work surface. Spread glue all over the back of the smaller flame piece. Lay the small piece on top of the larger flame, lining up the center of the curved part of the flame. Spread glue on the back of the puck piece and set that in place on top of the flames.

All that is left to do is to add one last detail. Use dimensional paint to draw a line on the puck to separate the top of the puck from the side. Let the paint dry. This can take up to 24 hours when you use dimensional paint.
You can also add more details to the puck if you like. These are great parent pins if you are hosting a youth hockey tournament. You can make one for each child participating in the tournament by writing their number on the puck or flame.
How will you use your puck?


1 comment for “Hockey Puck with Flames”