These flowers are fast and fun to make and are a great way to brighten up any room. After what feels like a month of cloudy skies and rain, I just needed to make something to cheer up our dreary house. With nothing specific in mind, I shut myself in my craft room and came up with this easy craft.
No matter what time of year it is, these colorful craft stick flowers will bring spring into your home.
Supplies You Need for Each Flower:
- 4 Craft Sticks
- Large Button
- Paint
- Craft Glue
Tools You Need:
- Paint Brush
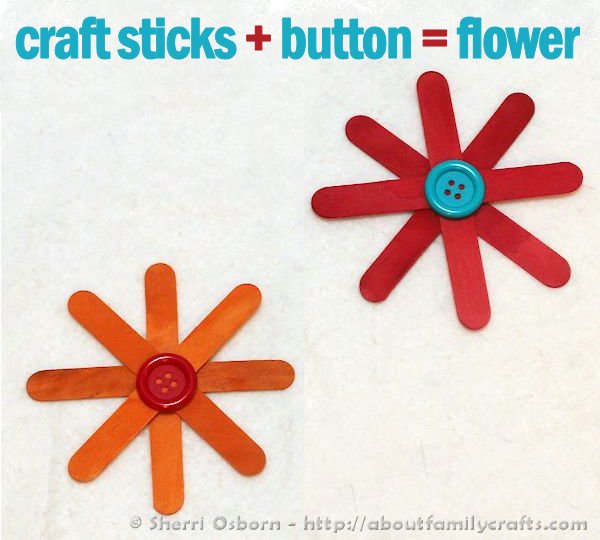
Start off by painting all four craft sticks whatever color you want your flower to be. I would suggest painting both sides of the sticks. Let the paint dry completely.
Lay two craft sticks down on your work surface. Put a dab of craft glue in the center of each one. Lay a second craft stick across the first one to make two + shapes. Now put a dab of glue in the center of one of the +s. Carefully pick up the other +, turn it so it looks more like an X, and place it on the dab of glue on the +. This will form your flower. To finish the flower, simply glue a large button in the center of it. Let the glue dry before you move the flower.
You can attach a magnet to the back of the flower and stick it on a fridge, locker, or metal cabinet. Attach a ribbon look to the back and hang it in a window. If you have any paint stir sticks laying around, paint one green and use it as a stem for your flower. Tape a flower on top of a gift. There are so many possibilities. How would you use a craft stick flower?


2 comments for “How to Make Craft Stick Flowers”