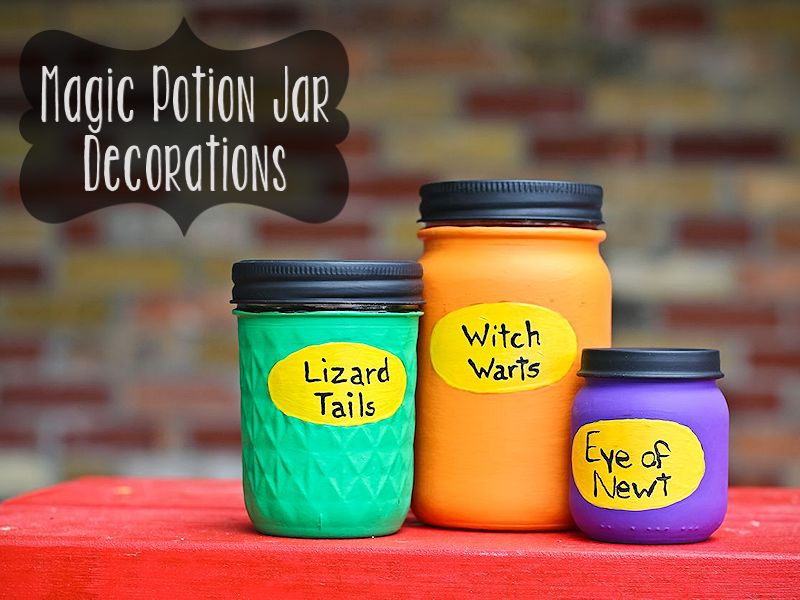
I love working with mason jars so when I needed to create some fun elements to go along a Halloween display, I turned to my shelf of mason jars (and one baby food jar) for inspiration. That is how these magic potion jar decorations were born. What do you think?
I chose my jars and simply painted each one. I painted on the yellow oval first and then painted around it with the green, orange, and purple paint. I painted the jar lids black, but you could also over them with a fabric circle tied on with twine . While I think I like the idea of fabric and twine better, I thought of this while I was typing out this tutorial, well after the pictures were taken and edited. Perhaps I will do it when I set up the display and take more pictures!
The most difficult part of this project, and actually it was easy, was trying to decide what to put on each ‘label’. I tried to come up with interesting items that might be part of an imaginary magic potion. First I created the witch warts and lizard tails and was stuck on the third. That is when I remembered the Eye of Newt treats I had made. I thought I could even fill the jar with the treats. How did I do?
If you want to think of your own ingredients, here is a little trick that might help you. First of all, think of something or someone you relate to Halloween (or something spooky or gross), such as a Mummy, toads, bats, cats, goblins, trolls, etc. Next, think of something you can get from that thing/person. The more disturbing, the better. Some ideas could include lips, ear wax, slime, toe nails, dust, lint, scabs, hairs, etc.
Have fun and use whatever jars you have on hand to make your own version of these magic potion jar decorations.


