
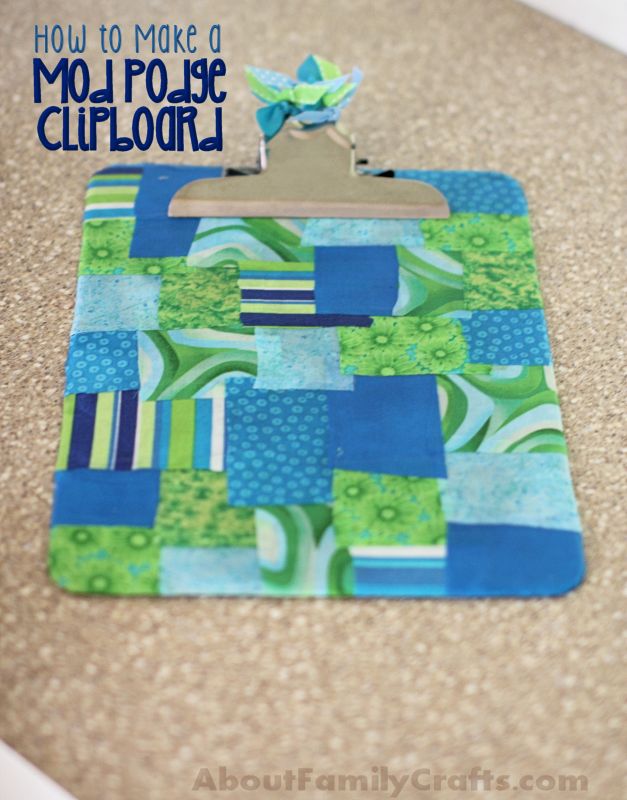
When I was cleaning out my desk drawers and ran across a plain (you could even call it ugly) clipboard, I immediately pulled out my scrap fabric bin and Mod Podge. I love any excuse I can find to use a clipboard, especially when I can also find an excuse to decorate that clipboard to make it bright and colorful. What do you think of it?
Supplies Needed to Make the Mod Podge Clipboard:
- Fabric Scraps
- Clipboard
- Chenille Stem
- Mod Podge
- Ribbon
Tools Needed:
- Scissors
- Foam Brush
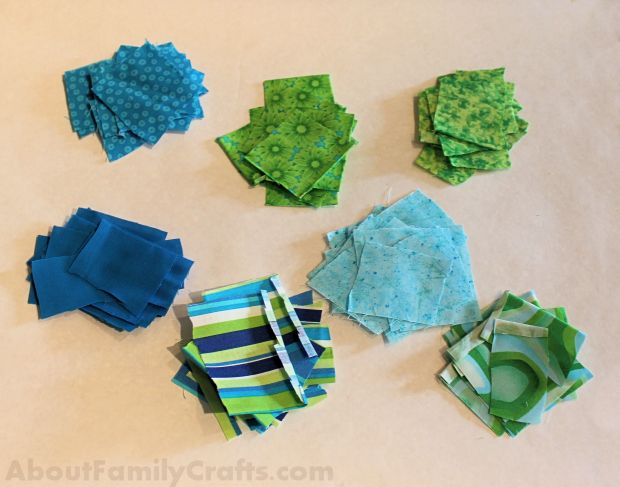
The first thing you need to do if you want to make a Mod Podge clipboard is to gather together a variety of fabric scraps. I used 7 different coordinating fabrics. Feel free to use as many, or few, colors as you like. If you don’t have fabric, you could even use colored paper.
Once you have your fabric gathered, cut it into squares. My squares are around 2-inches. You do not have to measure or cut them all the exact same size. It really doesn’t matter at all. you can even cut some larger squares and smaller squares — some of mine were even more rectangular. Heck, you could even cut other shapes.
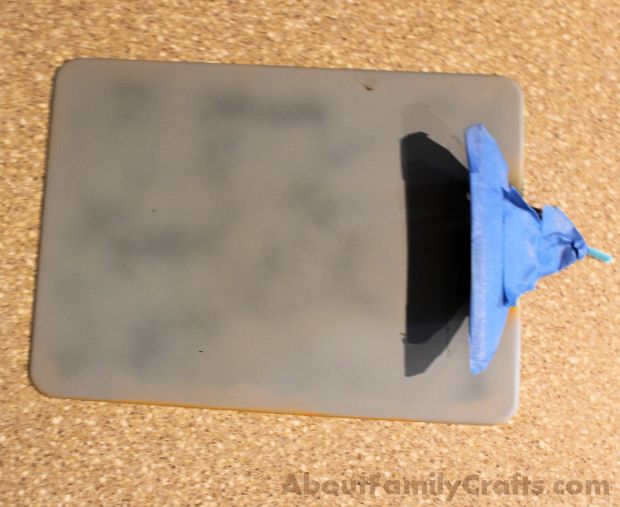
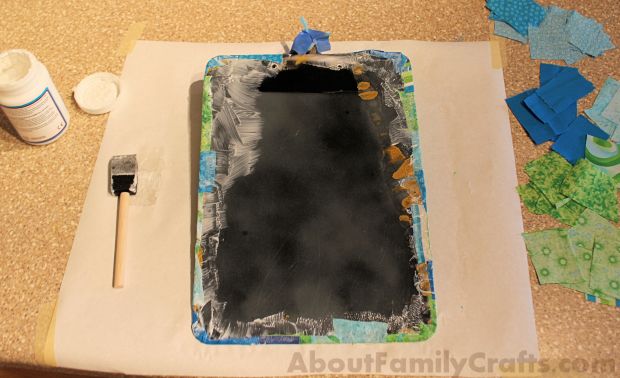
Next, you need to prepare your clipboard. Please excuse my ugly gray clipboard… It was actually a casualty of another project. I covered the silver clip with masking tape because I did use some spray primer on it. You can skip that part. What you will want to do is to thread a chenille stem through the holes in the clip of the clipboard and twist it together very tight. You want it to hold the clip open while you go to work with the Mod Podge.
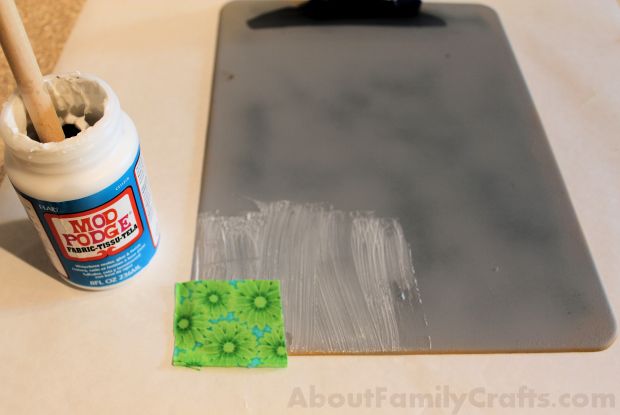
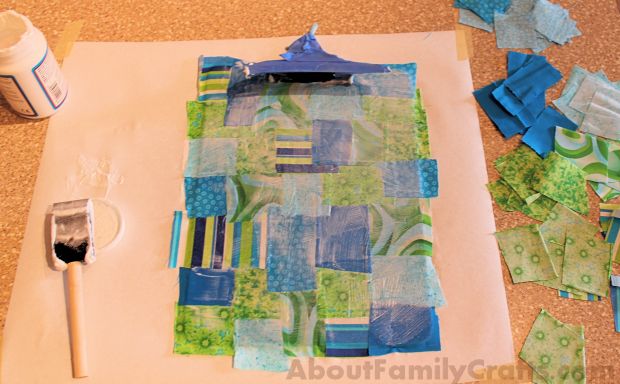
Now we are ready to get started… Start in one of the corners and spread some Mod Podge onto the clip board. Presss one of your fabric squares onto the Mod Podge.
Spread some Mod POdge over that first piece of fabric and then place another piece of fabric onto the clipboard, slightly over-lapping the first. Sprad some Modge Podge over that piece of fabric, and also on the clipboard and lay down another piece of fabric. When working along the edge of the clipboard, make sure you have atleast 1/2-inch of fabric hanging over the edge.

Continue in this fashion until you cover the entire front of the clip board. Let it sit until the Mod Podge dries completely.
Flip the clipboard over and use Mod Podge to adhere the pieces hanging over from the front onto the back of the clipboard. Notice how some of my pieces were shorter than 1/2-inch? Those tended to not want to stay stuck down — that is why I recommend leaving at least 1/2-inch hanging.
You can now cover the back of the clipboard the same way you did the front. The only difference is that you will not want the extra fabric hanging over the edge. Feel free to clip your fabric pieces to make them fit better around the edges if you need to.
Let your clipboard sit upside down until it is dry. Once dry, you can remove the chenille stem and let the clip shut. You can then add the finishing touch!
Cut several pieces of ribbon, about 6-inches long. Tie them through the hole on the clip and then trim so there is only about an inch sticking out on each side.
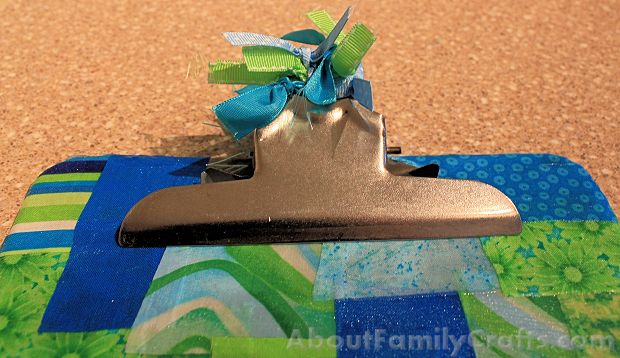
What do you think? I love the look of the ribbon and the extra pizzazz it adds!