
While shopping for Easter treats, I was trying to find something fun to fill with Easter goodies for my grandkids but I wasn’t having much luck. I wanted something cute but also something small because they are all still pretty young and I didn’t want to give them too much candy. I figured that day will come soon enough!
I didn’t have much luck. I should know better by now… I usually get a picture of what I want in my mind so then it is nearly impossible to find something. That is the main reason I make so much stuff.
Once I got home from shopping, I went into my craft room and started going through my cupboards. I knew I would have plenty of luck. I am a container hoarder. I have a huge plastic tote that is just full of baggies, boxes, and other containers I have saved to use again. I also have a huge cupboard of empty containers I have bought (even if I had no clue what to do with them). This cupboard is where I found these clear paint containers.
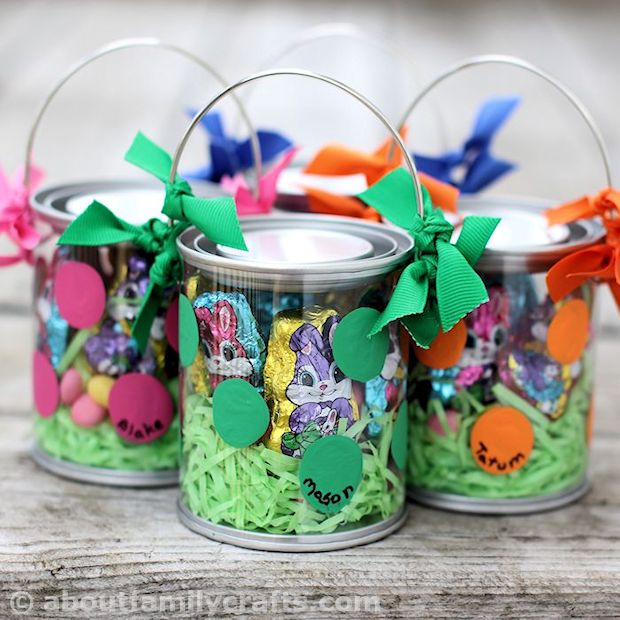
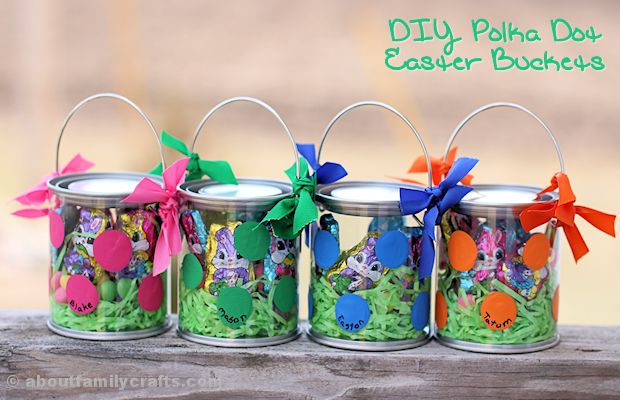
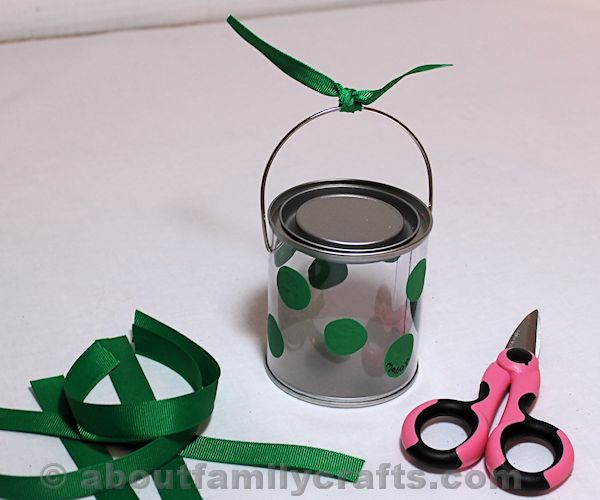
I paired the clear container with some paint, ribbon, and a homemade stamp and these adorable Easter buckets were born. What do you think?
Supplies to Make a Polka Dot Easter Bucket:
- Clear Paint Bucket
- Craft Foam
- Straw
- Hot Glue Sticks
- Paint
- Fine-Tip Marker
- Ribbon
Tools Needed:
- Scissors
- Hot Glue Gun
- Paint Brush
The first thing you want to do is make sure your container is clean and dry. I have noticed that sometimes they can get a little dusty even sitting on the shelves at the store. Plus, you want to make sure it is clean if you are going to be putting any unwrapped candy in it.
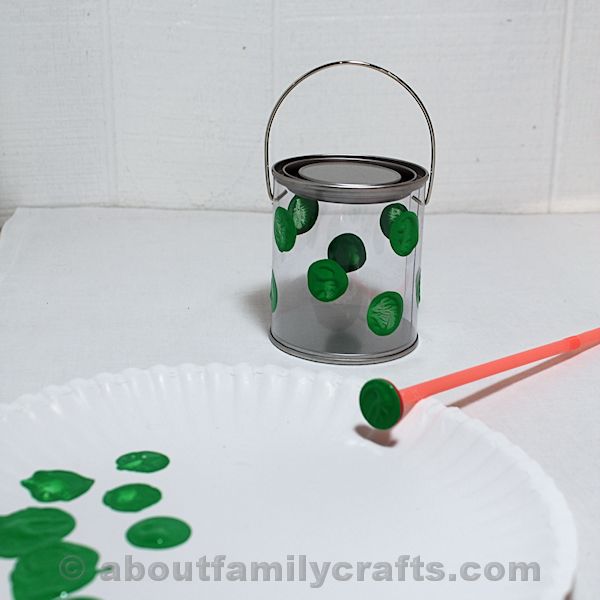
I wanted to cover my paint buckets with large polka dots so I decided the easiest way to do it would be to stamp the paint on. Because of this, the first thing I had to do was make a stamp. It is easy to make a stamp of any shape using craft foam.
First I cut a circle, about an inch across, from craft foam. It is always easiest to work with a stamp with a handle so I simply used hot glue to attach the craft foam circle to the end of a straw. Once the glue cools, the stamp is ready to use.

To use your stamp, pour a little bit of glue on a paper plate or something similar. Dip your circle stamp in the paint and carefully press it on the paint can. If you get too much glue on the stamp, simply stamp of the extra on the paper plate.
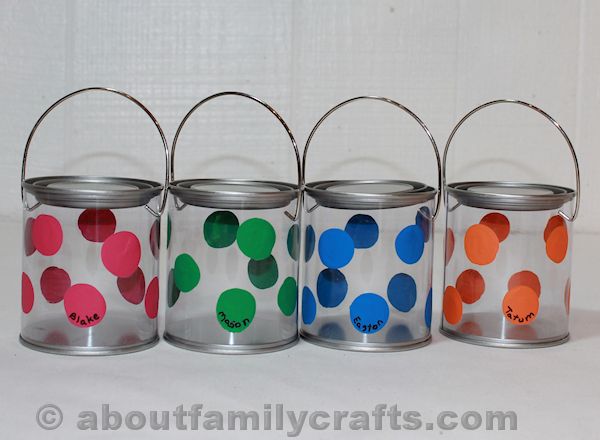
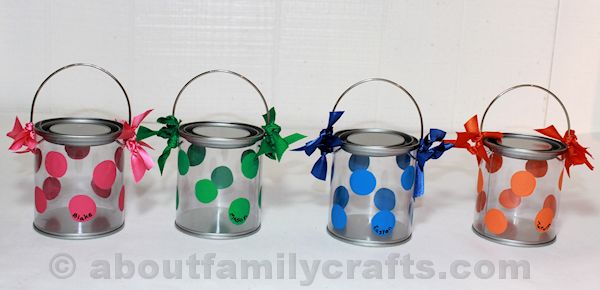
Let the paint dry. I stamped 4 paint cans, all with a different bright color. I wanted to personalize each can and I figured the easiest way to do it was with a marker. I used a fine-tipped, black marker to write each grandkid’s name on one of the polka dots.
 I decided to jazz up the handle a little bit using ribbon. Cut 6 pieces of ribbon, each one should be 6- to 8-inches long. Tie each ribbon around the handle. Once you have them tied on, trim them so each one is about an inch long.
With all of the ribbon in place, you just need to figure out how you want to arrange them. I experimented with a few different ways… All of them on top, all of them to one side, and with the ribbons divided in half on both sides.
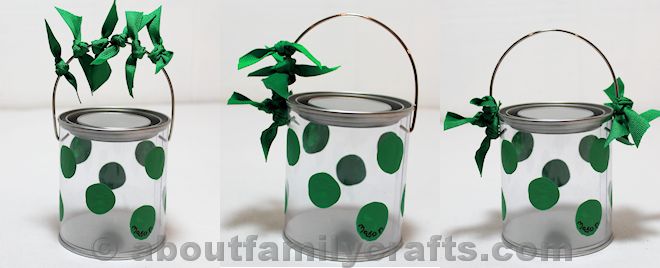
I liked them divided so there were 3 tied ribbons on each side of the handle. I am so happy with the way they turned out. What do you think?


5 comments for “Polka Dot Easter Buckets”