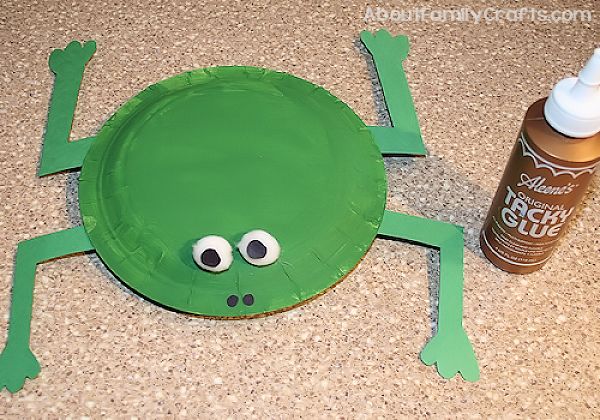
April is National Frog Month so I figured today is a good day to share how to make a frog out of paper plates. This is a simple craft that all ages will enjoy. Follow my directions to make this cute frog, and then take it a little farther by adding a red tongue and even a fly stuck to it!
Supplies Needed to Make a Paper Plate Frog:
- 2 Heavy Paper Plates
- Green Paint
- Green Construction Paper, Craft Foam, or Felt
- Craft Glue
- 2 White Pom-Poms or Cotton Balls
- Black Construction Paper Scraps
Tools Needed:
- Paint Brush
- Scissors
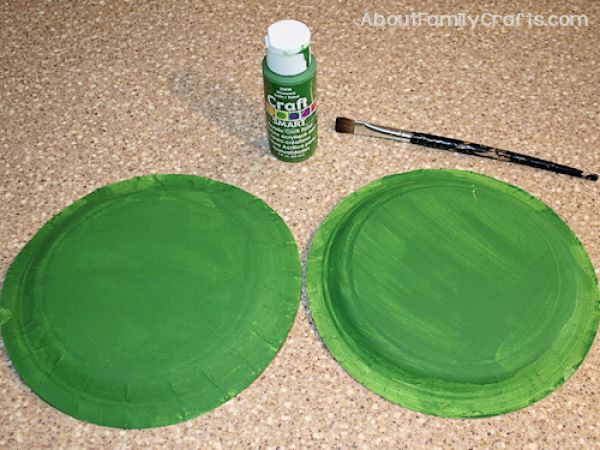
Start out by flipping your paper plates upside down on your work surface. You might want to lay down some newspaper, or something similar, to protect your work surface first. Paint the back of both paper plates green. Let the paint dry.
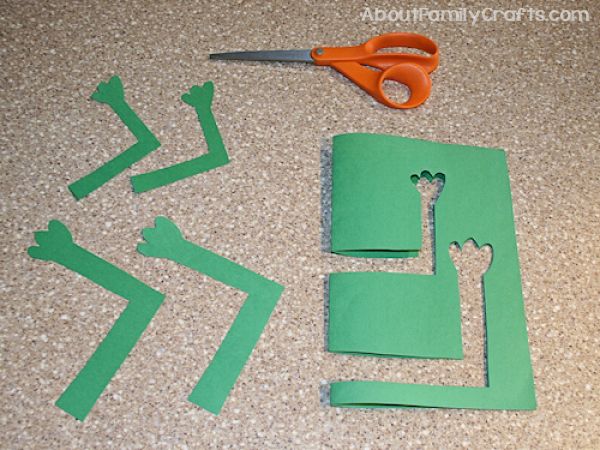
While the paint on the paper plates is drying, you can cut out the frog’s legs. The easiest way to do this is to fold a green piece of construction paper in half and cut out both of the front legs and both of the back legs at the same time. I cut them so the front legs were a little smaller than the back legs. Use the picture here as a guide.
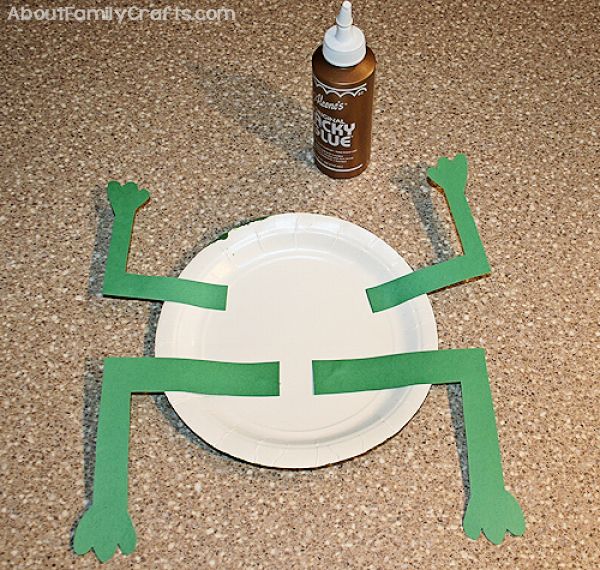
Now you can flip one of the paper plates over and glue the frog legs to it. The two smaller legs should both face the same directions and the two back legs should face the same direction.
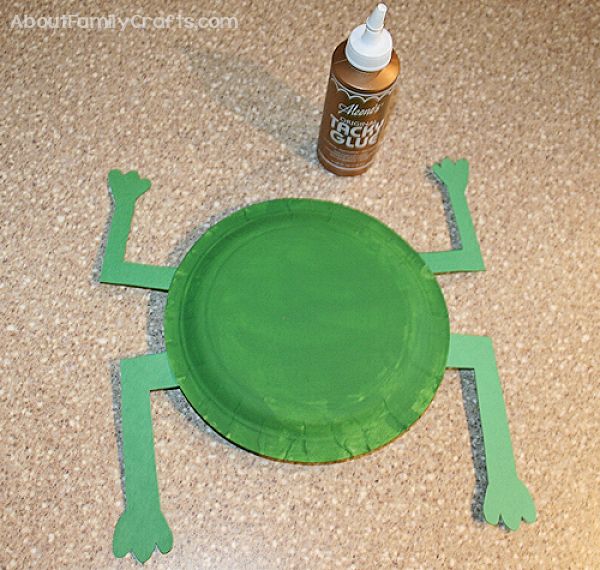
Next, glue the second paper plate on top of the first. You want them situated so that both green sides face out. If you want to turn the frog into a noise maker, you can pour some rice or beans in between the paper plates before you glue them together.
Grab the two white pom-poms and glue them to the frog. Make sure they are glued between the smaller, front arms.
Cut four tiny circles out of black construction paper. Glue two of them to the white pom-poms to make the pupils. Glue the other two black circles in front of the eyes to look like nostrils. If you are making a frog the same as mine, you are now done. Might I suggest, however, giving your frog some more details, such as a tongue or warts.


