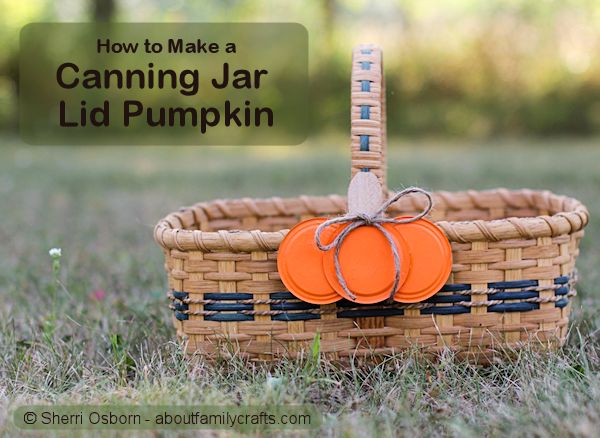
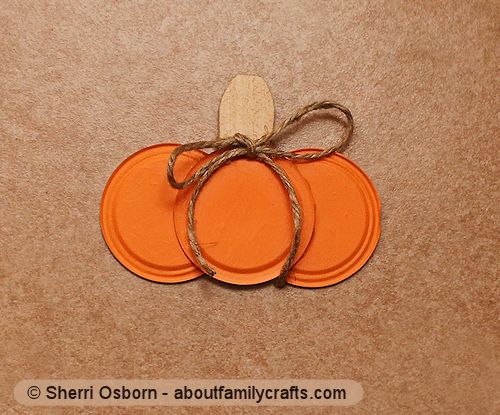
With Halloween coming soon, I figured making a pumpkin using canning jar lids (as part of this craft challenge) was a great idea. You can make one or more of these pumpkins and use them to decorate almost anything. You can decorate a basket you can use to hold Halloween treats or apples, use one to embellish an autumn wreath, or use one as part of a Thanksgiving dinner centerpiece.
While I could have simply painted one canning jar lid orange and called it a pumpkin, I wanted something with a little more depth. This cute pumpkin is very easy to make using three canning jar lids, a paint stir stick, and a piece of hemp twine or raffia. I think by using three lids it still looks like a pumpkin, but it has a lot more character. Don’t you think so?
Supplies Needed to Make this Canning Jar Lid Pumpkin
- 3 Canning Jar Lids
- Orange Paint
- Clear Acrylic Sealer (Optional)
- Paint Stir Stick or a Tongue Depressor
- Hemp Twine or Raffia
- Craft Glue and/or Hot Glue Sticks
Tools Needed
- Paint Brush
- Hot Glue Gun (Optional)
- Utility Knife
- Scissors
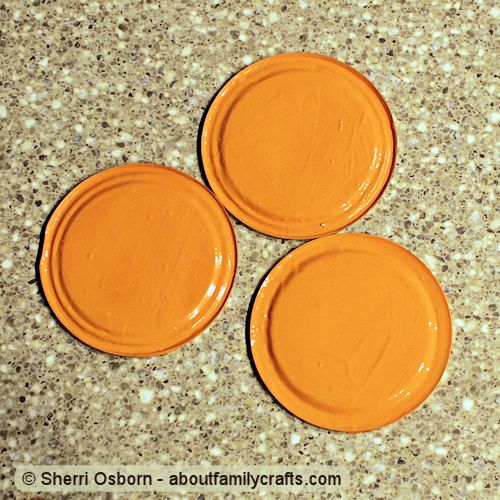
Start off by painting the bottom side of all three canning jar lids orange. The bottom side is the side that seals onto the jar. Use as many coats as paint as needed to get good coverage. Let the paint dry. If you would like to give your pumpkin an added layer of protection, spray on a few layers of clear acrylic sealer. Make sure the sealer is complexly dry before you move on to the next step.
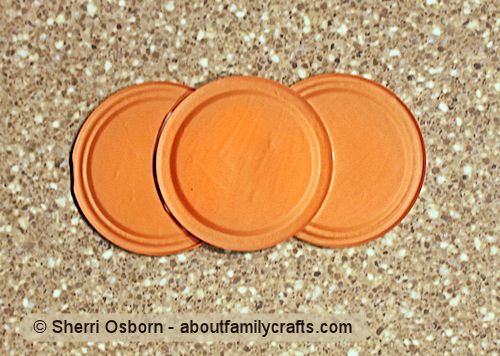
Lay two of the painted canning jar lids side by side on your table. Use a generous amount on the back of the third painted canning jar lid and set it, centered, on top of the two. I like to use both craft glue (the bond usually lasts longer than hot glue) and hot glue (this holds all of the parts together while the craft glue dries). Let the glue dry.
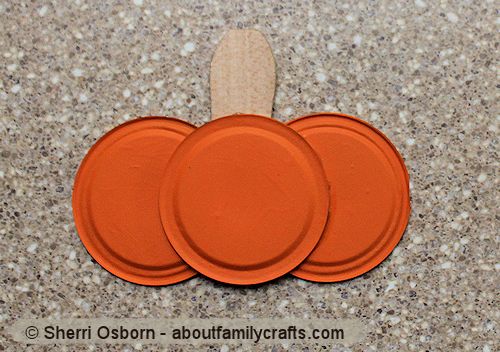
Use a utility knife to cut off the top of a paint stir stick or tongue depressor. I did not have to cut all the way through with the utility knife. I simply scored it a few times on both sides and then it was easy to snap the top right off. Glue this to the back of the pumpkin. You may need to shave down the sides of the stick a little bit to get a nice fit. Let the paint dry.
As a finishing touch, cut a piece of hemp twine or raffia that is about 15-inches long. Tie it around the stem of the pumpkin. Your canning jar lid pumpkin is now done. What will you use it on?
If you like, you can paint a face on the pumpkin to create a jack-o-lantern, or paint on other details. If you make this craft, please share your pumpkin making experiences with us by leaving a comment.



36 comments for “Canning Jar Lid Pumpkin Craft”