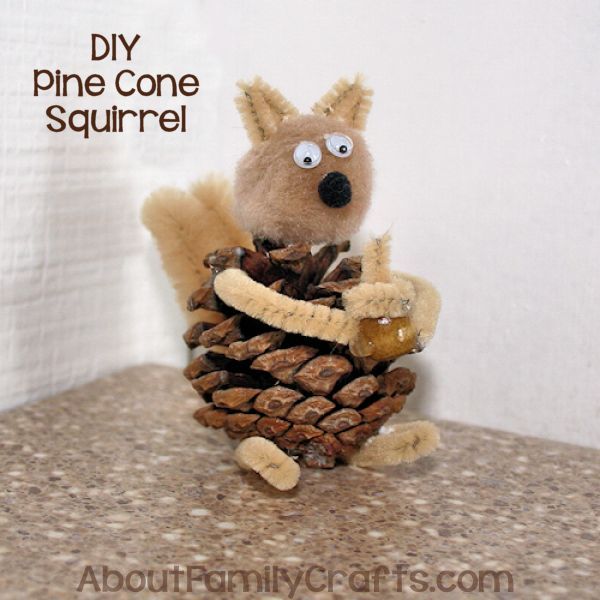
This DIY squirrel project was inspired by the squirrels I have been watching outside my office window, scampering around trying to get ready for winter. I don’t even think they mind that we don’t have any oak trees to provide them acorns because we have several walnut trees!
To make your own pine cone squirrel, besides the obvious (a pine cone), you just need some basic craft supplies and some craft glue.
Supplies Needed to Make a Pine Cone Owl:
- Pine Cone
- Tan Pom-pom
- Tiny Black Pom-pom
- Tan Chenille Stem
- Tan Bumpy Chenille Stem
- Google Eyes
- Wooden Bead (optional)
- Craft Glue or Hot Glue Sticks
Tools Needed:
- Scissors
- Hot Glue Gun (optional)
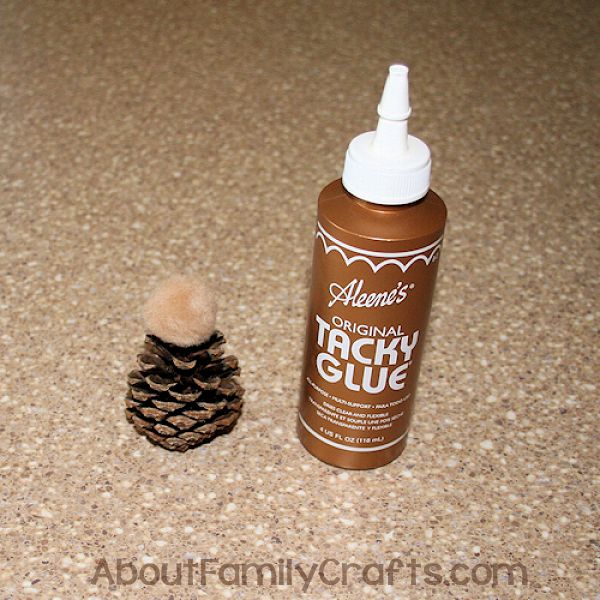
Start out by gluing the tan pom-pom on top of the pin cone. This will be the squirrel’s head.
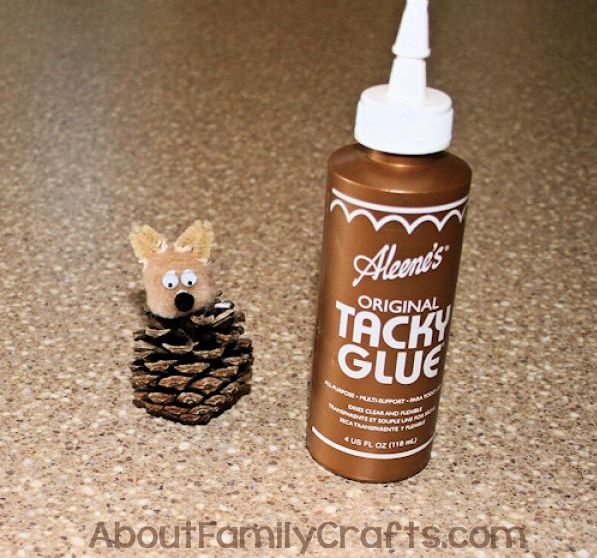
Next, you can make the squirrel’s face. Glue the tiny, black pom-pom in the middle of the head — this will be the nose. Glue the google eyes just above the nose. Cut two 1-inch pieces of the tan chenille stem. Bend them both in half and glue them on top of the squirrel’s head to look like ears.
Grab the bumpy chenille stem and cut it in half. Bend on of those halves in half to form the squirrel’s tail.
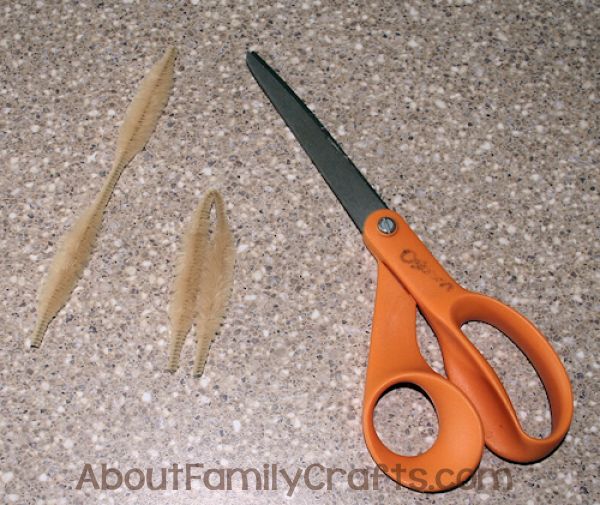
Bend the tail so it resembles the letter S and then glue the unfolded ends onto the pine cone.
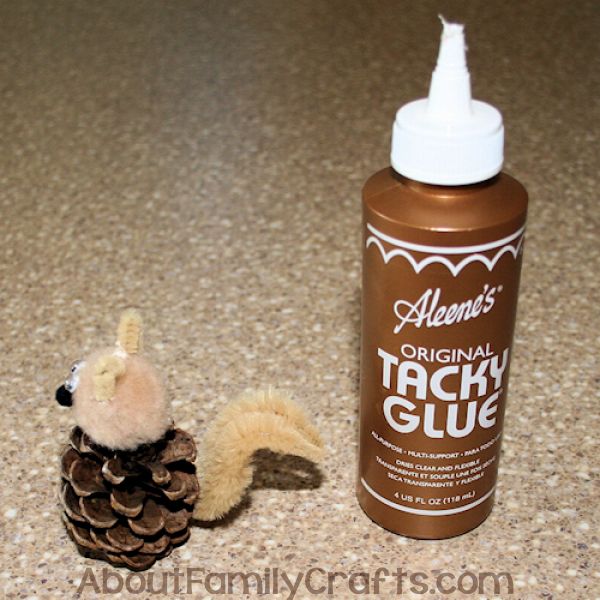
Cut four more pieces from the tan chenille stem — these should be about 2-inches long.
Fold two of these in half and then glue them under the front of the pine cone squirrel so they look like feet.
Glue the other two near the squirrel’s face to be the squirrel’s arms.
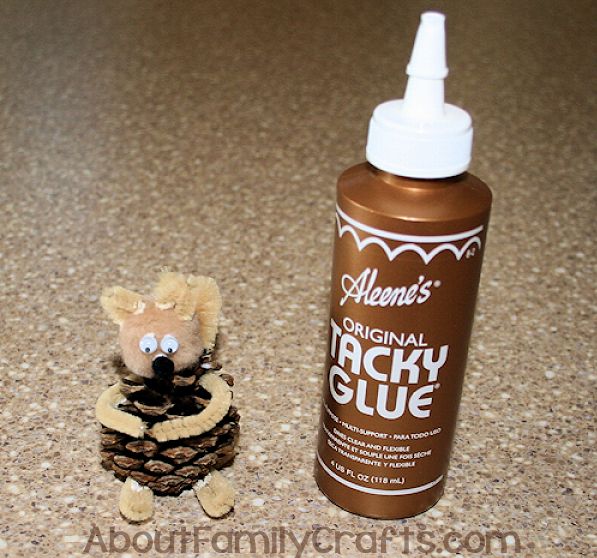
Finally, you don’t want your squirrel to go hungry (unless you don’t have a wooden bead). Glue the wooden bead between the squirrel’s hands. Cut a short piece of chenille stem and roll it into a circle with on end poking up in the center. Glue this on top of the bead.
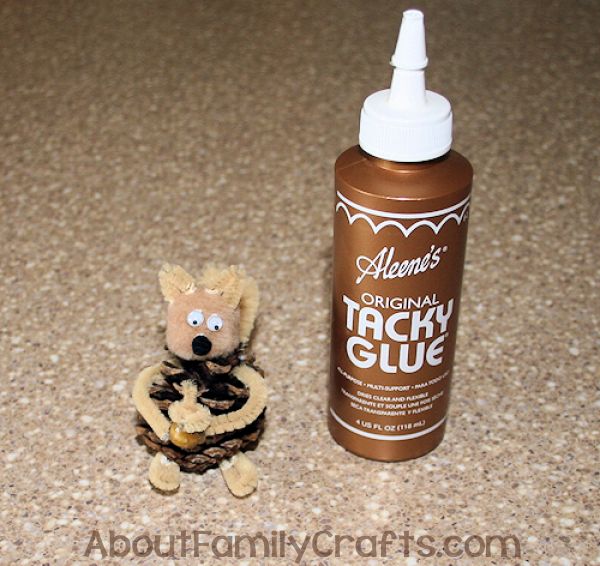
What do you think of this cute DIY pine cone squirrel? Where should he be displayed?


