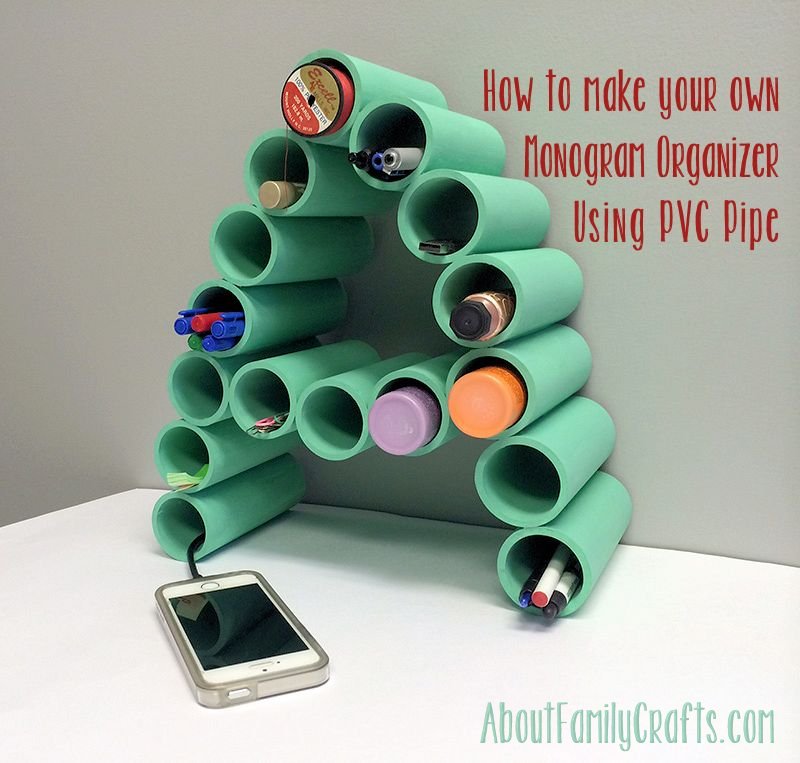
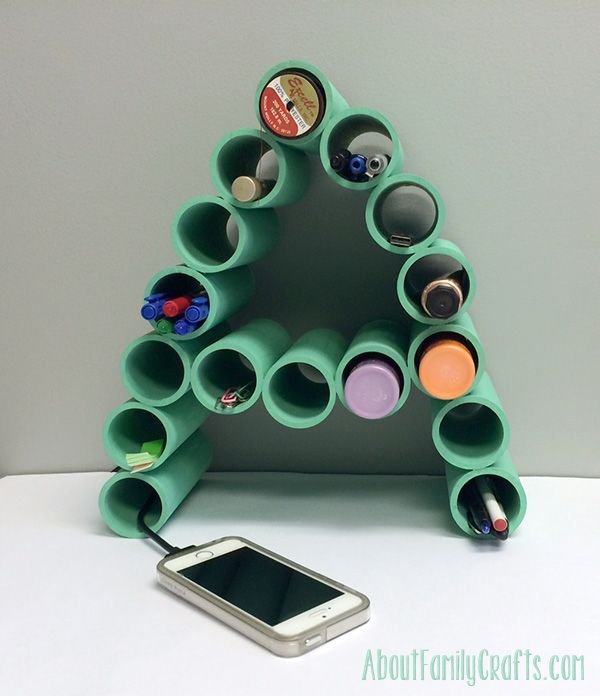
Looking for a simple inexpensive way to organize some of the markers, pencils and nick-knacks in your office or kid’s room? I recently crafted up an easy-to-make monogram organizer using one piece of PVC pipe (example), some glue and paint. What’s great about this project is it is super simple to make, and it can be made in any shape and painted any color you like. I chose the letter “A” and painted my finished product a nice greenish-teal color. The result is a clean, lightweight, and stylish addition to my office, as well as a place for random pens, USB drives and other do-dads that have no home.
Ready to make your own monogram PVC pipe organizer for an office, craft space, or kid’s room? Here are my quick instructions and tips!
Supplies You Need:
- 1-1/2” PVC Pipe – One 10 ft. Stick
- PVC Cutters or Saw
- PVC Cement (you don’t need much!)
- Paint – Craft or Spray Paint
Step 1: Measure & Cut
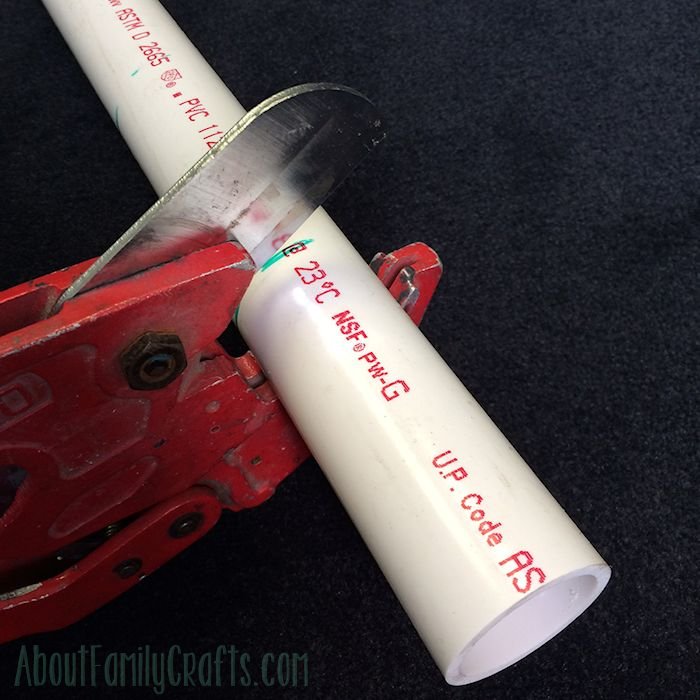
PVC pipe is easy to find online or at your local hardware store. For my projects I usually use standard schedule 40 white PVC pipe, since it’s inexpensive and readily available. Start with your 10 foot piece of 1-1/2” PVC pipe and measure out and mark 5 inch sections all the way down. I find a pencil or marker works well for marking on the pipe. You should end up with 24 measured out sections. The pipe may be dirty and have printing on it, but that’s okay since we’ll be painting the entire thing in the end. Use your PVC cutters (or saw) to cut along each of the marks you made. If you’re using PVC cutters, I find it easiest to do this on the ground, using the floor as an anchor to press the bottom of the cutters against. That way you can put more strength into it.
Step 2: Lay it Out
Depending on the letter or shape you want to make, you may need a different number of PVC pieces from the 24 total we cut. I ended up using 16 to make my letter “A”.
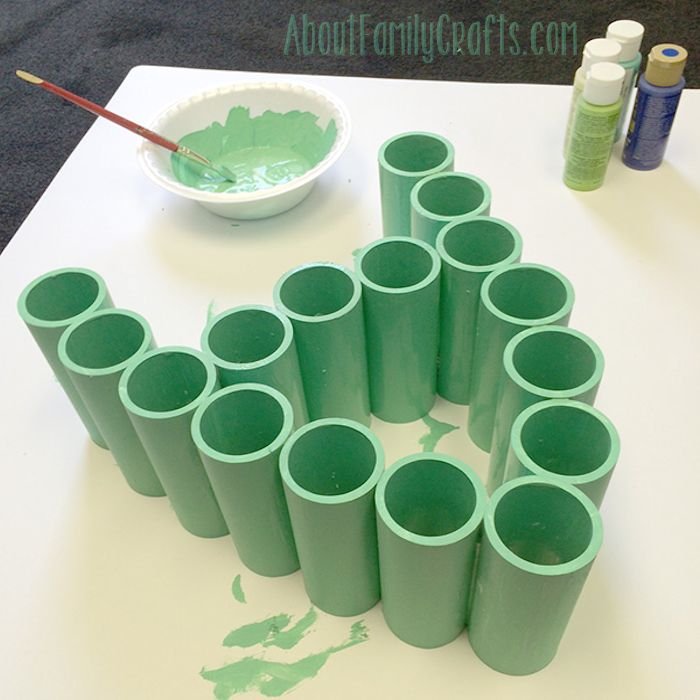
Before you get out the PVC cement, lay out the shape you want to make on the floor. The easiest way to do this is to lay everything out on the floor and set the PVC pieces on end. Now you can arrange the pieces into the shape you want and get an idea of what will go where before you permanently glue them. Any extra pieces of PVC pipe you don’t use can be discarded or saved for another project.
Step 3: Glue & Assemble
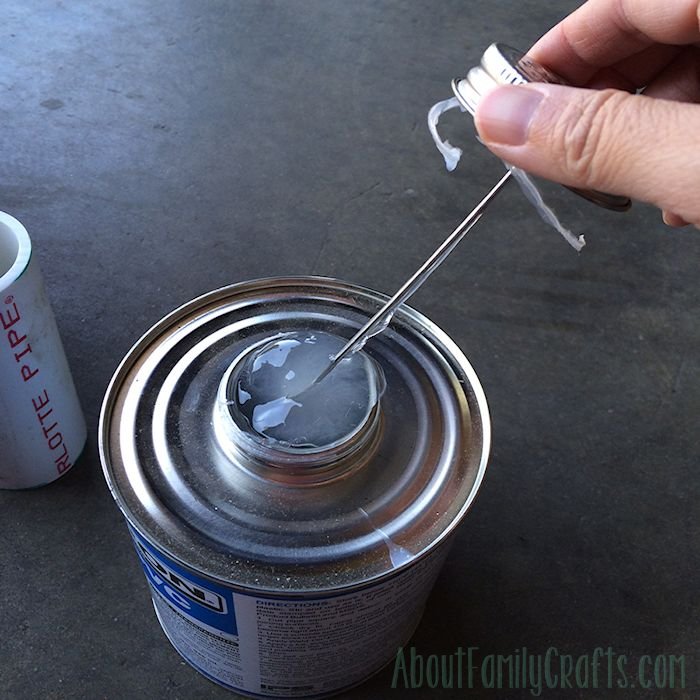
Take all your project supplies outdoors to do the gluing. PVC cement is pretty strong stuff and should be used with care. Once you have your shape laid out and ready to glue, take note of where the pieces of pipe touch. These are the points to which we’ll be applying glue. PVC cement is kind of tricky, so you might want to test it on some spare PVC before starting. I used heavy-duty medium body glue with a longer drying time, so it was a little difficult to get a crisp “A” shape. You will want to use fast-set PVC cement so that the pipe fuses together within seconds. After applying a small amount of glue to both PVC pieces where they will touch, hold them together for about 20 seconds for the cement to bond. Be careful with your placement. Once it’s glued you’re not getting it unstuck!
Work from one side to the other on your shape until the entire piece is glued together.
Step 4: Paint
After your last piece is glued in place and you’ve given it a few minutes to set completely, you can sit the shape upright as it will appear normally. Mix up the color you choose to use and make sure you have a paint brush that can reach into the center of the pipe pieces. Begin painting the insides of the pipe and work outwards until the entire thing is covered and looking good.
You may find you need an extra coat over areas that had printing. If you would like, use a glossy finish over the paint to give it a finishing touch.
Finished Product
All in all, I spent about $10 on the PVC pipe and paint. The other supplies I had already, so it made for a super cheap and fun afternoon project. The finished product is a bright and fun piece that is practical and stylish. Keep it simple with a letter and solid color, or go crazy with funky shapes and patterns. It’s up to you to personalize it! This can be a great gift for kids’ rooms and college students too. Maybe a PVC organizer in the shape of her sorority letters?
I use my monogram PVC pipe organizer in the office for holding extra pens, headache medicine and other random office essentials. It would also work well for sewing supplies, makeup, even organizing charger cords. I hope you give this quick project a try and share with us what you come up with!
Amanda Hill is the Content and Creative Manager for PVCFittingsOnline.com. She is known by her coworkers as the “Queen of PVC,” due to her love and ability to make anything out of PVC Products – everything from a laptop stand, to a survival kit, to a trendy house accessory or an instrument utilizing valves. Connect with Amanda on Google+ to follow her PVC design and creation.





5 comments for “Make a Monogram Organizer Using PVC Pipe”