There are many fun excuses to make a lion craft, but right now my thought goes right away to what people say about the month of March. Have you ever heard the saying March comes in like a lion and goes out like a lamb? Where I live, it is very rare if the weather isn’t fierce and merciless on March 1st (just like a lion) but it isn’t always a guarantee that it will go out like a lamb.
I am happy to share this paper plate lion project with you in honor of the beginning of March; and, no matter what our weather is like, I will be sharing a similar lamb craft near the end of the month!
Supplies Need to Make a Paper Plate Lion:
- Paper Plate
- Paint
- Craft Glue
- 2 Large Brown Pom-poms
- 1 Medium-Sized Red Pom-pom
- 2 Black or Dark Brown Chenille Stems
- Large Google Eyes
Tools Needed:
- Paint Brush
- Scissors
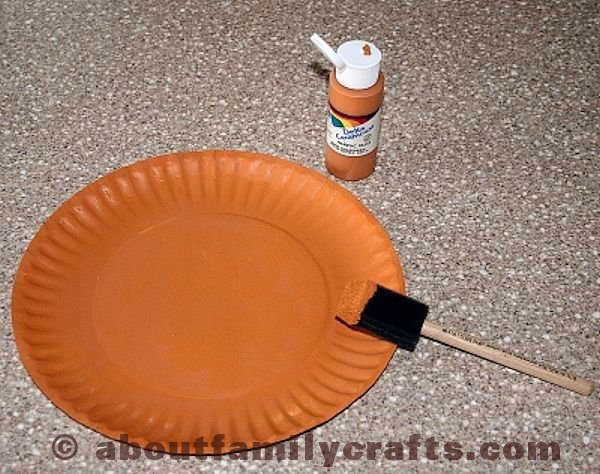
The first thing you need to do is paint the paper plate. Paint the top of the plate, let the paint dry completely, and then paint the back. Let the paint dry completely before you cut it. If you prefer, you can always using crayons or even markers to color the plate brown.
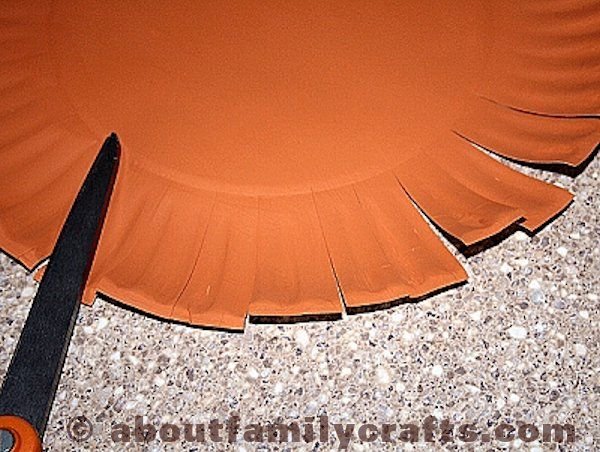
Once the paint is dry, you can grab your scissors and cut the lion’s mane. To do this, simple cut slits around the edge of the plate, about an inch apart. Put down into the plate about two inches. Let the curved edge of your plate be your guide.
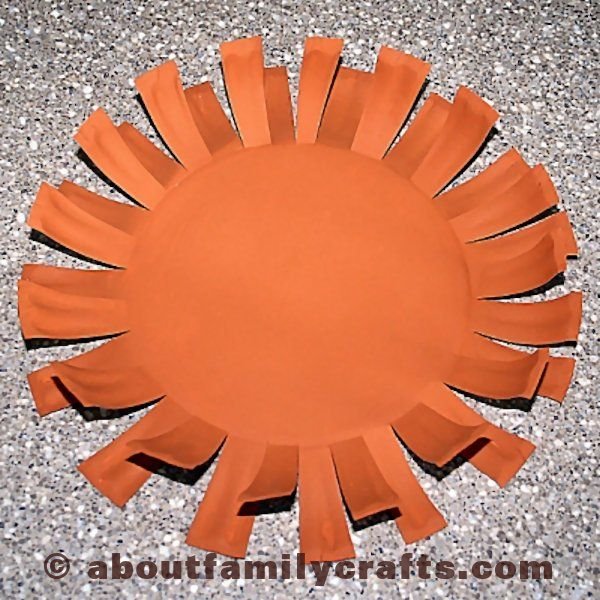
After you get all of the slits cut, you can shape the lion’s mane to make it more dimensional. You can accomplish this by simply bending up every other cut piece.
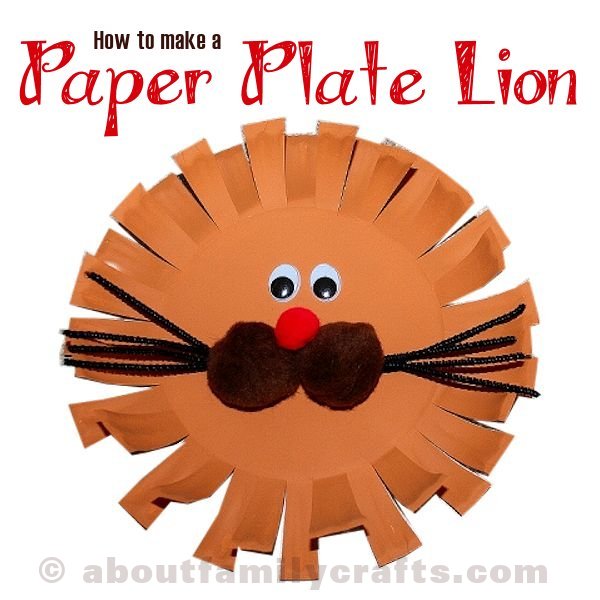
Now you can glue on the lion’s face. Start out by gluing the two large pom-poms to the center of the plate to be the lion’s cheeks. Glue the red nose, centered, on the cheeks. Cut each chenille stem into four equal pieces and glue them onto the face to be whiskers. Finally, glue on the wiggle eyes.
Your paper plate lion is now done! Let the glue dry and hang up your lion someplace where he (or she) can watch the weather outside.


