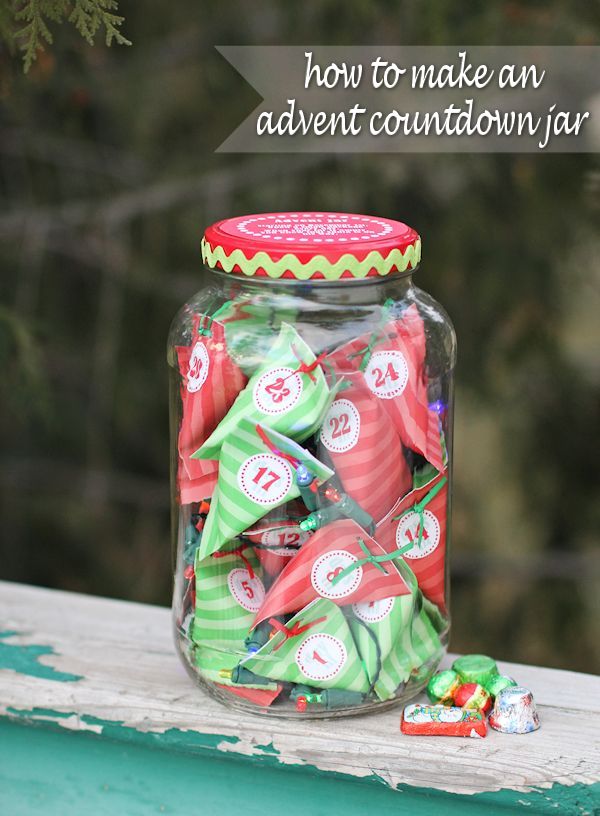
When I posted my DIY Advent Calendar round-up, it inspired me to create my own Christmas countdown craft. I was trying to come up with something that was different from everything I had found. Instead of laying out my treat holders like a calendar, I decided to group them all together in a jar and add some colorful lights. I also topped it off with a fun poem.
Supplies needed for an advent countdown jar:
- Extra Large Jar
- Holiday Themed Paper
- Double-Sided Tape
- Hot Glue Sticks
- Small, Wrapped Candies and/or Prizes
- Thin Ribbon
- Sticker Paper or White Paper
- Advent Number and Poem Template
- Rick-Rack (optional)
- String of Christmas Lights (preferably battery operated)
- Masking Tape (optional)
Tools Needed:
- Paper Trimer
- Small Hole Puncher
- Hot Glue Gun
- Scissors
- Xyron Sticker Maker (optional)
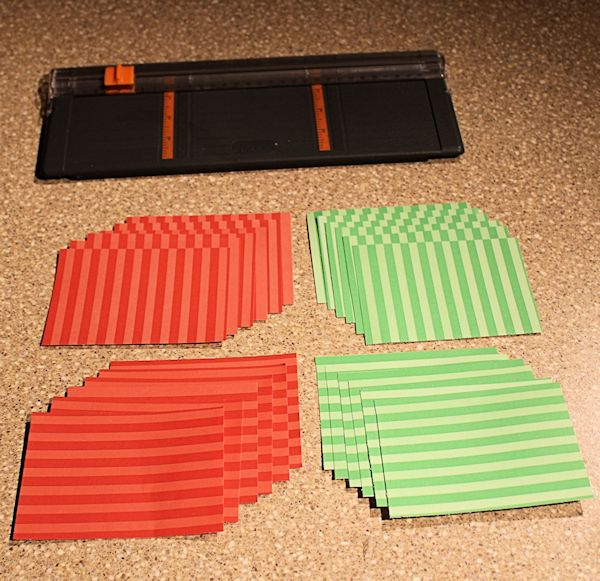
The first thing you have to do is cut 24 pieces of paper that measure 4-inches by 5-inches. Choose fancy paper that fits your personality and use a paper trimmer to cut nice, straight lines.
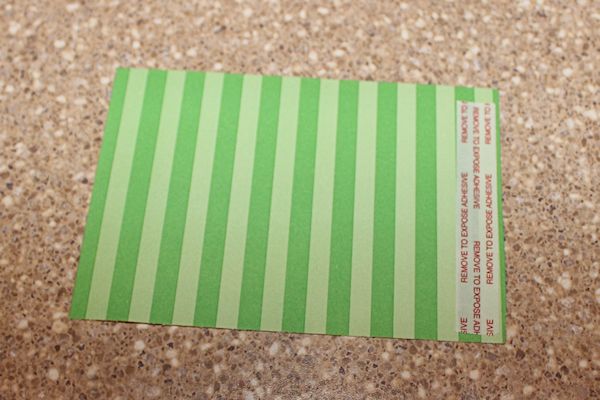
Tear off a piece of double-sided tape and stick it along one of the short edges. If you prefer, you can use glue or – one of my favorites – Glue Dots.
Remove the paper from the double-sided tape. Roll the opposite edge of the paper over to make a tube. Once you have your tube, run a bead of hot glue along the inside edge of one of the open ends, and then pinch it together.
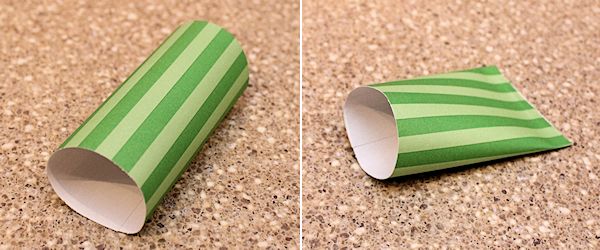
Carefully place one candy or prize inside your newly-formed package.
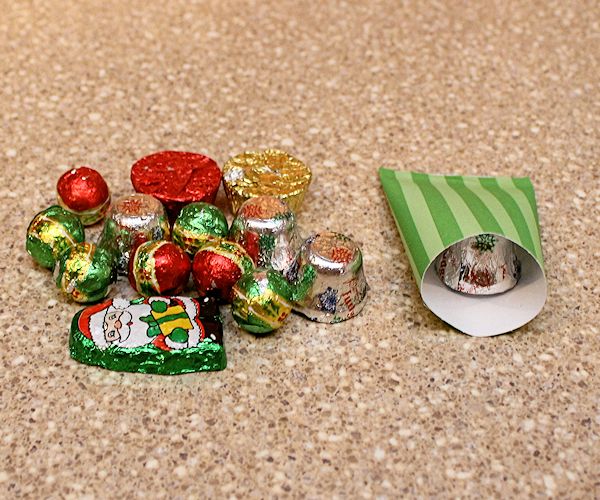
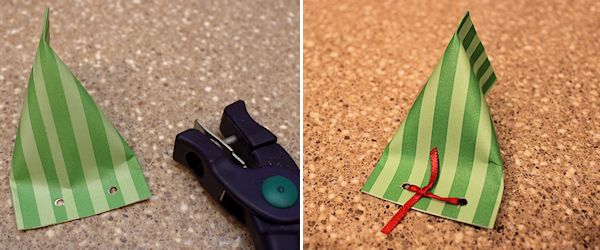
Pinch the open end of your package together. Use the hole punch to make two small, evenly-spaced holes. Cut a piece of ribbon that is about 6-inches long. Thread the ribbon through the holes and tie it into a knot. Trim the ends if necessary.
Repeat this until you have 24 treat-filled packages.
Download my advent countdown jar printables. Print them out on a heavy piece of paper or sticker paper. You can download and print out either the JPG or PDF versions of this template.
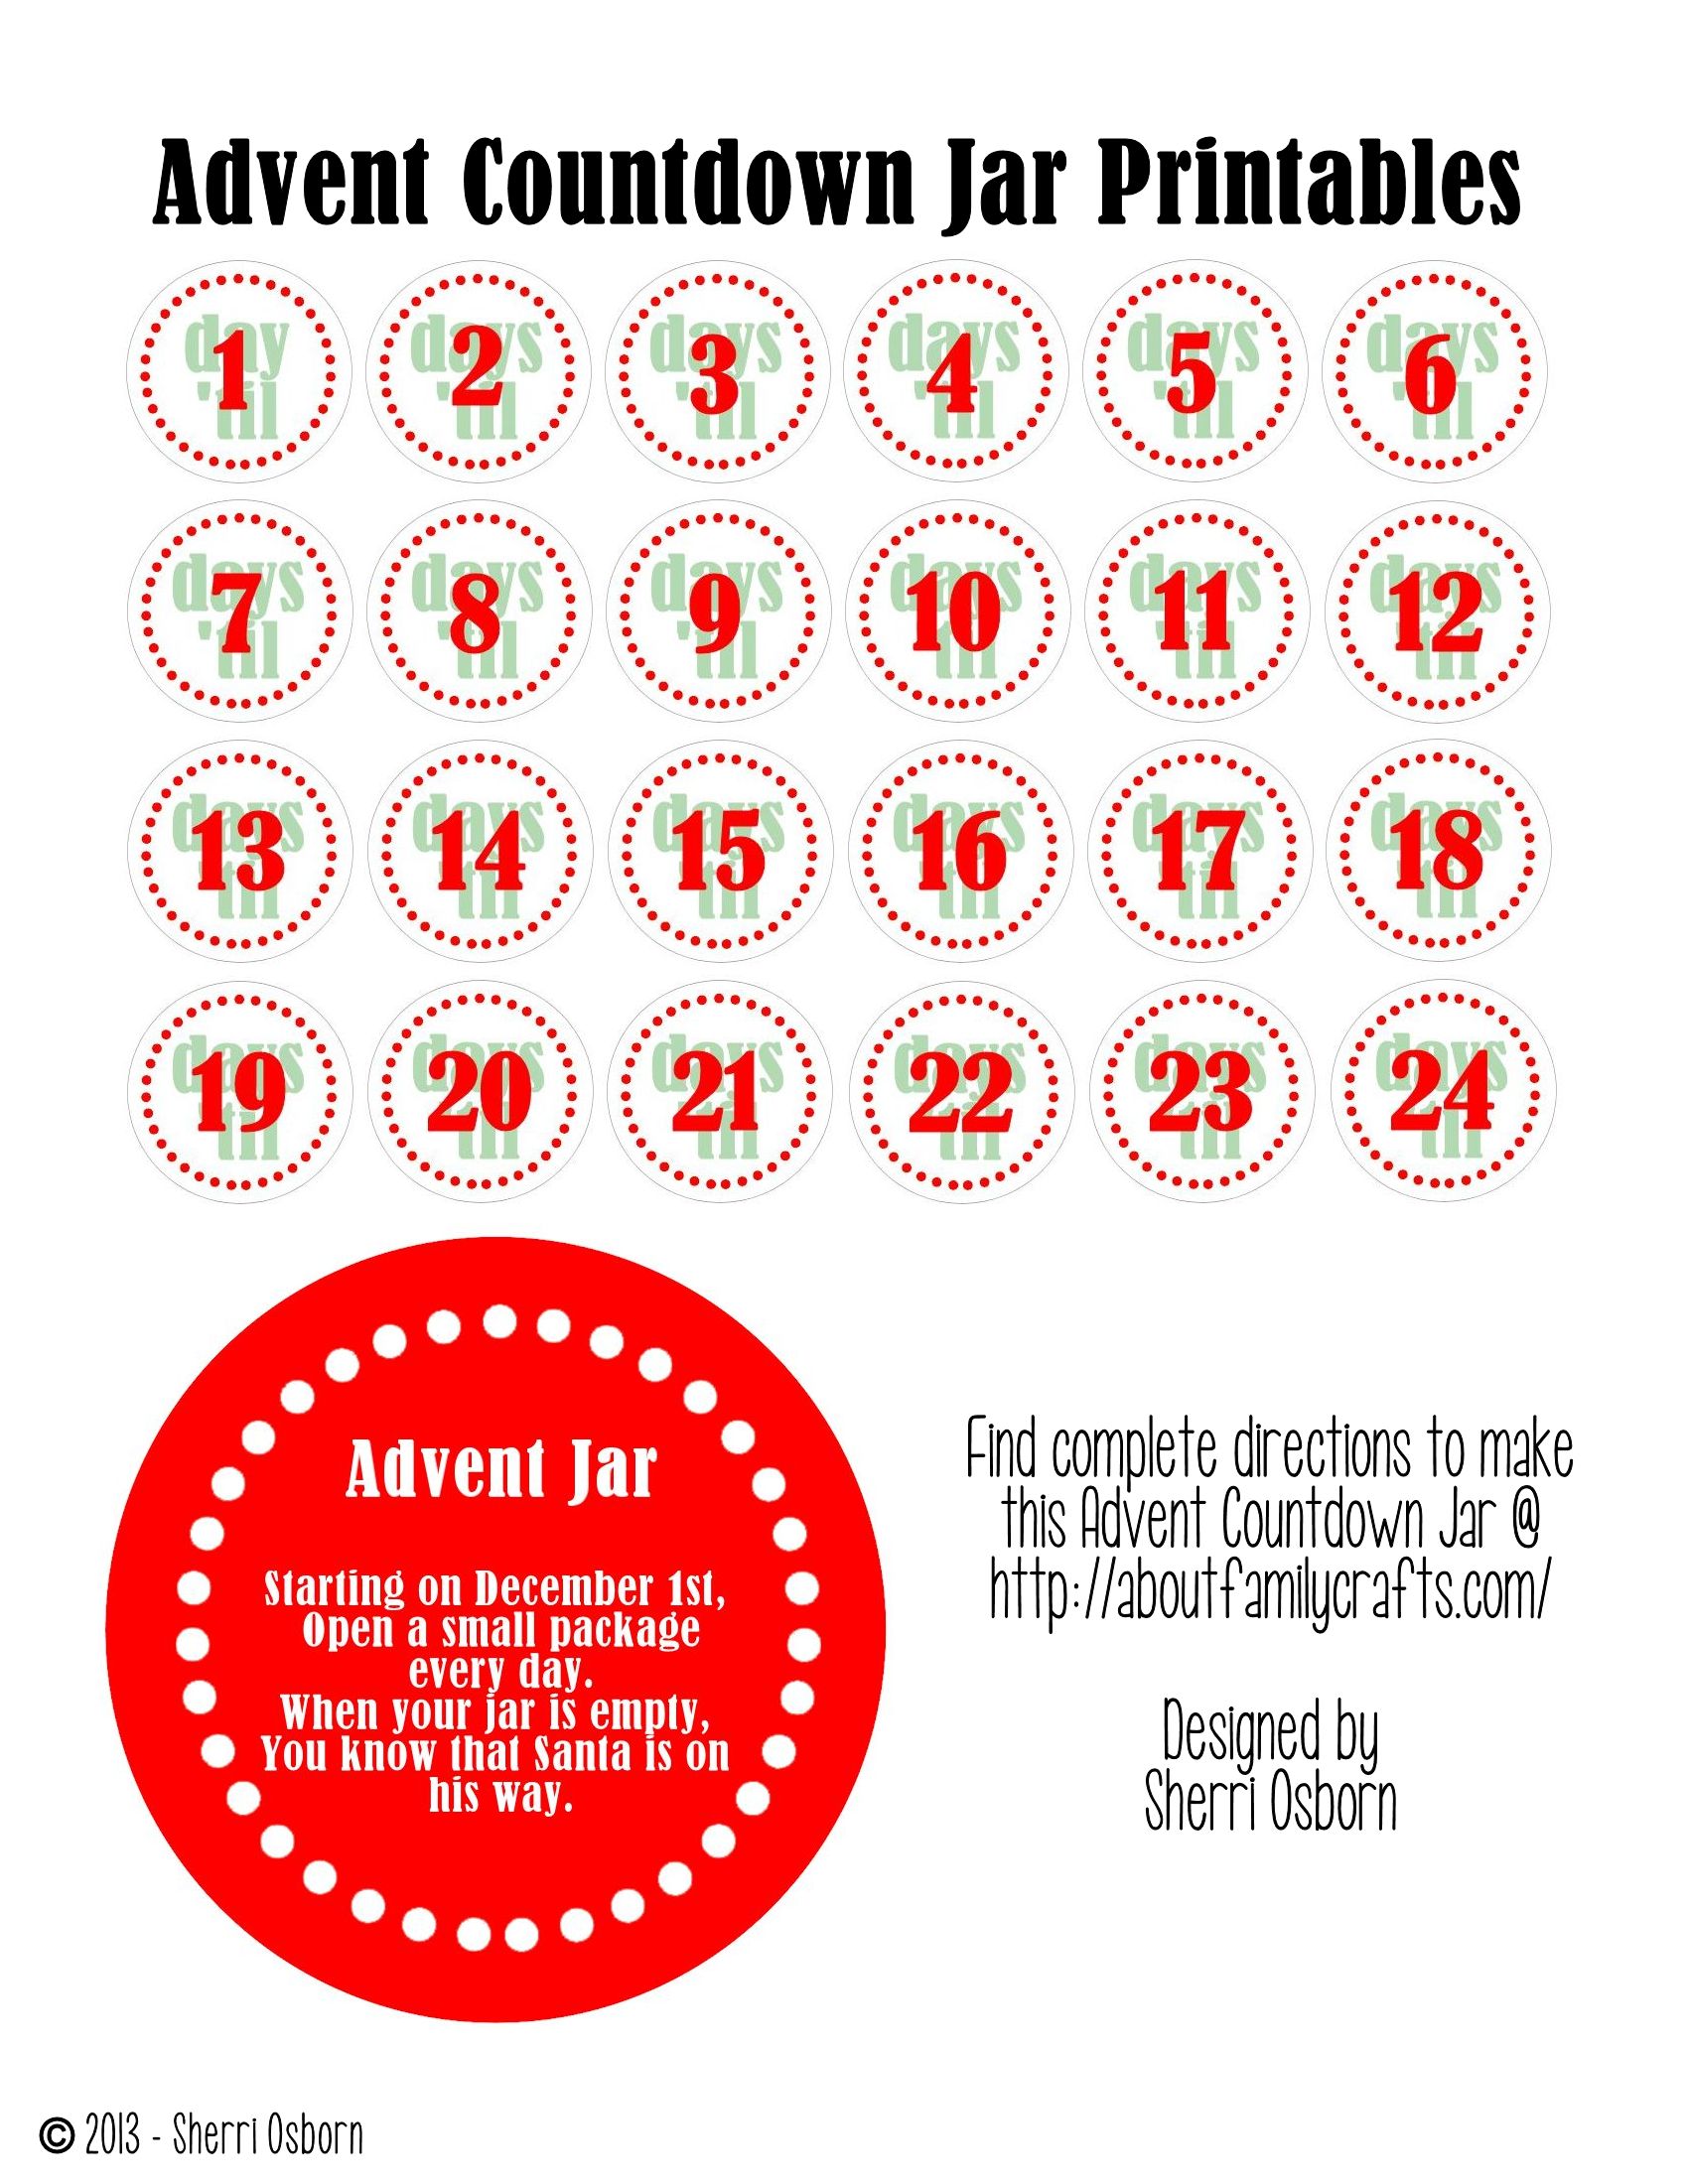
| PDF | JPG |
I was initially going to use the sticker paper, but then decided on printing it out on heavy paper and running it through my Xyron sticker maker. If you don’t have a sticker maker, you can use hot glue, double-sided tape, or Glue Dots. Set your printed template aside until you are sure the ink is totally dry.
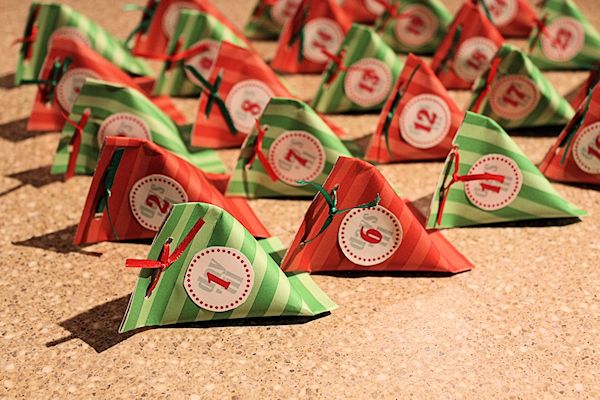
Cut out the twenty four smaller circles. Stick one onto each of the 24 packages.
Cut out the larger circle with the poem on it. My jar lid was already red, but if yours isn’t you can paint it. Glue the poem circle on top of the lid. At this time, you can also decorate the side of the lid too. I used green rick-rack, but you can use ribbon or twine if you like. Let all the glue dry.
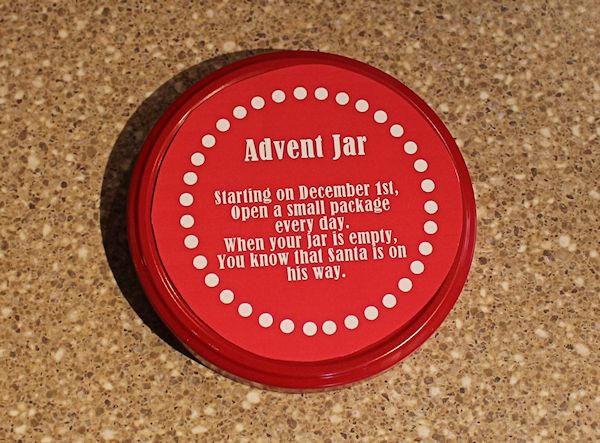
Now you are ready to start filling your jar, but first – make sure your jar is clean and dry. Place the package with the number 1 in the jar. Also start putting the lights in the jar. Next, put in the number 2 package, then the number 3 package…
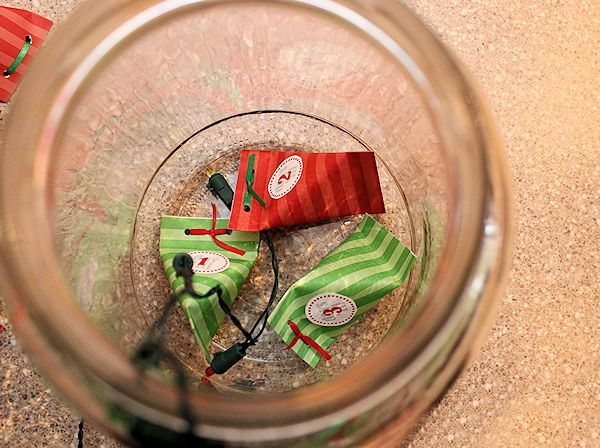
Continue placing the packages in the jar in order. Make sure the lights and packages are evenly distributed in the jar. You want the highest numbers to be near the top of the jar and all of the lights should be in the jar by the time you get to the top.
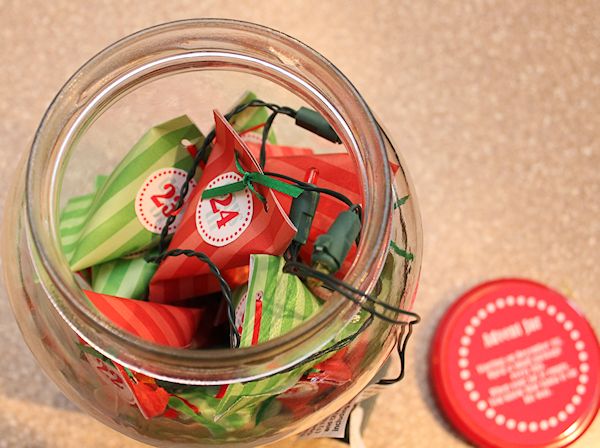
If possible, tape the battery pack for your Christmas tree lights to the inside, top of the jar lid. If it won’t fit in the lid, set it inside the top of the jar.
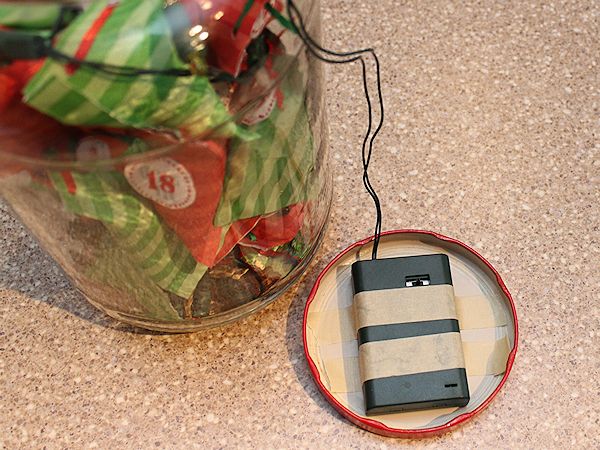
Now you simply need to put the lid on the jar. Don’t forget to turn on the lights!
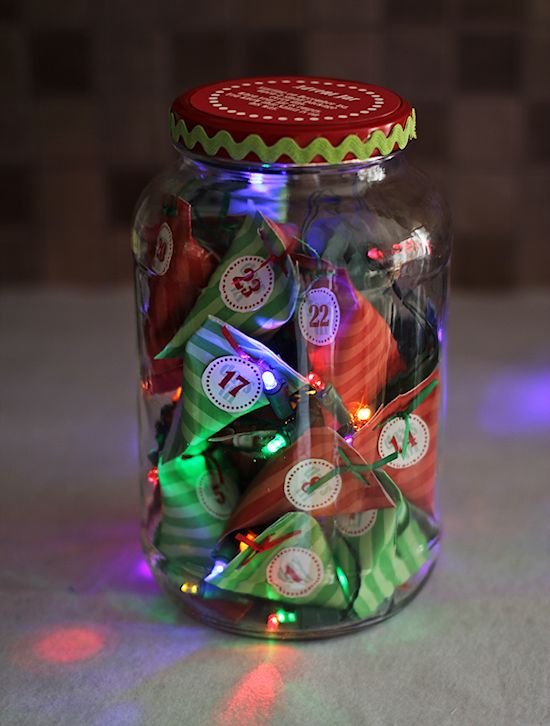
As the poem on the lid of the jar says, on the 1st of December, take the #24 package out of the jar. Open it and enjoy the treat inside! On December 2nd, take out the package with #23 on it and do the same. Continue this until all of the packages in the jar are gone – which means it is Christmas eve.
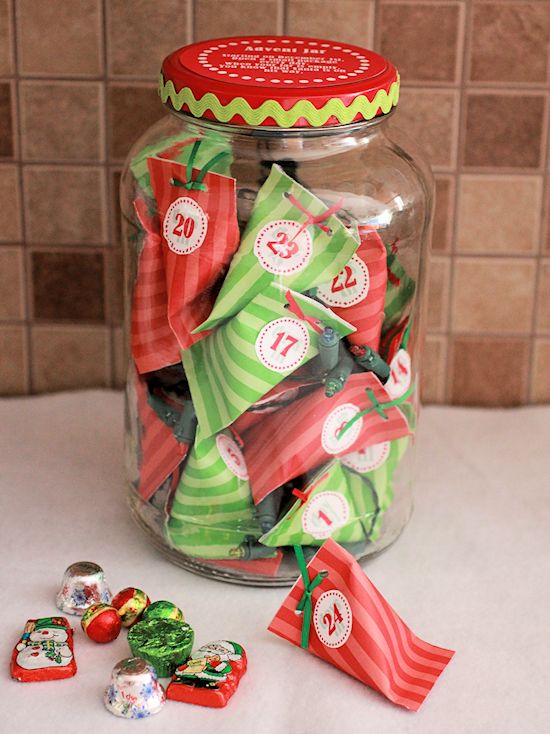
I had a lot of fun making this craft, and I hope you do too. So what do you think of my advent jar?


10 comments for “Make an Advent Countdown Jar”