
Have you ever heard the phrase “Christmas in July”? I am not sure where this phrase came from, but I will run with it! I love Christmas any time. Next time you are stuck inside because of the weather or next time your kids are bored, why not gather the family together and make small ornaments.

These adorable ornaments are made by painting the flat side of the flat marbles that can be found in the floral department of many regular stores and also at most craft stores. You can paint a variety of simple designs or messages on the back of the flattened marble and then attach a ribbon for hanging.
Start out by gathering together all of the supplies you will need.
Supplies to Make the Ornaments
- Clear Flattened Marbles
- Paint
- Thin Ribbon
- Craft Glue
Tools to Make the Ornaments
- Paint Brush
- Scissors
The first thing you need to do is paint whatever design you like on the back of the flattened marble.
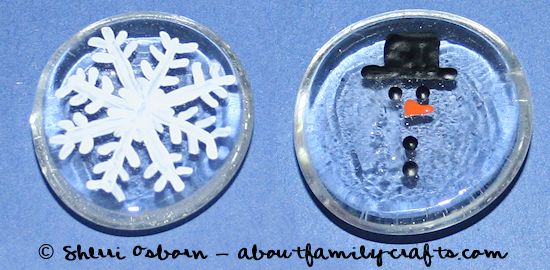
I painted a snowman on one of my flat marbles. I made simple black dots for the eyes and buttons and also used black to paint a black top hat. I painted a small triangle below the eyes to look like a carrot nose. Once all of that paint is completely dry, use white paint to make the snowman’s body.
I also made a simple snowflake design using white paint. If you look at the picture near the top of this post, I actually painted two snowflake flat marbles.
Of course, you can paint any design you like. The main thing you need to keep in mind is, if you want to include any writing, make sure you write it backwards.
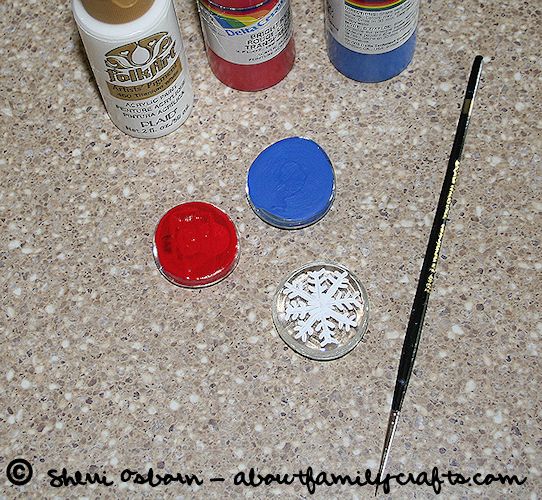
Once the designs you painted are all dry, use a contrasting color of paint to cover the backside of the flat marble and the design. You may need two layers to get a nice cover. Let the paint dry completely.
As you can tell, I left one of my snowflakes plain. I did not like the way that one turned out so I wouldn’t do it that way again. I just think that, once the ribbon was glued in place, the snowflake was lost.

Cut two pieces of ribbon. One should be about 8-inches long and the other should be about 16-inches long. Tie the longer of the two ribbon pieces into a bow. You will use the other as the hanger.
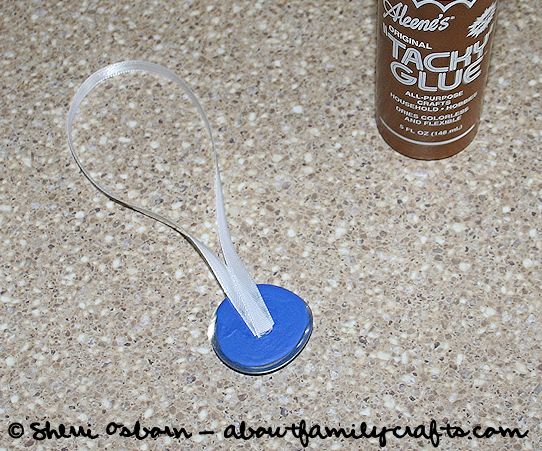
Grab the shorter ribbon and fold it in half to form a loop. Place a generous dab of glue on the back of your flat marble and press the two ends of the ribbon into the glue to make the ornament hanger. Let the glue dry.
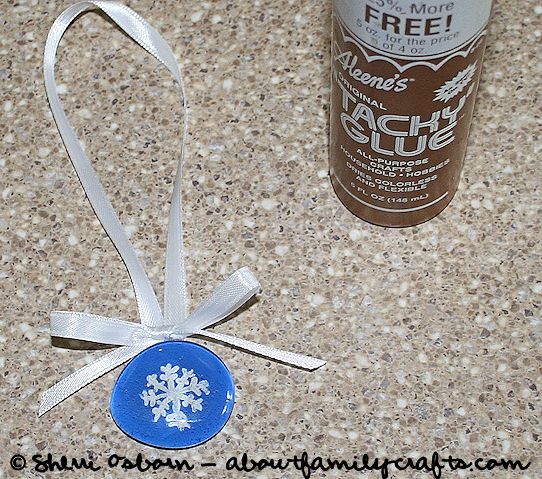
Flip the ornament over and glue on the bow where the flat marble and ribbon come together. Your ornament is now done. What do you think?
I am hoping to do at least one Christmas project a week for the entire month of July and your ideas may be featured here. My friend Denise over at Witty Living is planning on doing the same so you should check out the fun pinwheel ornament she just posted:
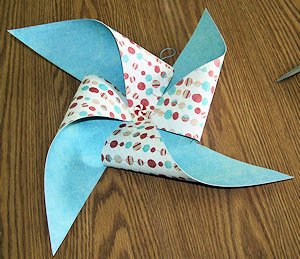
Denise’s Paper Pinwheel Ornament
Does your family make any special ornaments or crafts for Christmas? If so, please share with us.


3 comments for “Painted Flat Marble Ornaments”