Remember the burlap craft challenge I introduced several days ago? I have been having a lot of fun crafting with my burlap treasures!
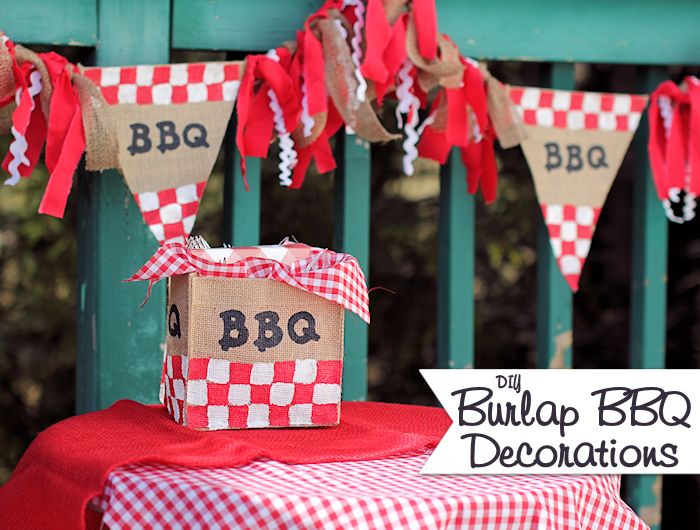
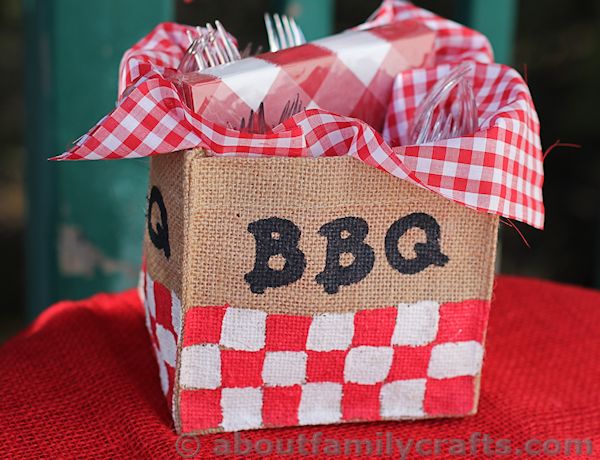
This project was actually inspired by my friend Sarah, from Our Daily Craft. When I posted on Google+ about the burlap goodies I had received, Sarah suggested making a summer-themed BBQ bunting. I loved this idea and even took it one step further by creating a pair of BBQ-themed decorations. I thought the burlap vase holder would make a wonderful centerpiece and is perfect for holding napkins and silverware or even condiments.
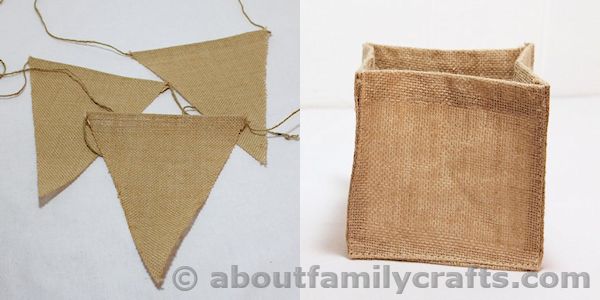
As I explained in the burlap craft challenge post, the folks over at Burlapfabric.com recently sent me 3 burlap products to play around with. I used two of these items for this project: Three sections from a burlap banner (called a bunting by some) and a burlap vase holder. I used them to make the BBQ bunting and centerpiece and I am happy to share the directions with you…
Supplies Needed to Make Burlap BBQ Decorations:
- Burlap Banner
- Burlap Vase Holder
- Craft Foam
- Straw
- Fabric Paint
- Paper Plate
- Hot Glue Sticks
- Red Fabric
- White Rick Rack
- Burlap Ribbon
Tools Needed:
- Scissors
- Hot Glue Gun
- Paint Brush
- Pen
- Alphabet Stencils (optional)
Once I figured out what I wanted to make, this project was fairly fast and easy. I started off by making a stamp to use to paint the burlap. I decided I was going to decorate the burlap items using red and white paint to make them look like a traditional picnic tablecloth so I needed just a simple square stamp.
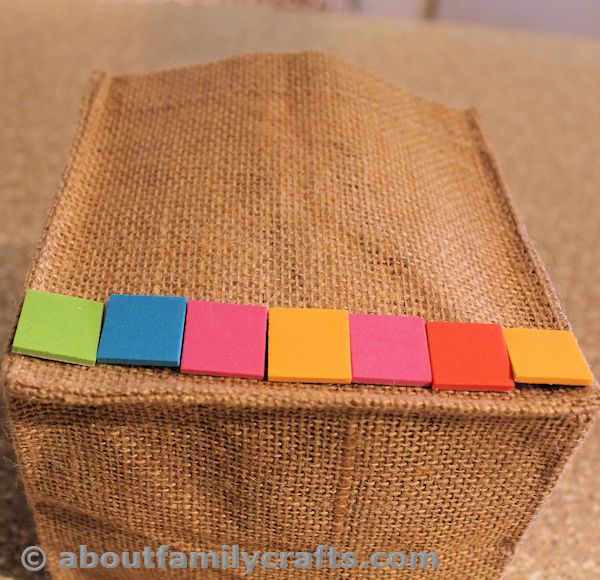
I had a bag of craft foam shapes so I dug out some of the squares in that collection. I lucked out that they seemed to be the perfect size! I discovered this by lining them up along the burlap vase holder.
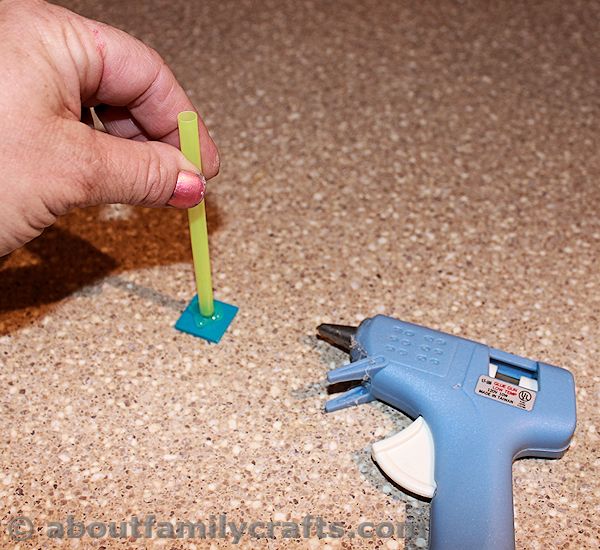
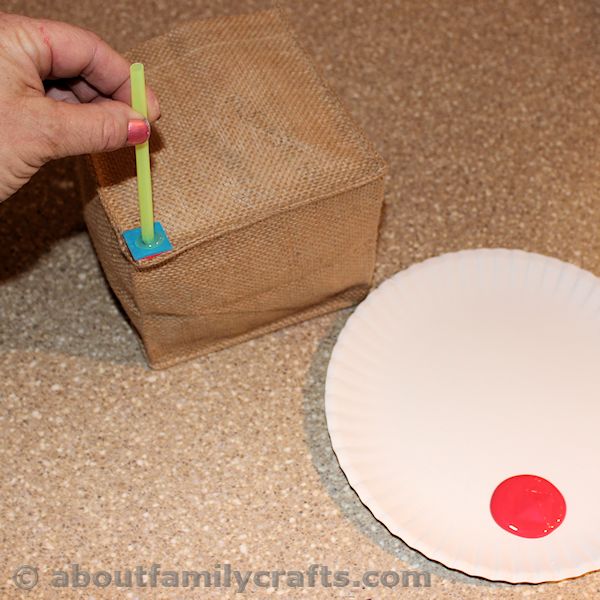
Once I knew the size of the square I needed (they were just a bit smaller than 1-inch) I was ready to make the stamp. I used the same technique I had used to make my Polka Dot Buckets, which was using hot glue to attach the craft foam square to a piece of straw.
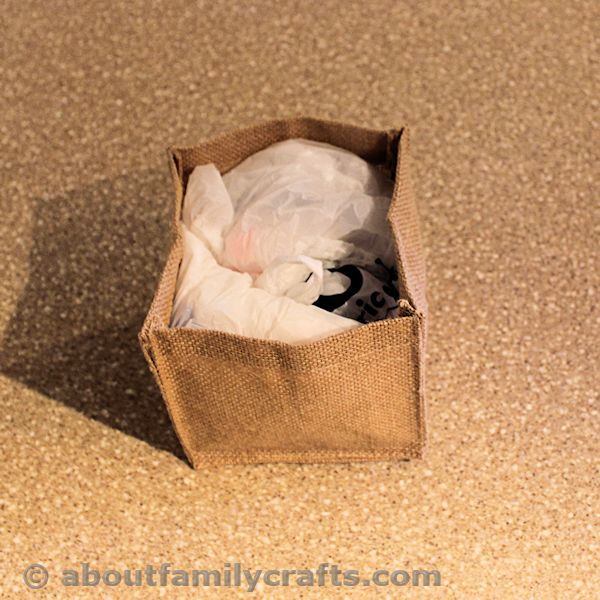
Before I started stamping the vase holder, I balled up several plastic bags and stuffed them inside it so the sides would not be floppy. I wasn’t concerned about the paint bleeding through the burlap because it is lined with clear vinyl.
To start stamping, pour some of the fabric paint onto a paper plate. Dab the square stamp into the paint. You want a thick layer on the stamp because of the holes on the burlap. Carefully stamp the paint onto the burlap. You may have to experiment a bit to figure out exactly how much paint to put on the stamp and how much pressure to use when stamping. I suggest practicing on a scrap piece of burlap or even fabric.
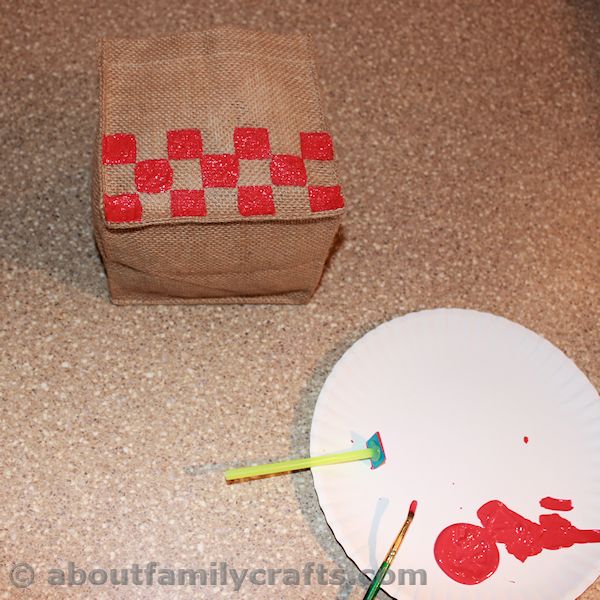
Continue stamping the burlap vase holder to make 3 rows that look like a checker board. Because you of the nature of the fabric don’t be surprised if there are some spots you need to touch up with a paint brush. Once all of the red is stamped on, set it aside and let the paint dry completely.
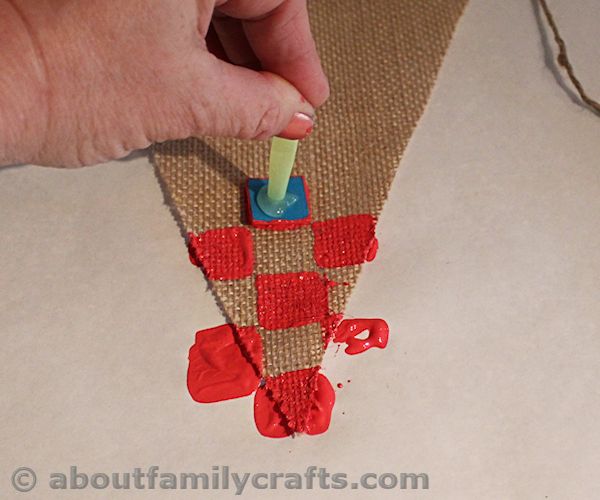
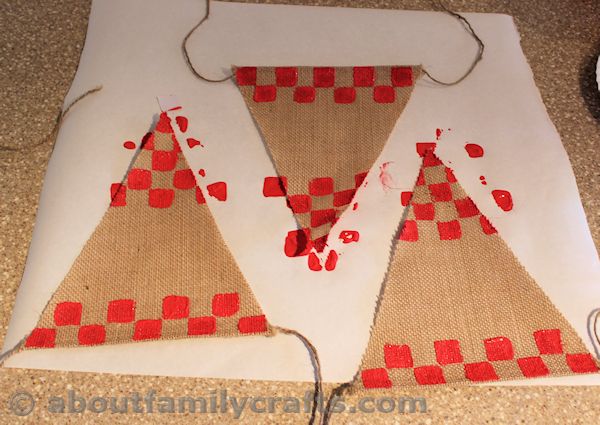
Since we are already working with the red paint and waiting for the vase holder to dry, we will also want to paint the burlap banner at this time. While the banner pieces are also lined with clear vinyl so you don’t have to worry about paint bleeding through, you will still want to cover your work surface with newspaper or something to protect it while you stamp. Lay the burlap banner pieces on your work surface and start stamping on the red paint.
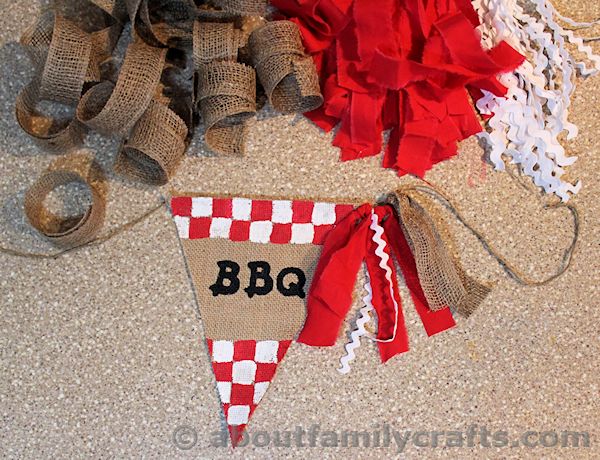
I stamped 5 rows along the bottom of the banner and then 2 rows along the top. Again, you will probably have to touch up some areas with a paint brush. Let the red paint dry completely.
Let the red paint dry completely before you move onto the white paint. Depending on your paint brand, this may take as long as 24 hours. I used Tulip brand soft fabric paint and seemed to dry in a few hours
Stamp the white paint onto the vase holder and banner pieces the same way you stamped on the red. Make a new square stamp and use it to fill in the spaces between all of the stamped red squares. Use a paint brush for any touch up needed. Let the white paint dry. (Sorry, I have no idea why I didn’t snap any pictures on the white being stamped on!)
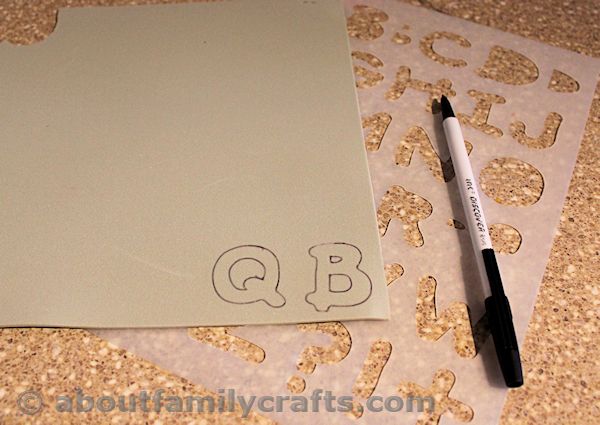
Now we need to make two more stamps – a B and a Q – so we can write BBQ on our canvas pieces. I used some scrapbook stencils to make the letters on craft foam. Cut them out and glue them onto a base. A straw wasn’t big enough for the letters so I glued them onto two empty fabric paint bottles. Something else you can use is screw on caps from soda bottles.
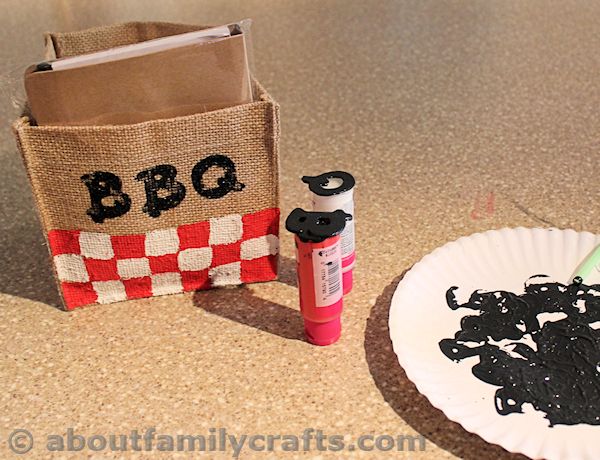
Pour some black paint onto a paper plate. Dab the B stamp into the paint. Make sure the holes in the middle of the B are not filled with paint. Stamp 2 Bs onto one of the sides of the burlap vase holder. You can then stamp on a single Q. You might want to practice on a scrap piece of burlap or fabric first. As with the red and white paint, you can touch up your letters with a paint brush. Let the black paint dry.
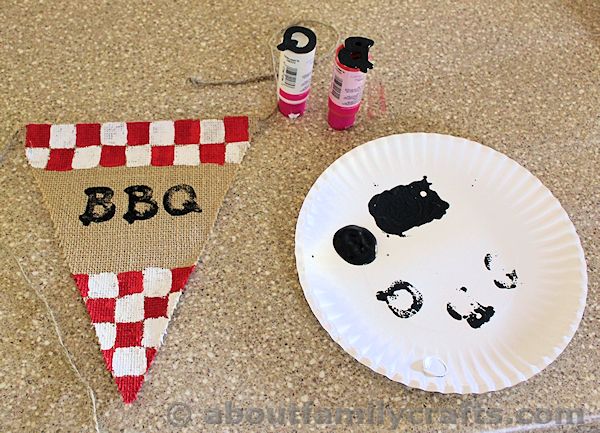
Go through the same steps to stamp BBQ onto each banner piece. Touch up the letters as needed using a paint brush. Let the paint dry completely.
To finish the Burlap BBQ box, I cut a piece of red gingham fabric into a 16-inch square. I put this inside the vase holder to act as a lining and then filled it with napkins and forks. This would make a fun centerpiece on your picnic table, don’t you think?
When it came to finishing the burlap banner or bunting, I decided to use some scraps of red fabric, white rick rack, and burlap ribbon. I used 48 strips of fabric and 24 strips of both the rick rack and burlap ribbon. I cut all of these so they were 8- to 12-inches long.
I first tore the fabric into strips that were about an inch wide. I ripped the pieces instead of cutting them so the edges wouldn’t be smooth (to rip a strip of fabric, simply cut a small slit along one edge, grab it, and rip).
I tied 8 pieces of fabric and 4 piece of both the white rick rack and burlap ribbon on each side of the banner. I first tied on a red fabric strip, then a white rick rack, then another red fabric strip, then a burlap ribbon piece, then a red fabric strip, then a white rick rack piece, then a red fabric strip… Do you see the pattern?
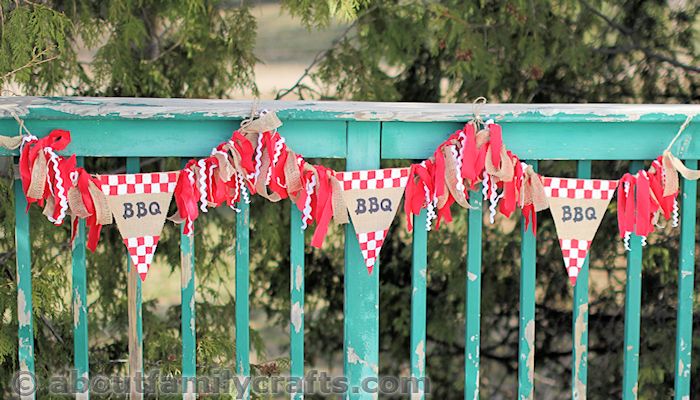
Continue tying on pieces until you have 8 strips of fabric and 4 pieces of rick rack and burlap ribbon on either side of the banner. Do this for each banner piece you make (I made 3). You will then tie each banner piece together and it is ready to hang. I love the extra pizzazz the fabric and ribbon adds, how about you?
Disclosure: Some of the burlap items featured here were given to me by burlapfabric.com. No further compensation was given and all opinions expressed and project created are my own.





12 comments for “DIY Burlap BBQ Decorations”