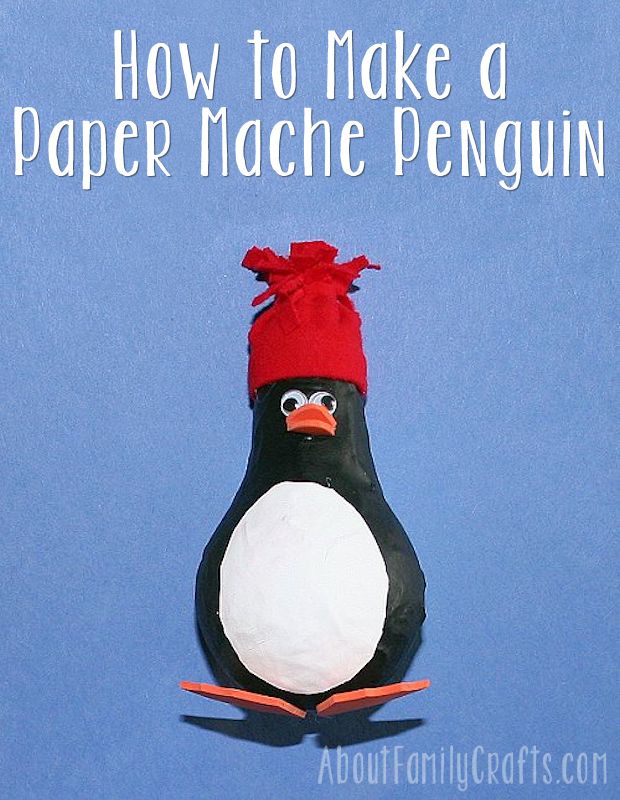
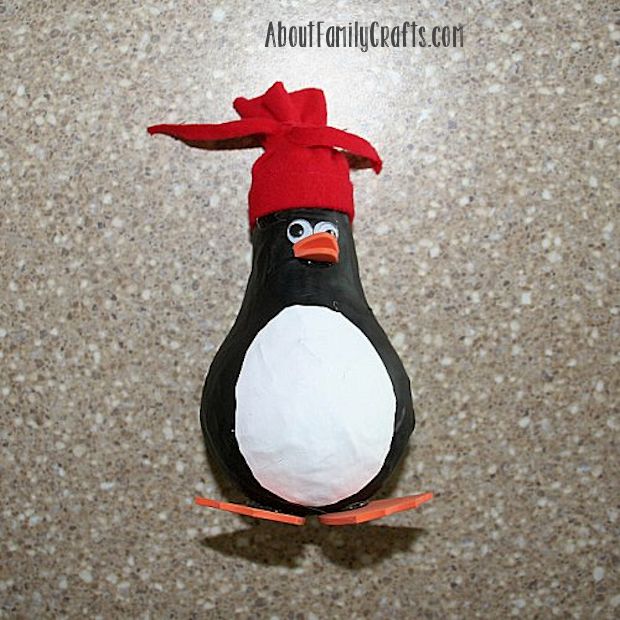
I had so much fun making my paper mache snowman I decided to make a another paper mache creation. What do you think of this paper mache penguin I came up with?
I used many of the same craft supplies I used for the snowman and, of course, the same paper mache techniques.
This would make a fun decoration and it is a great project to do in honor of Penguin Awareness Day, which is observed in January.
Supplies Needed to Make a Paper Mache Penguin:
- Burnt Out Light Bulb
- Newspaper
- Paper Mache Paste
- White and Black Paint
- 2 Google Eyes
- Scrap Piece of Orange Craft Foam
- Scrap Piece of Fabric
- Craft Glue
Tools Needed:
- Paint Brush
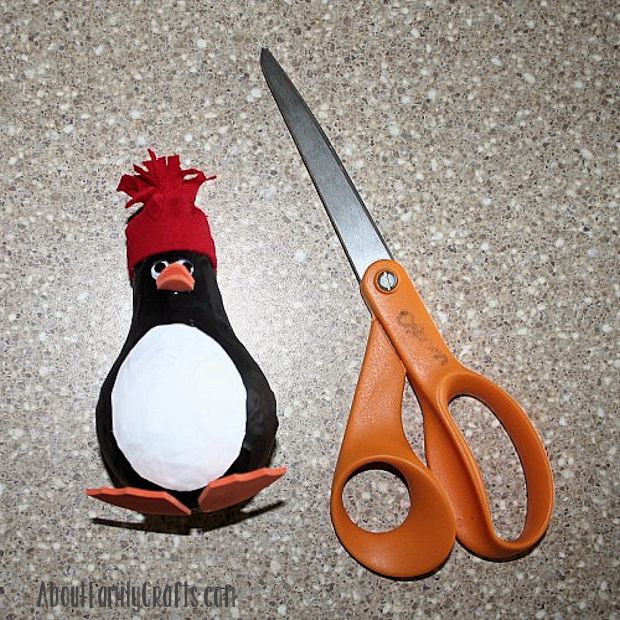
- Scissors
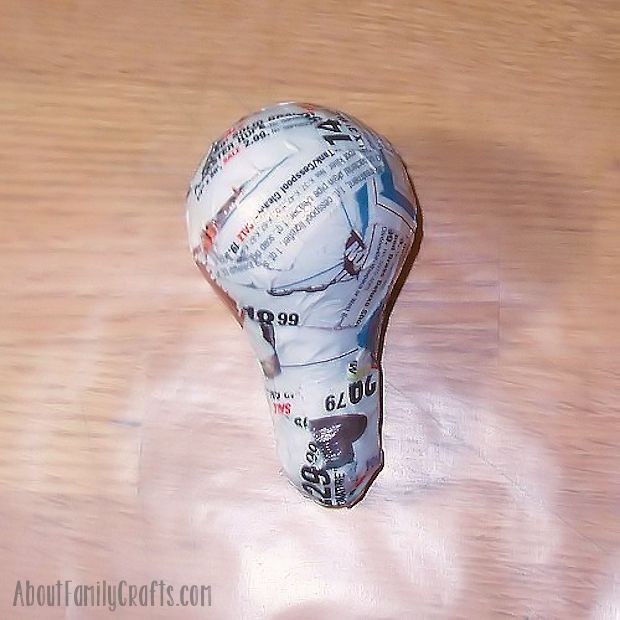
The first thing you need to do is to cover the light bulb with newspaper using paper mache techniques. Mix up a batch of paper mache paste (use the recipe at the link in the supply list above).
Rip the newspaper into strips that are about an inch wide and a few inches long. Dip each strip into the paste mixture. Make sure the newspaper is saturated but then run it through your pinched fingers to push off any extra. Lay several strips onto the light bulb. You will want the pieces to overlap and also go in different directions.
I suggest covering the lightb bulb in at least 3 layers of paper mache. Let each layer dry completely before you do the next.
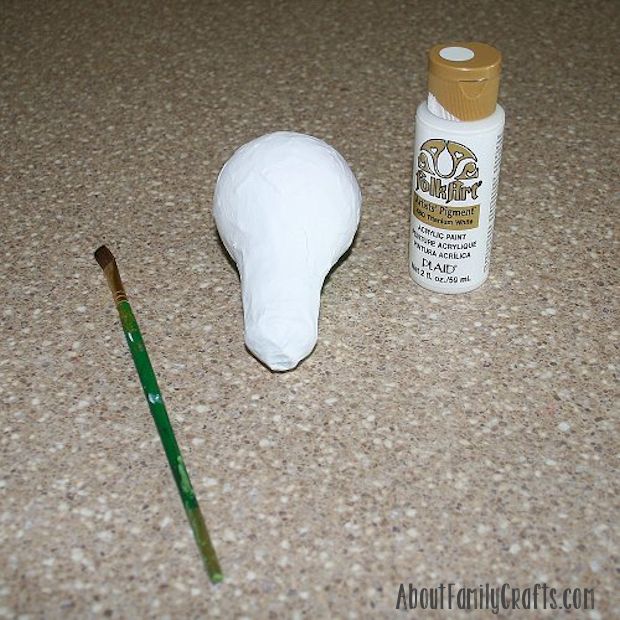
Once you are happy with the look of the paper mache, and it is totally dry, paint the entire light bulb with white paint.
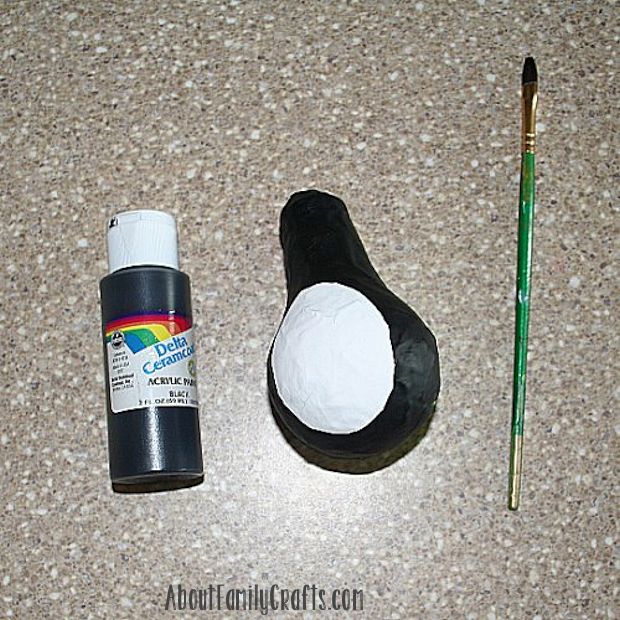
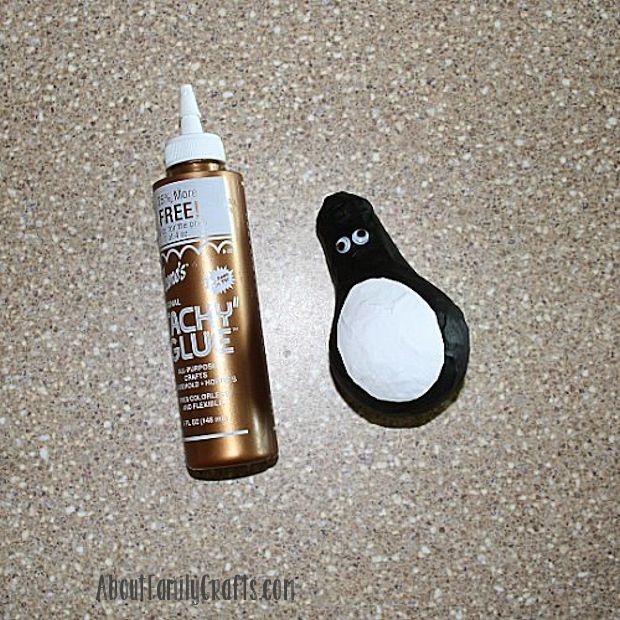
Let the white paint dry completely, and then grab the black paint. Use the picture here as a guide and paint the body and head of the penguin black, leaving the belly area white.
When the black paint is dry, use craft glue to attach the two google eyes to the penguin’s face.
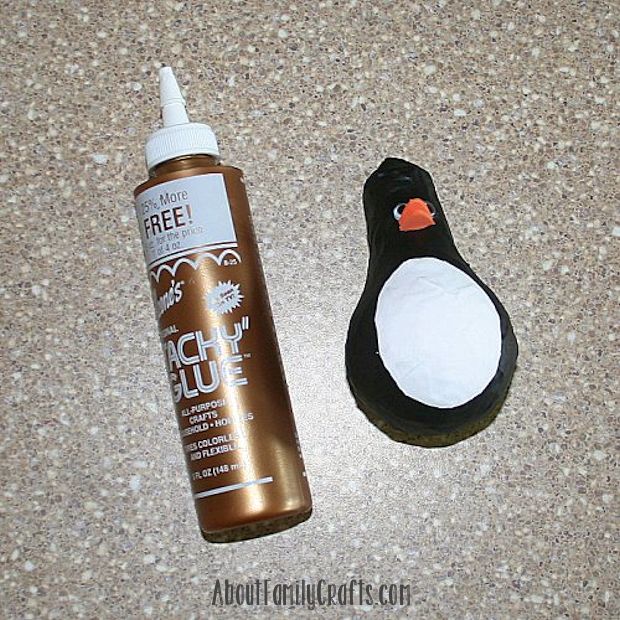
Cut two small triangles out of orange craft foam. Glue them right below the google eyes.
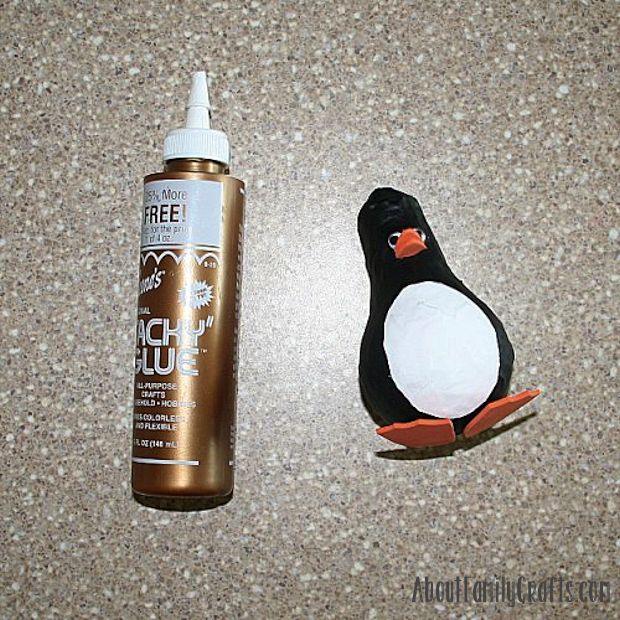
Cut two webbed feet from the orange craft foam. Glue the in place on the penguin.
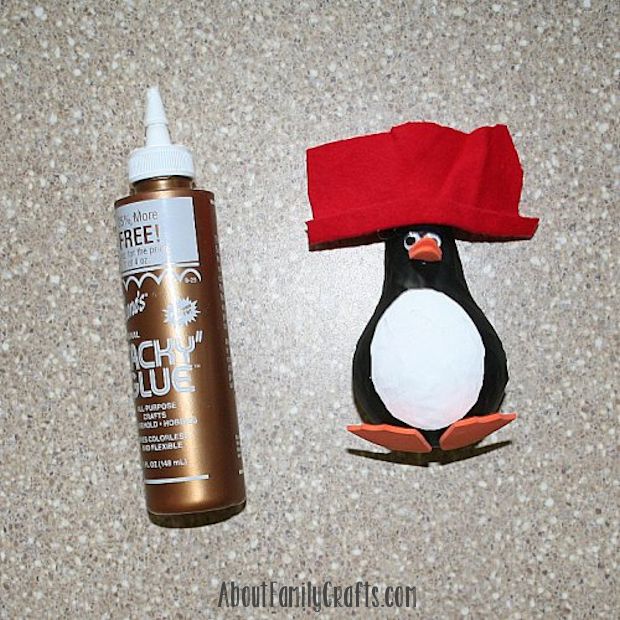
Cut a piece of fabric that is about 3-nches by 2-inches. Fold up one of the longer edges. Glue the folded edge just above the penguin’s eyes. Wrap around both sides and overlap the ends. Trim them if they are too long.
Cut another piece of fabric that is about a quarter of an inch wide and 5- or 6-inches long. Tie this around the top of the hat. Trim the ends you tied.
Finally, use a sharp pair of scissors to cut fringe into the top of the penguin’s hat. The ends you trimmed will bend into the fringe you cut!
Your penguin is now done. If you want to hang up your penguin, glue a loop of fabric or ribbon to the back of the hat.
Shared as part of Blogging Linkup Party at Dear Creatives, Dare to Share Saturday at Kandy Kreations, Saturday Sparks Link Party at Pieced Pastime, Sharing Time Linky at Raising Memories, Upcycled Link Party at Funky Junk Interiors, Bewitch Me & Titi Party at Titi Crafty, Clever Chicks Blog Hop at The Chicken Chick, That DIY Party Time at DIY Show Off, DIY Sunday Showcase at Pink When, Happiness is Homemade Link Party from Mommy on Demand, Share It Sunday at Denise Designed, A Round Tuit at Creating My way to Success, Busy Monday at A Pinch of Joy, Craftastic Monday Link Up at Sew Can Do, Inspiration Monday at I Should Be Mopping the Floor, Inspire me Monday at Create With Joy, Mad Skills Monday at Mad in Crafts, Made by You Mondays at Skip to My Lou, Mix It Up Monday at Flour Me With Love, Motivate Me Monday at Keeping it Simple, Project Inspired at Yesterday on Tuesday, Take a Look Tuesday at Sugar Bee Crafts, Tip Me Tuesday at Tip Junkie, Too Cute Tuesday at Funky Polka Dot Giraffe, Treasure Box Tuesday at Memories by the Mile, Project Inspired at Yesterday on Tuesday, Take a Look Tuesday at Sugar Bee Crafts, Tip Me Tuesday at Tip Junkie, Too Cute Tuesday at Funky Polka Dot Giraffe, Treasure Box Tuesday at Memories by the Mile



1 comment for “How to Make a Paper Mache Penguin”