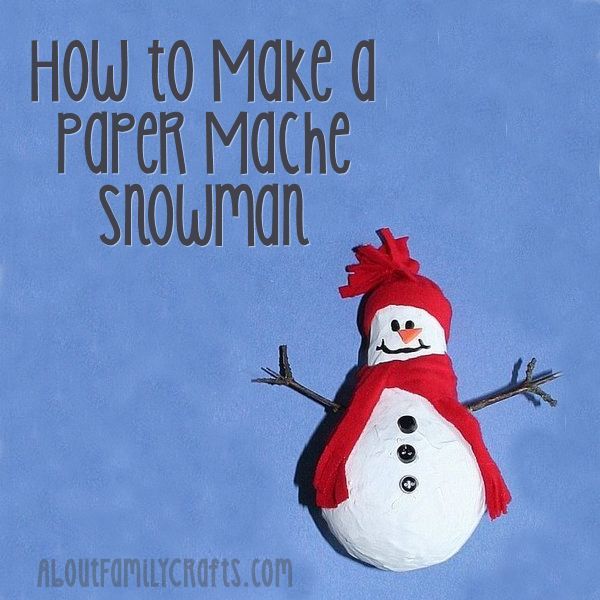
Discover how easy it is to craft a cute little snowman using paper mache techniques and items you might normally recycle or throw away. The light bulb I started with is an “old-fashioned” bulb with the classic shape we are all used to, but you can also make these out of the spiral-shaped, compact florescent bulbs. All you would need to do is add a few extra layers of paper mache.
No matter what sort of light bulb you use for the base of this snowman, you can be sure you will enjoy the process and that the finished project will be adorable!
Supplies Needed to Make a Paper Mache Snowman:
- Burnt Out Light Bulb
- Newspaper
- Paper Mache Paste
- White Paint
- Scrap Piece of Flannel
- 3 Small, Black Buttons
- Small Piece of Orange Craft Foam or Felt
- Black Paint
- 2 Small Twigs
- Craft Glue
Tools Needed:
- Paint Brush
- Scissors
The first thing you need to do is to rip newspaper pages into strips that are about an inch wide and 3- to 4-inches long. You want to rip the strip instead of cutting them because the torn edges lie smoother when you are paper maching. Mix up a batch of my paper mache paste.
I am not 100% sure what I was thinking by not taking pictures of the actual paper mache process for this snow man. The only saving grace is that paper mache is really quite easy.
You pick up one newspaper strip at a time and dip it in the paper mache paste. Run the strip of paper between your fingers to squeeze off any extra glue and then smooth it onto the light bulb. While you are lying strips on the light bulb, make sure they overlap and even go different ways.
If you want to see some step-by-step pictures of the paper mache process, check out this paper mache turtle that I made.
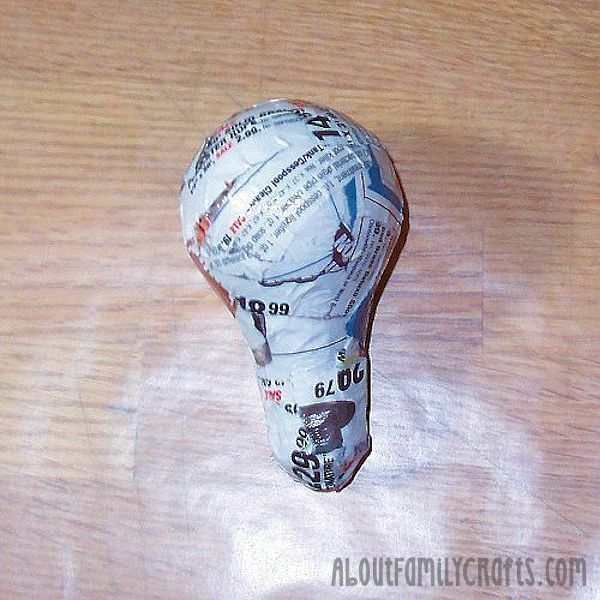
The only real trick, besides making sure the strips overlap going in all directions, is to cover the light bulb with at least 3 layers of paper mache. Make sure you let each layer dry before you add another one.
Once you have your light bulb covered with at least 3 layers of paper mache and are satisfied with how it looks, you are ready to transform it into a snowman.
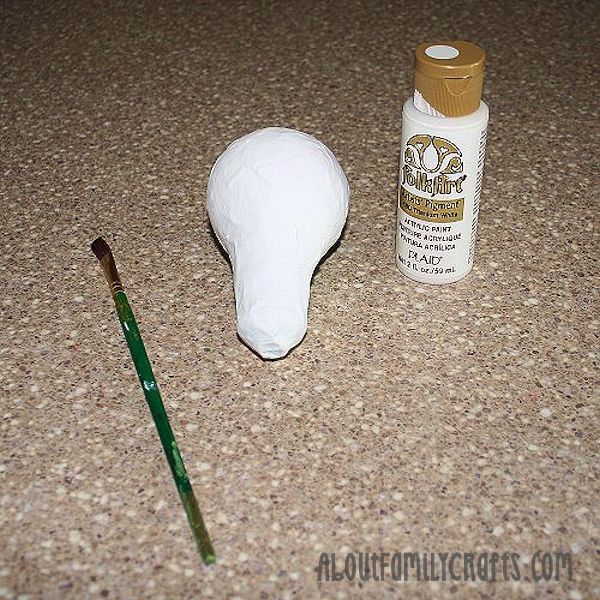
Start off by painting the paper mached light bulb white. You might have to paint on a few layers to get good coverage. Let the paint dry.
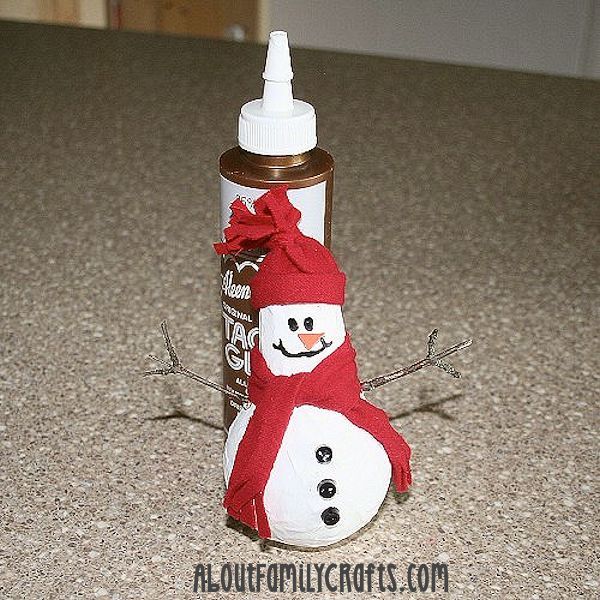
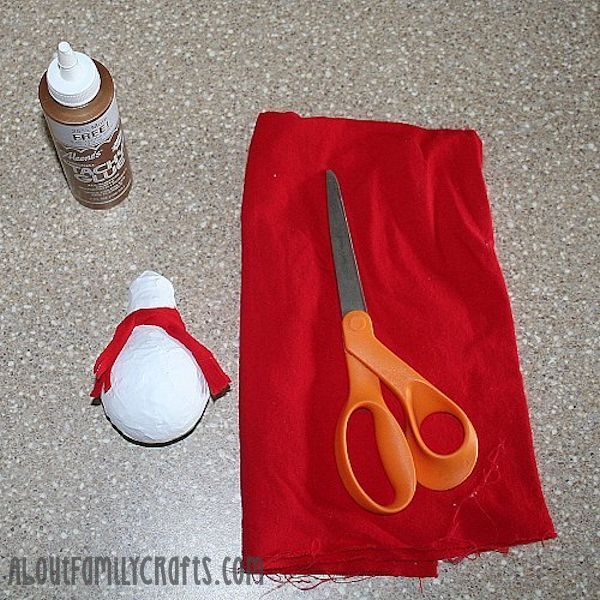
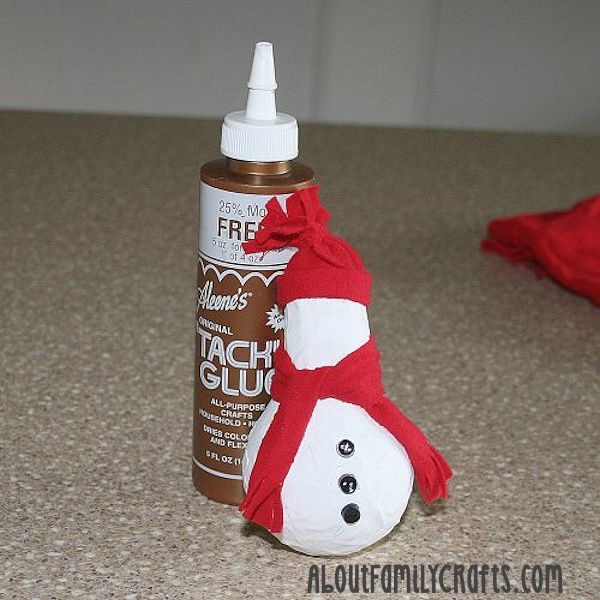
Cut a strip from your scrap flannel — it should be about 8-inches long and almost an inch wide. Cut some fringe on each end and then wrap it around the neck of the light bulb and glue it in place.
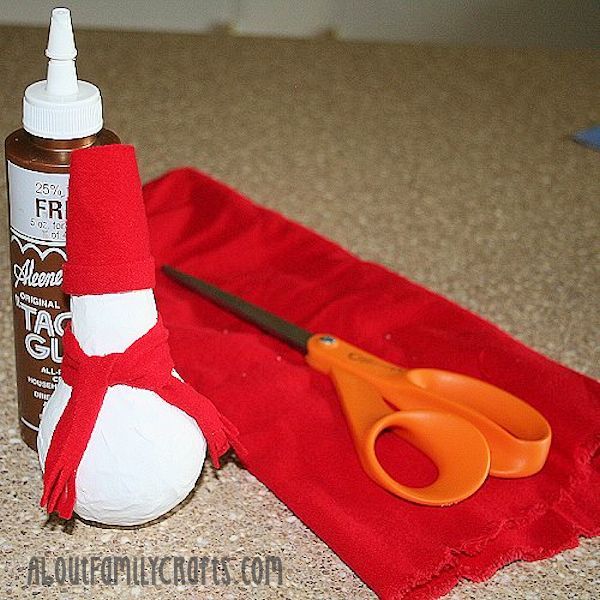
Cut another piece of flannel that is about 3-inches wide and 2 1/2-inches tall. Fold up one of the long edges about a half inch and then glue that edge around the tip of the light bulb, which will be the snowman’s head. The fabric will overlap a little bit when you glue it in place.
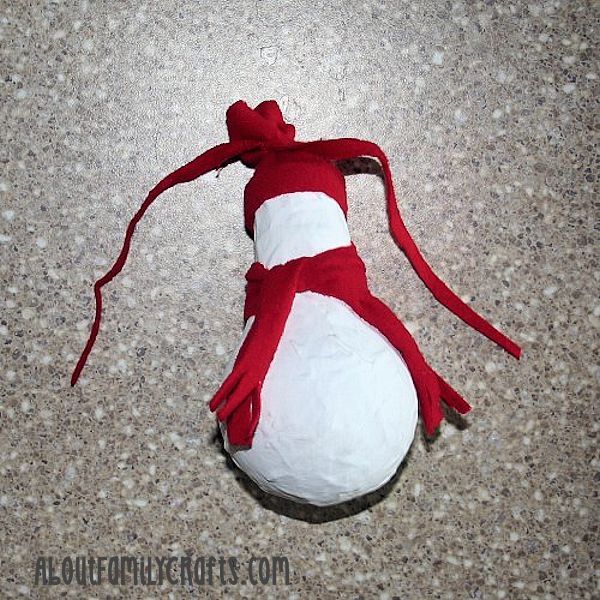
Cut a thin strip from the flannel. Make sure it is long enough so you can easily tie it. Tie this around the top of the hat.
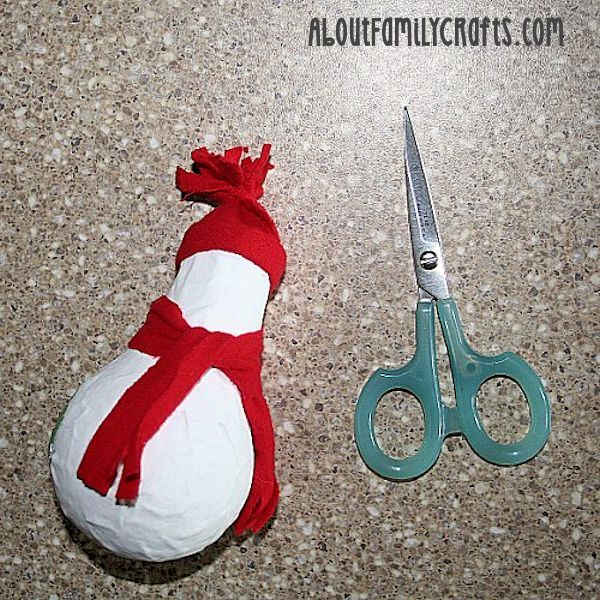
Cut off the extra on each end of the strip you tied around the hat. Now, use a sharp scissors to cut fringe in the fabric that is above the knot you tied.
Use good craft glue to attach 3 small buttons to the snowman’s belly.
Cut a small triangle from a piece of orange craft foam or felt. Glue it in place in the middle of the snowman’s face. Use black paint to make two dots for the snowman’s eyes and also paint on a smile.

Finally, use your craft glue to attach the two sticks to the snowman so they look like arms. Let the glue dry and your snowman is ready to display.
I would suggest adding a loop using thin ribbon and hanging it up.