
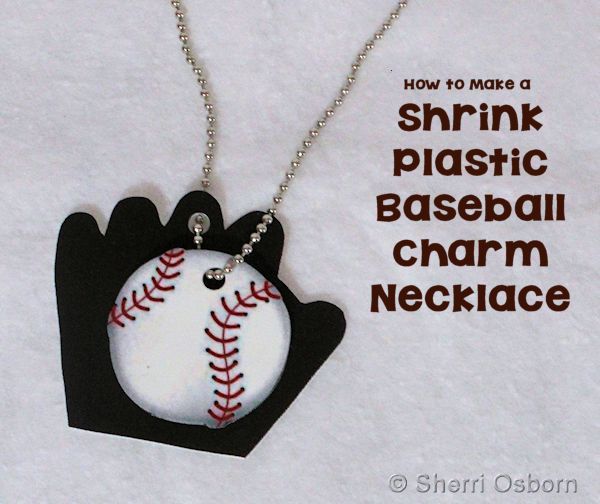
This is a fun project to make for a baseball fan, whether that fan is you or someone else. You can create these baseball charms to use in a necklace, like I did, or you can make it a keychain or a zipper pull if you prefer. To personalize it, you can write the jersey number of your favorite player in the center before you shrink the plastic.
Supplies You Need:
- White Ink Jet Shrink Plastic
(affiliate link)
- Ball Chain Necklace
- Parchment Paper
Tools You Need:
- Computer and Printer
- Scissors
- 1/2-Inch Circle Punch
- Cookie Sheet
- Oven
Start off by downloading the mitt and baseball template I have created. You should simply be able to click on this image to see the full sized version and then save it to your computer. (Note from Sherri: You may notice that the brown on the mitt on this image looks lighter than the brown on my finished charm necklace. I intentionally lightened the brown on the image you will print out because the ink will darken white it shrinks.)
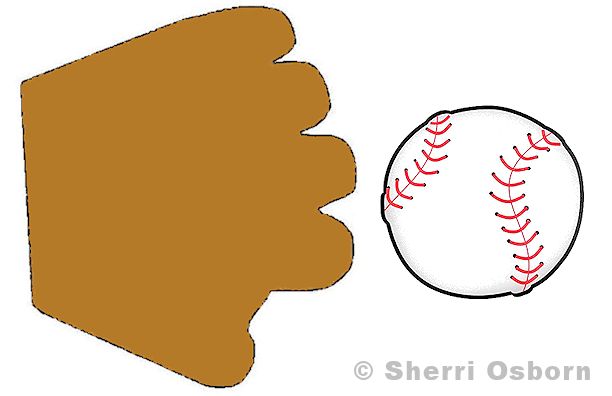
The image measures 8.5-inches wide by 5.5-inches tall. I designed it to fit on a half a sheet of paper. You can adjust the print size if you like; just keep in mind that the design will shrink by about 50 to 60 percent.
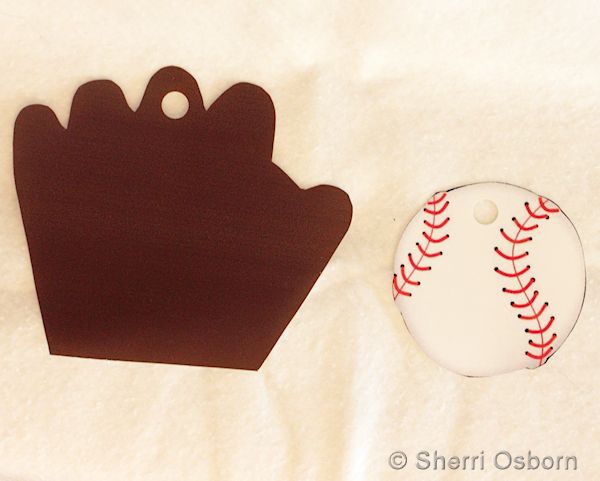
Print out the template and let it sit until the ink is completely dry. Cut out the mitt and the baseball. Use the circle punch to make a hole near the top of each piece. At this time, you can personalize your templates if you like.
Heat your oven to 325 degrees. Line the cookie sheet with parchment paper. Place your mitt and baseball onto the cookie sheet. Make sure they are about 3-inches apart because they will curl up and maybe even flip over while they shrink.
Place them in the oven and watch them closely. It should take only 2 to 3 minutes to shrink. They will start out by curling up and then they will flatten out again as they shrink. Remove the cookie sheet from the oven when they are done shrinking. Let them cool. (Note from Sherri: Make sure you read the directions on the package that your shrink plastic came in and follow those if they are different from mine!)
Once your charms are cool, they are ready to use. Simply string a ball chain through the hole or finish and other way you want. You might also want to make a Go Team treat holder.
Disclosure: As noted above, this post contains affiliate links. See my disclosure policy for details.


12 comments for “DIY Baseball Charm Necklace”