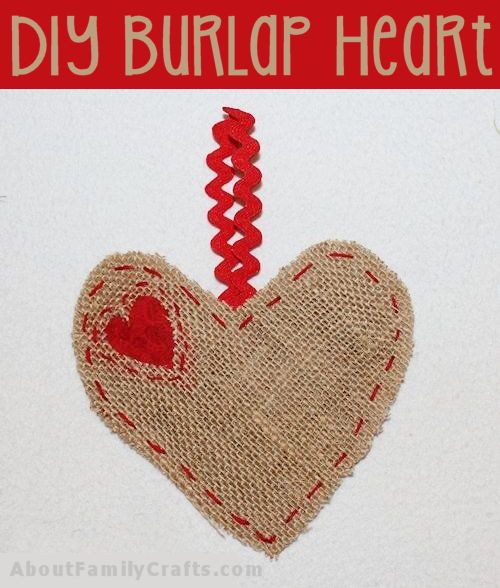
Follow the directions in this tutorial and you can make this cute heart decoration that is stuffed with sweet smelling potpourri, spicy cinnamon sticks, or you can use up your burlap scraps. This makes a wonderful decoration and a great gift for many different occasions, including Valentine’s Day, Mother’s Day, and Christmas.
If you don’t like sewing or have never tried it, don’t let the hand sewing in this project scare you away from making this simple heart. It doesn’t take much more time to do this running stitch than it does to glue the fabric together. You also don’t have to worry about making perfect stitches; uneven stitches give the heart much more character. This is a wonderful sewing craft for kids to try.
Supplies You Need to Make a Burlap Heart Hanger:
- Piece of Burlap
- Piece of Red Fabri
- Red Embroidery Floss
- Potpourri or Cinnamon Sticks (Optional)
- Rick-Rack, Ribbon, or Twine
- Craft Glue
Tools You Need:
- Sewing Needle
- Scissors
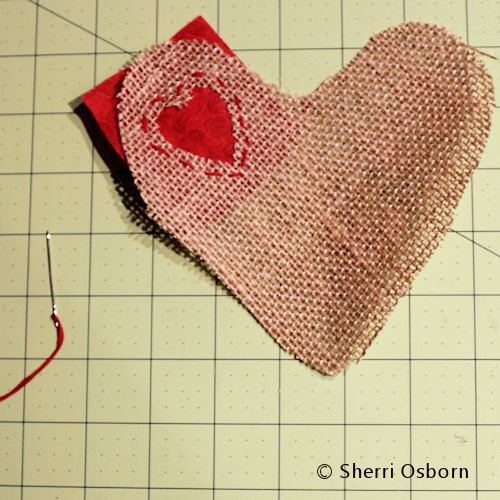
Start out by cutting a heart out of the burlap. I cut my heart so it was approximately 6″ x 6″, but you can cut yours any size you like. If you want to use a pattern to cut out your heart, download and print out this heart template:
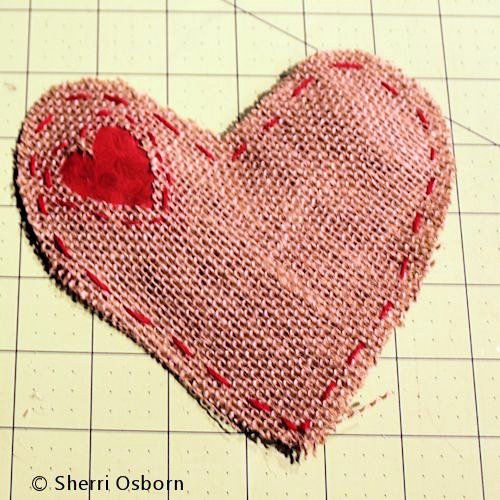
Next, cut a small heart into one of the bumps on the burlap heart. Cut a piece of red fabric that is big enough to fit behind the small heart cut-out. Use a needle, threaded with 4 strands of red embroidery floss, to sew the fabric to the burlap. Use a simple running stitch about a 1/4 of an inch from the edge of the heart cut-out. When you are done sewing, tie off the threads on the back of the fabric, and then trim down the fabric as close to the stitching as you can get. Trim down the fabric so it is about a 1 / 4 of an inch out from your stitches.
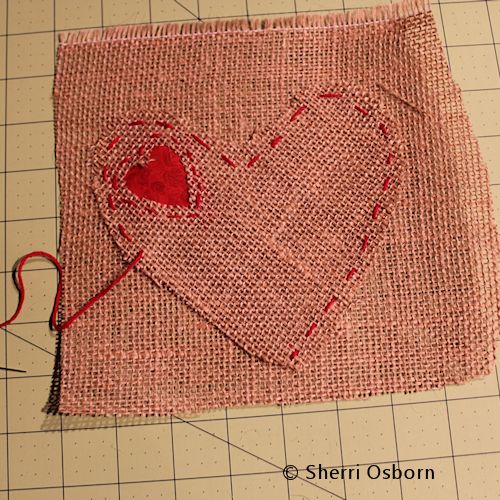
To make the back of your burlap heart (so you can stuff it), simply cut a square of burlap that is about an inch bigger on all sides than your heart. Using the needle, again threaded with 4 strand of embroidery floss, sew the heart to the square piece of burlap. You should use a dab of glue to secure the knotted end of the embroidery floss on the back of the heart so it doesn’t slip through the larger holes in the burlap. Use a running stitch about a quarter of an inch from the edge of the heart. The stitches do not have to be even, you want them to look a little scrappy.
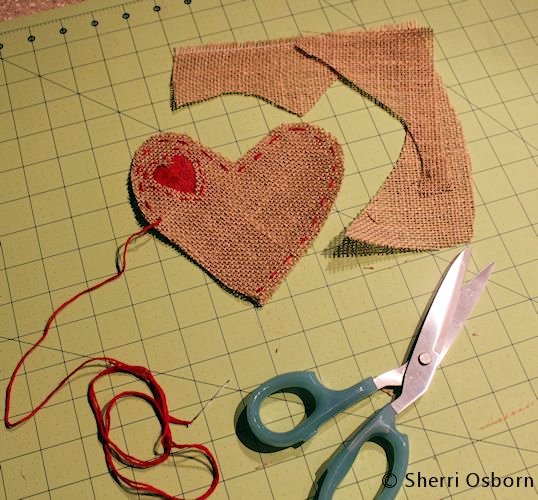
Leave an opening that is about 2-inches wide that you can use to stuff the heart. Leave the needle and thread in the heart so you can easily close up the heart after you are done with the next step. Before you stuff the heart, use a pair of scissors to trim away the extra burlap so it is also a heart shape. Make sure you don’t cut your extra embroidery floss that still has the needle on it.
You can now stuff your heart. If you want to use it as an air freshener, stuff it with sweet smelling potpourri or cinnamon sticks. If you don’t have either of those available, you can even cut the burlap scraps into small pieces and use them to stuff the heart.
Use the needle and thread to finish sewing the heart closed. Tie the thread on the back of the heart. Use a little bit of glue to secure the thread ends on the back of the heart so they don’t pull through a hole in the burlap.
Cut a piece of rick-rack, ribbon, or twine and glue it to the back of the heart to use as a hanger. Let the glue dry and your burlap heart is done. If you make this heart craft, make sure you share it with everyone on the Family Crafts facebook page or on Pinterest.
If you are looking for even more easy burlap crafts, check out these projects:
- My Burlap Envelope Craft
- My Burlap Egg Craft
- My Burlap Heart Ornament
- How to Make a Burlap Wrapped Letter
- How to Make Burlap Flowers
- How to Print on Burlap
- How to Make a Burlap Owl
I hope you enjoy visiting these links as much as I did. If you visit any of these links, make sure you leave a comment and tell them Sherri from Family Crafts sent you!




2 comments for “DIY Burlap Heart”