
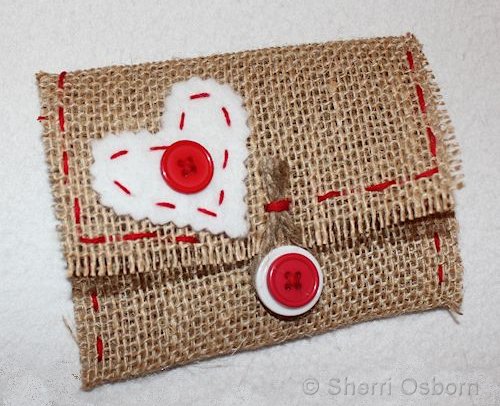
Discover how easy it is to make a whimsical envelope using a strip of burlap, some felt, and a couple of buttons. I made this envelope to hold a gift card, but you can easily adjust the measurements to fit a large greeting card or just about any other flat item. I think maybe I am on a burlap and heart kick, considering it wasn’t that long ago I made this burlap heart hanger and don’t forget about this burlap Easter egg.
Start out by gathering together all of the supplies you will need to complete this project.
Supplies You Need:
- Burlap (the amount you need will depend on the size of your envelope)
- Spray Starch
- Embroidery Floss
- Felt
- Jute Twine
- Craft Glue
- Buttons
Tools You Need:
- Scissors
- Ruler
- Iron
- Pinking Shears
Measure the width and height of the card or item you will be putting in the envelope. Add about an extra one and a half inches to the number that will be the width of your envelope. Multiply the height of the envelope by 3. This is the size you will want to cut your burlap piece to. The piece I cut for the gift card was approximately 4 1/2-inches by 9-inches. But wait, don’t cut yet!
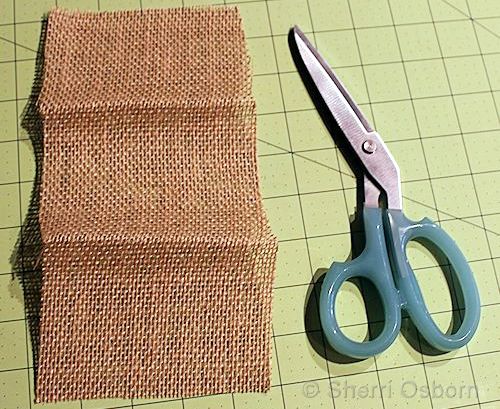
Before you cut your burlap piece, spray both sides with spray starch and iron it. Not only does this make the burlap easier to work with, it can help minimize fraying. Once ironed, cut your piece to size. Now you need to iron it again. This time, you should fold it into thirds, lengthwise, and press it.
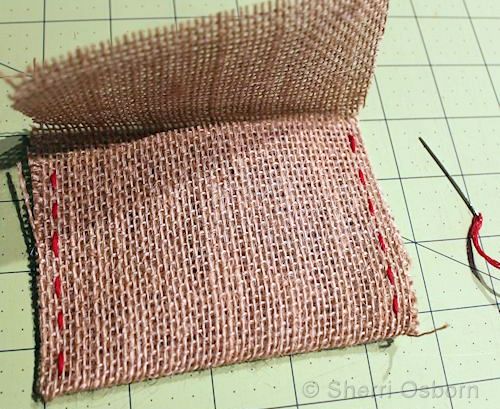
Thread four strands of the embroidery floss onto the needle. Fold up the bottom flap of the burlap piece. Sew up each side to make a pocket that will hold the gift card (or whatever you will be putting in it). I would suggest hiding the knots on the inside of the pocket. Use a small dab of glue to hold the knotted ends of the embroidery floss in place so they don’t end up pulling through a hole in the burlap.
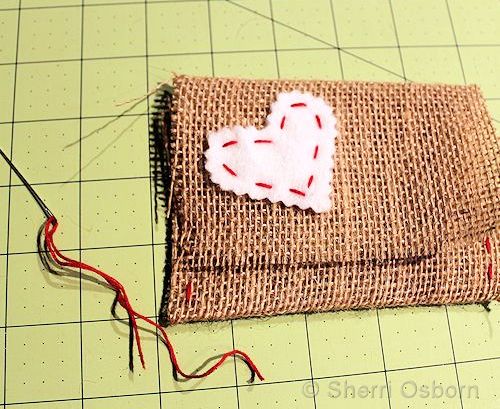
Cut a small heart shape out of felt using pinking shears (of course, you can cut a different shape if you prefer). If you don’t have pinking shears, you can use regular scissors. Position it where you want it on the top flap of the envelope. Use a large running stitch to sew the heart to the flap. Once again, you can put a small dab of glue on the knotted ends of the embroidery floss to make sure they stay in place.
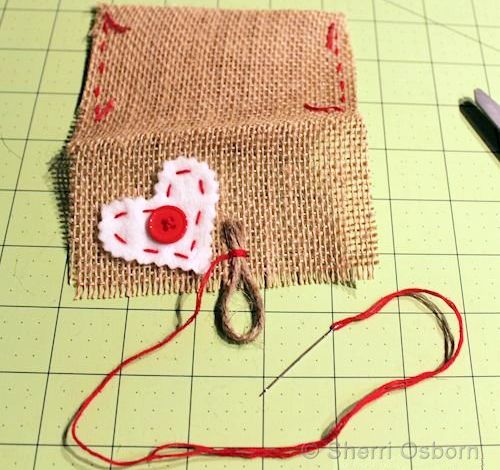
If you would like to add a little extra ‘something’ to the felt heart, you can do what I did and sew a button onto the center of it. Of course, this is optional — you can leave it plain if you prefer.
Cut a piece of jute twine about 4-inches long. Fold it in half and use the needle and embroidery floss to attach it to the top flap of the burlap envelope. Use some glue, once again, to secure the knotted ends of the embroidery floss. You may need to adjust the length of your jute twine and the size of your loop depending on the size of you button you will be sewing onto the pocket.
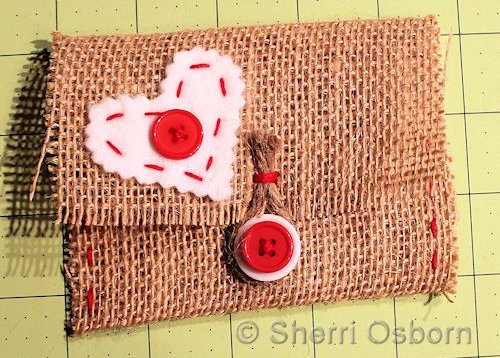
The final step in making this envelope is to attach the button (or buttons) for the loop. Hold it in place and sew it on using the needle and embroidery floss. I stacked two buttons together and I love that look. How about you?