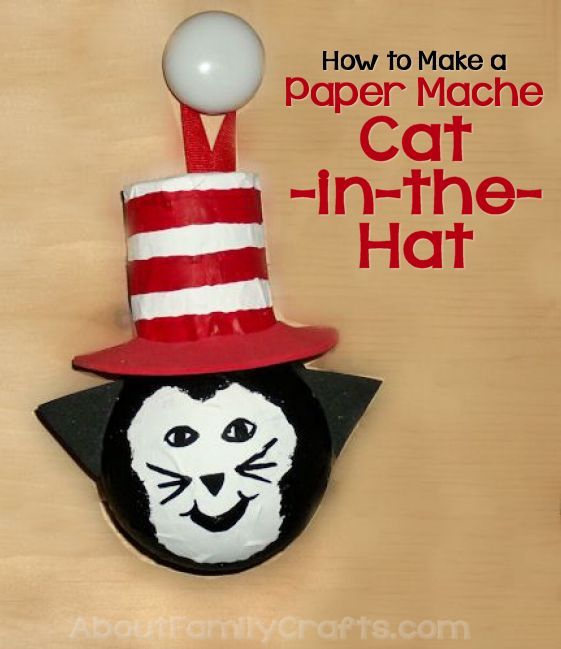
When I was trying to come up with a project in honor of Dr. Seuss’ birthday (celebrated on March 2nd), my first thought went to one of my favorite Seuss books, The Cat In The Hat. Once I decided on what to make, I had to figure out what to make it out of so I pulled out the box of recyclables I keep in my crafts room to see if I could find inspiration there. When I saw a burnt out light bulb, I decided it was the perfect shape to make the Cat in the Hat character.
Supplies Needed to Make a Paper Mache Cat in the Hat:
- Burnt Out Light Bulb
- Toilet Paper Roll
- Masking Tape
- Newspaper
- Paper Mache Paste
- Paint
- Craft Glue or Hot Glue sticks
- Black and Red Craft Foam
- Ribbon
Tools Needed:
- Scissors
- Pen
- Paint Brush
- Hot Glue Gun
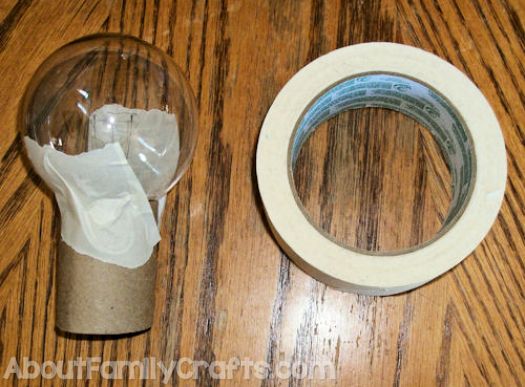
The first thing you need to do is make the Cat in the Hat shaped base to paper mache. To do this, I trimmed the toilet paper roll to be 2- to 3-inches tall. I set it over the end of the light bulb and I used masking tape to hold it in place.
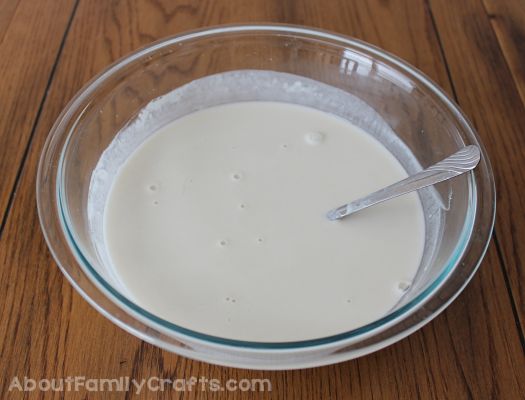
Once you have the toilet paper roll in place, set this aside and mix up a batch of paper mache paste. I use a simple mixture of one cup of flour mixed with 1 1/2 cups of water. If you want to learn more about making paper mache paste, take a moment to visit my How to Make Paper Mache Paste tutorial. You will also want to rip up several small pieces of newspaper.
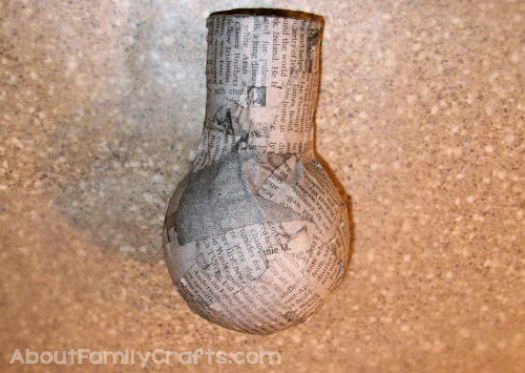
Dip a piece of torn newspaper into the paper mache paste and lay it on the light bulb toilet paper roll base. Continue this until the entire thing is covered. Make sure the newspaper pieces overlap. I find it is bet to work over wax paper — this helps contain the mess and also you can lay the wet paper mache covered base on it to dry and it shouldn’t stick.
Let the paper mache layer dry and then add another thin layer. Continue adding layers until you get a nice smooth base to work with.
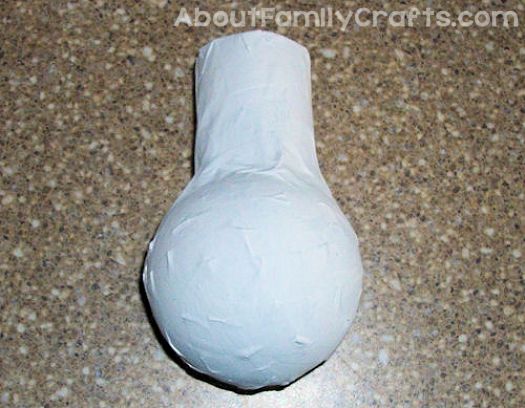
When the paper mache is all dry, paint the entire light bulb and toilet paper roll creation white. It will probably take a few layers to get a good coverage. Let the white paint dry.
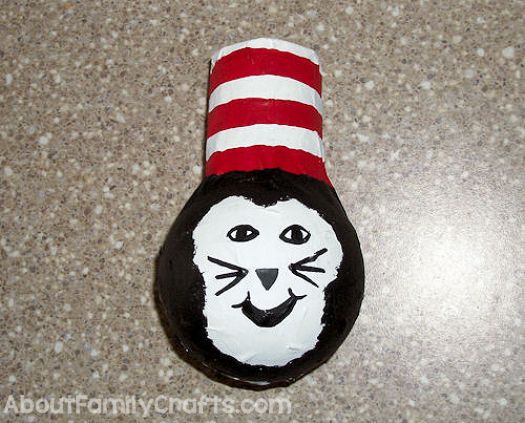
Now you can use red and black paint to make the light bulb look like a black cat with the red and white striped hat. I used paint to make all of the cat’s facial features but you could use other craft supplies if you like.
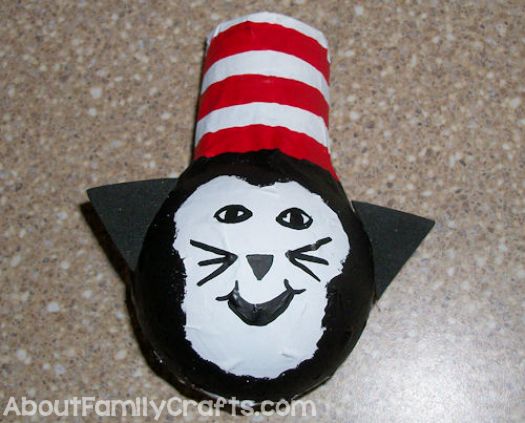
Let the paint dry. Cut two small black triangles out of black craft foam. Glue them to either side of the cat’s head to be ears.
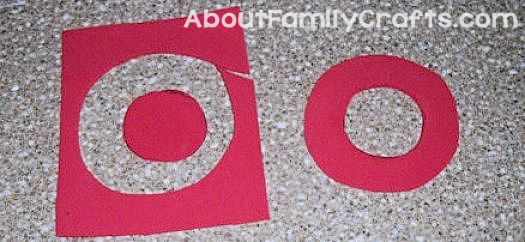
Next, we will make the hat brim. Start by cutting a 3-inch circle out of red craft foam. Hold the painted light bulb, hat side down, in the center of your red craft foam circle. Trace around it. Carefully cut out that circle. You should now have a red donut shape.
To put the brim in place, simply slip it over the top of the hat and slide it down. Use a little glue to secure it if you like.
Finally, cut a piece of ribbon that is 8- to 10-inches long. Fold it into a loop shape and glue it to the back of the hat.
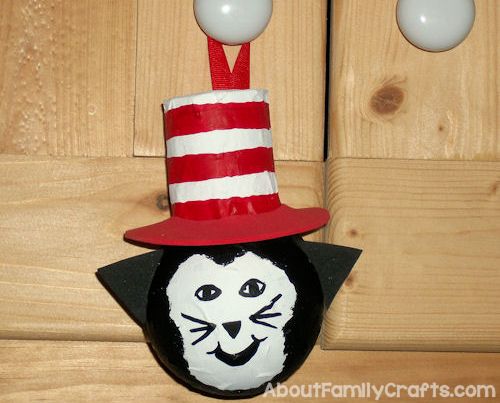
Your paper mache Cat in the Hat craft is now done! You can hang it in a window or anywhere else you like. Of course, you don’t have to add a loop for hanging… If you prefer, glue it to a dowel and use it to decorate a plant.


1 comment for “Paper Mache Cat in the Hat”