
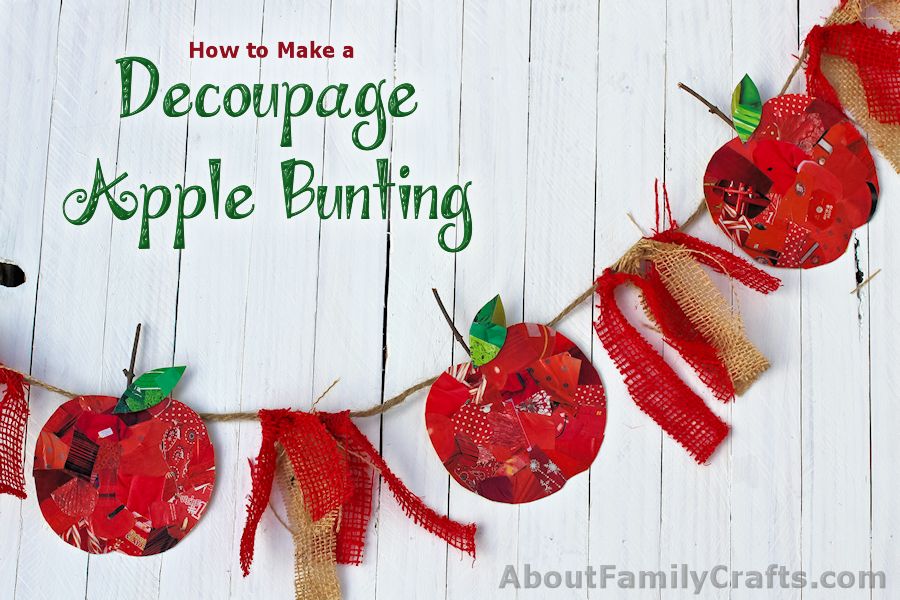
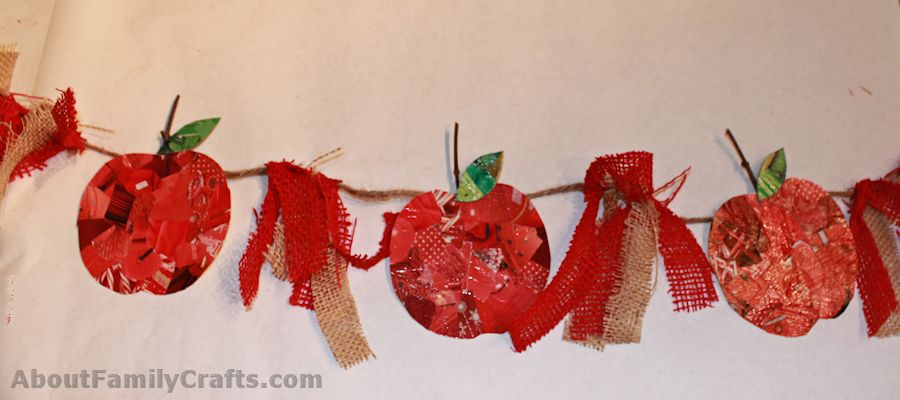
This apple bunting project was made as part of my catalog craft challenge. Can you tell that the apples on this decorative bunting are made using pieces cut out of catalogs?
While I do craft challenges often, this one is a little different. I took this craft challenge a step farther than any of the others by joining with some other creative bloggers to see what we could all come up with. Make sure you scroll all the way to the bottom of this tutorial to see what they came up with!
When I was trying to decide what to make, I let the season be my guide… The cool autumn mornings and the site of ripe apples on our apple tree helped me come up with this projects (and the pumpkins growing in my garden inspired me to make this fun decoupage catalog page pumpkin treat cup). I hope this tutorial helps to inspire you to recycle and decorate for autumn at the same time!
Supplies Needed to Make an Apple Bunting:
- Plastic or cardboard (see my notes below)
- Catalogs and/or Magazines
- Mod Podge
- Small Twigs
- Hot Glue Sticks
- Twine
- Burlap
Tools needed:
- Scissors
- Foam Brush
- Pen
- Hot Glue Gun
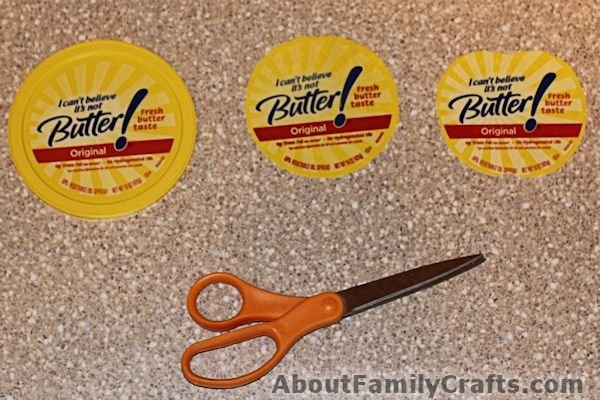
When I decided to make this apple bunting, I tried to find something I could recycle to use as the apples. It didn’t take me long because I looked through the bucket of clean recyclables I keep in my craft room and, sitting right on top, were the lids that were left over from the Margarine Tub Craft Challenge I did a little while ago.
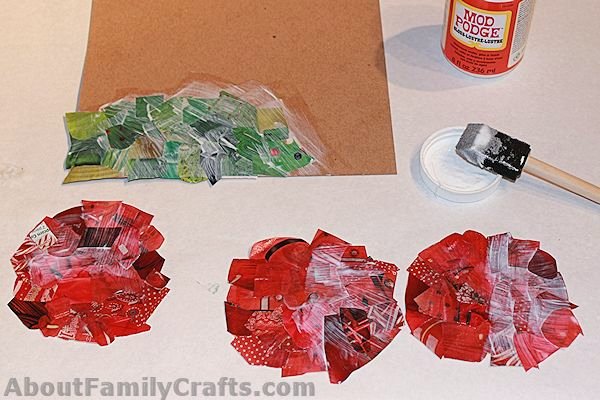
The first thing I did was cut the plastic lids into an apple shape. This was easy as I cut off the edge (and saved it for another possible craft) and then cut a small dip in the bottom and a large dip in the top. While I used the margarine tub lids, you could also use cardboard or anything else you can cut into an apple shape.
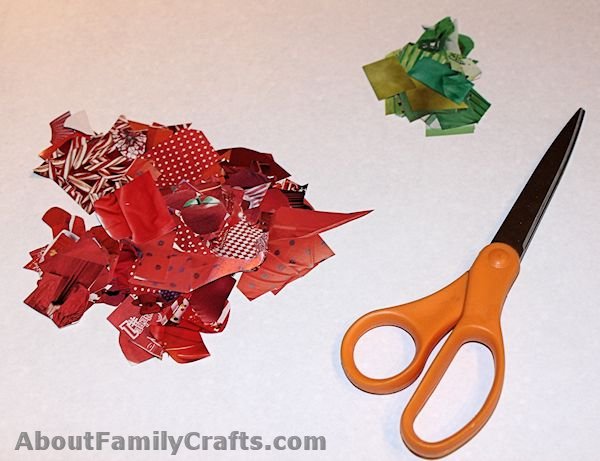
Once you have your apples cut out, you need to start paging through the catalogs and/or magazines. Cut out anything red you find. Most of my pieces were pretty small, but I think that just makes the apples more interesting! You can use different shades or red and even different textures.
You will also want to cut out some green pieces to use as apple leaves.
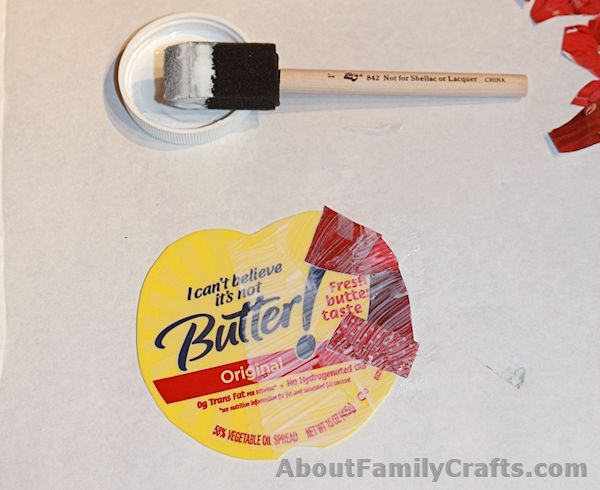
Cover your work surface and then you can start working with the Mod Podge. I found it was easiest to work on half of an apple at a time. Spread some Mod Podge on half the apple. Place a piece of red catalog page on the Mod Podge and then spread some Mod Podge over the top of it. Place a second red piece on the apple, overlapping the first one a little bit. Brush over the top of that piece with a little bit of Mod Podge.
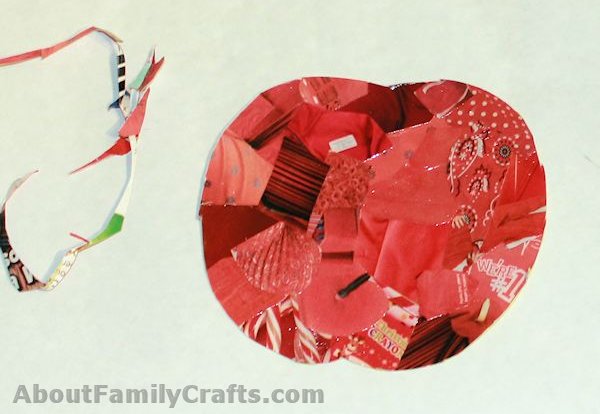
When you are working near the edge of the apple, it is okay to let the paper hang over the side a little bit. This is easily trimmed later.
Continue adding red pieces until the entire front side of the apple is covered. Set these aside to dry.
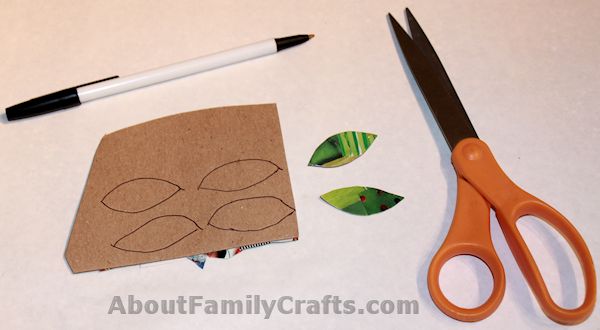
At this time, you will want to grab a piece of cardboard to decoupage the green catalog pieces onto. Do this the same way you did the red. I made mine big enough to cut 6 leaves out of (two for each apple I made) but then I ended up only using one leaf for each apple. Set this aside to dry also.
Make sure the apples are completely dry and then trim off all of the extra pieces hanging over the edge. You can even trim away a little more of the plastic at this point to get the desired shape and size.
Grab a pen, flip over the cardboard piece you decoupaged green and draw some leaf shapes. As I mentioned previously, I originally made 2 for each apple but ended up only using one. My leaves were about an inch and a half long; but you can make yours whatever size you want.
Cut out the leaves.
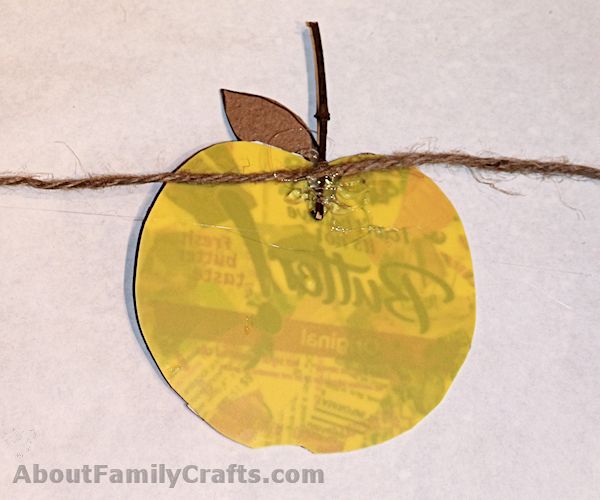
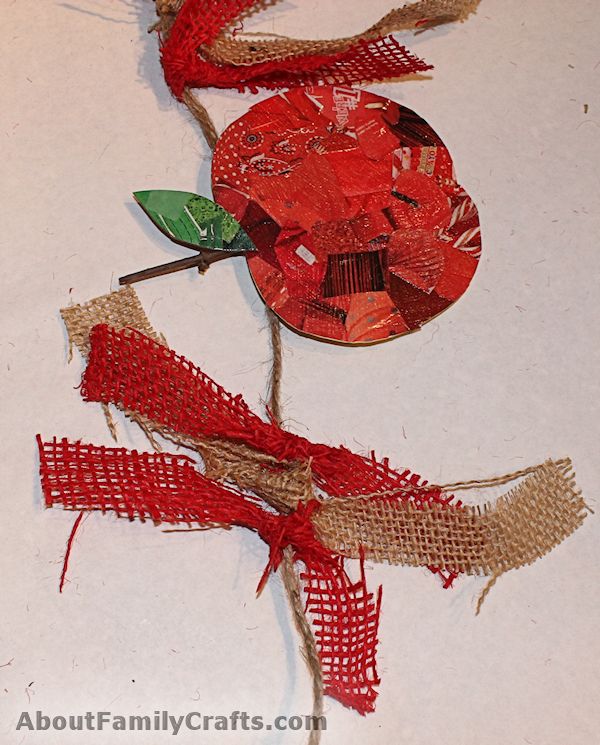
Plug in your hot glue gun! Go outside and find small twigs, you will want a 3-inch long twig for each apple. Flip your apples upside-down and glue a twig to the back, top of each one. Let the glue cool.
Flip the apples over so the right side is up and glue a leaf to the top near the stem.

You need to determine how long you want your piece of twine to be. This will depend on how many apples you make and also where you plan on hanging it. Make sure you add a couple of extra feet when you cut it just to make sure you have enough.
Evenly space the apples on the twine and then use a hot glue gun, and a generous amount of glue, to adhere the twine to the back, top of each apple.
We are almost done! Actually, you can keep your bunting as is, with just the apples, but I wanted to add just a little something extra. I happened to have both red and natural-colored burlap on hand so I cut several strips of each. Each strip was about 10-inches long.
I tied three pieces of burlap in between the apples and also on both ends. I used twice as many red pieces as I did the tan.
After I had tied on all of the burlap pieces, I trimmed them a little bit and then apple bunting was done and ready to hang! I was pleased with how it turned out… What do you think of it?
Before you run off to make your own catalog apple bunting, make sure you check out these links. See what my blogging friends have made for this catalog crafts challenge!
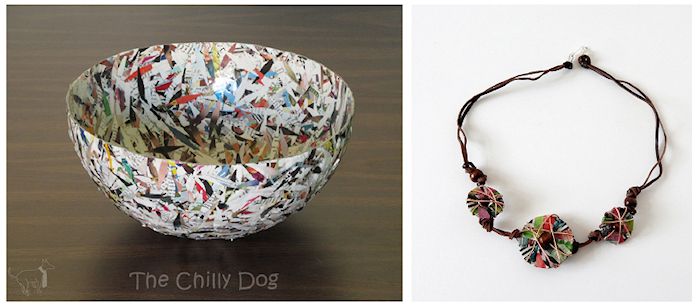
Ellen from The Chilly Dog made a fabulous bowl using strips of catalog pages — See Ellen’s Tutorial.
Teena from Serendipitini created an amazing necklace out of catalog pages — See Teena’s Tutorial.


6 comments for “DIY Recycled Apple Bunting”