
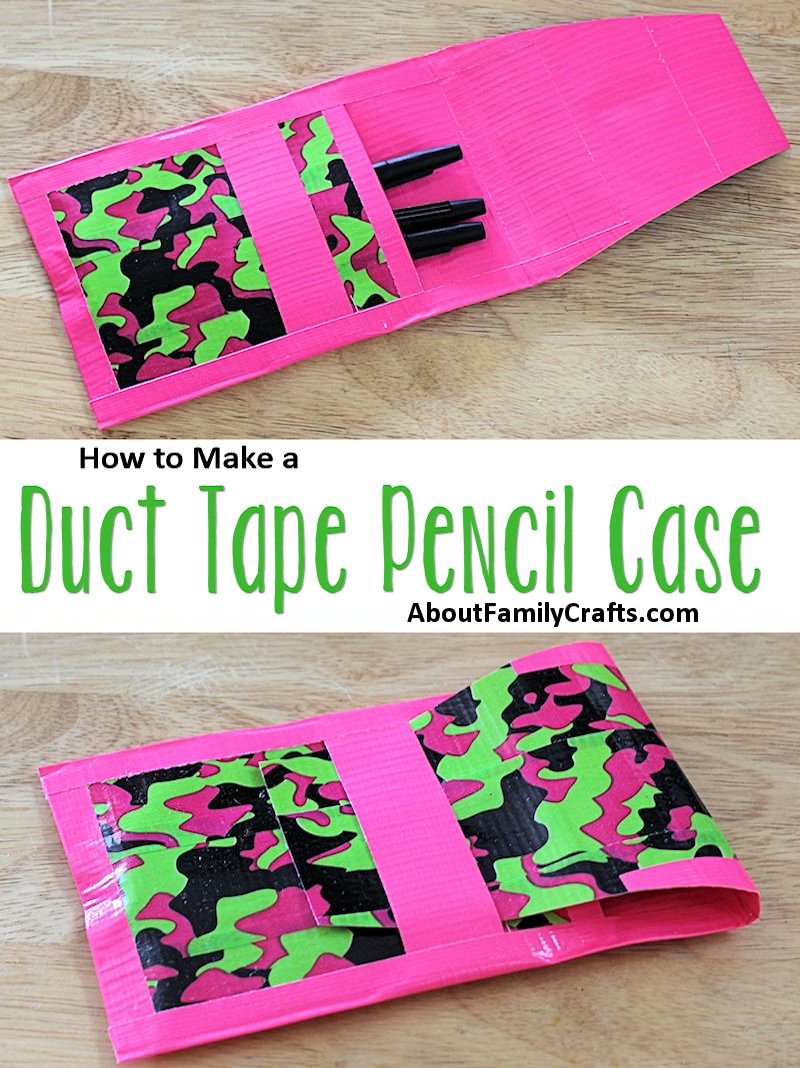
Using duct tape is a great way to personalize back to school supplies, like I did with my Duct Tape Notebook. You can also use duct tape to create your own back to school supplies, like I did with this duct tape pencil case — although maybe I should call it a wallet. Do you think it should be called a case or a wallet?
With all of the amazing duct tape colors and designs on the market these days, the creative possibilities are endless. You can make a different duct tape pencil case for every day of the week!
Supplies Needed to Make a Duct Tape Pencil Case:
- Duct Tape
- Pens and/or Pencils
Tools Needed:
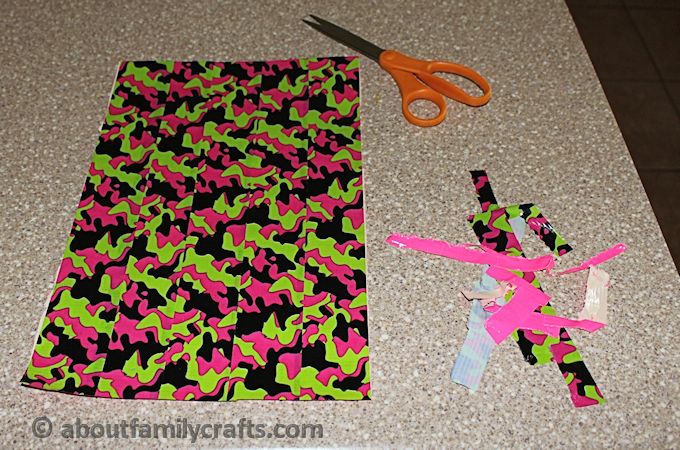
- Scissors
- Ruler
- Cutting Mat (Optional)
- Rotary Cutter (Optional)
The first thing you need to do is make a duct tape sheet. This is similar to a sheet of paper but it is made purely of duct tape.
My finished duct tape sheet was approximately 9-inches wide by 12-inches tall. Be warned though, I actually shorted myself with these measurements! The 12-inch height worked okay for pens, but by the time I folded over the top flap, it was too short for pencils! I suggest making a duct tape sheet the measures about 9-inches x 15-inches.
Decide what color of duct tape you want to use for the inside of your pencil case.
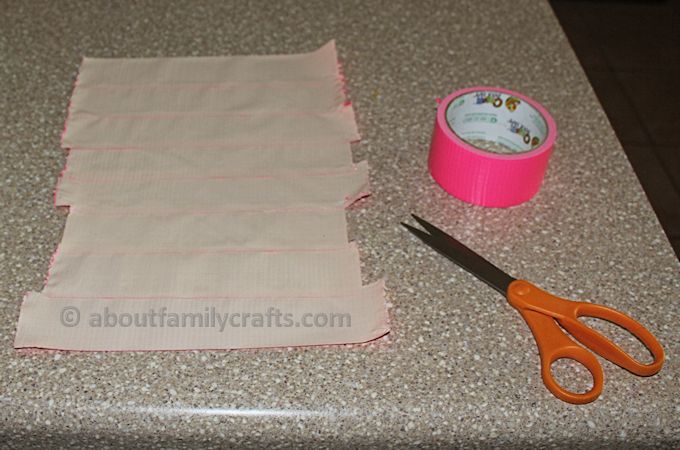
Cut or rip several piece of duct tape so they are about 10-inches long. Lay these, one piece at a time, sticky side up on your work surface. They need to slightly overlap. I used 8 pieces of duct tape to make my sheet, but I suggest using a few more so you can make sure your flap is long enough.
Once you have the bottom of your sheet made, you can start on the top. Decide what color you want the outside of your pencil case to be.
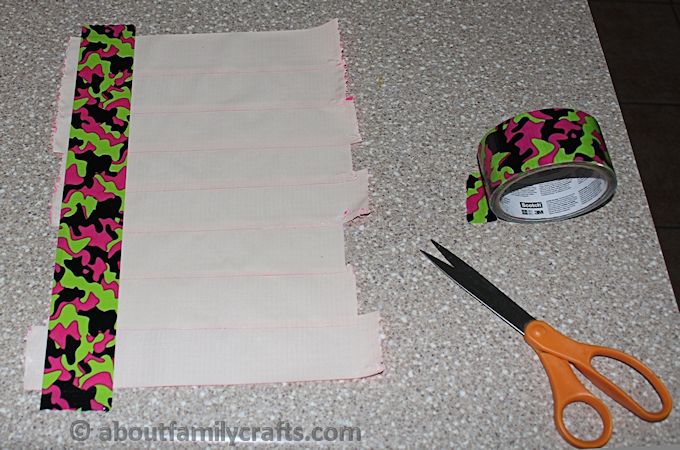
Start cutting or tearing pieces of duct tape that are long enough to fit the height of your bottom sheet. These strips will be laid perpendicular to the pieces of tape on the bottom sheet.
Keep laying pieces of tape over your bottom sheet, slightly overlapping, until the entire bottom sheet is covered.
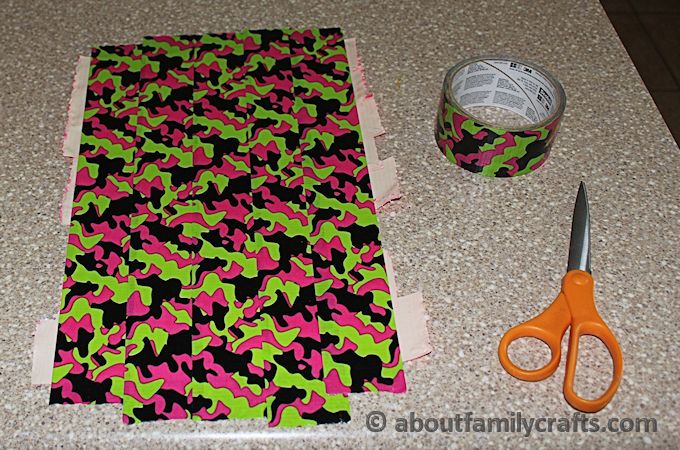
Once you have it all covered, use the scissors to trim the sticky edges off the duct tape sheet.
The next step is to cut your duct tape sheet into the two pieces you will use to make your pencil case. You can use a ruler and pen to mark the cut lines on your duct tape sheet to cut with a pair of scissors or use a ruler, rotary cutter, and cutting mat. I have a rotary cutter dedicated to anything that is not fabric so that is the route I took.
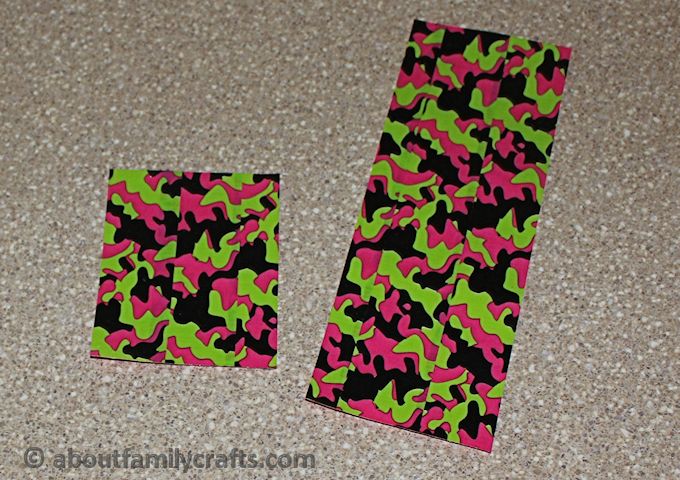
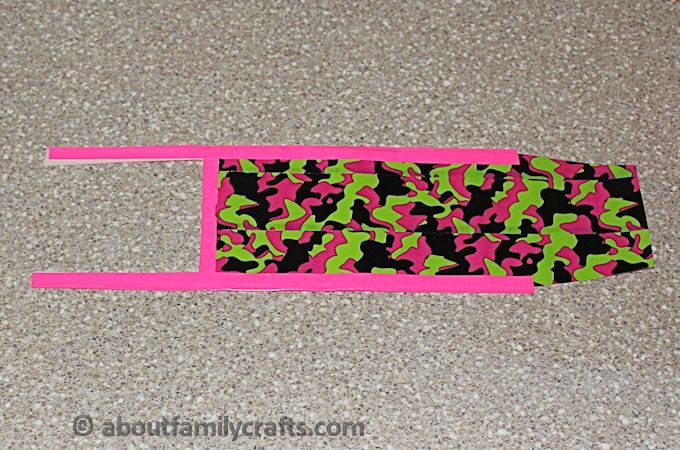
You need three pieces — one will be the front of the case, one will be the back, and the third will be the flap strap (this piece is not pictured). Cut the front piece so it is 4-inches wide and about 5-inches tall. The back of the case will need to be about 3 times taller than the front. As I mentioned before, mine was about 12-inches tall and pencils were too tall for my finished pencil case (but pens fit perfectly). I suggest cutting your back piece 4-inches wide by about 15-inches tall. The piece for the flap strap should be cut to measure 1-inch tall by 4-inches wide.
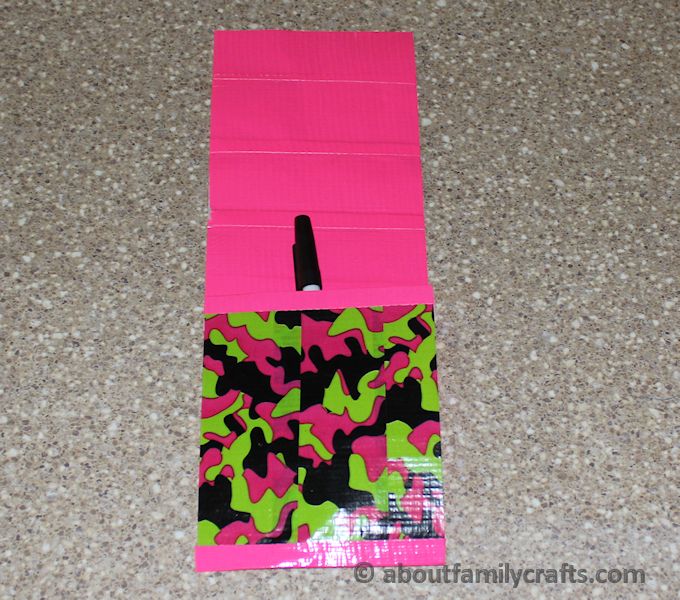
Lay the back piece on your work surface with the design you want to be on the outside down. Lay the top piece on top of the back piece, lining up 3 of the 4 edges as well as you can.

Cut a piece of duct tape that is a few inches longer than the bottom of the pencil case. Cut the piece of tape in half lengthwise. Use one on on the halves to tape the bottom edge together, folding it up evenly on both sides. Save the other piece for the next step. Trim the ends so they are flush with the sides of the pencil case.
Use the leftover half of the duct tape piece to finish the top edge of the front piece of the pencil case.
The flap of the pencil case will need to be a little thinner than the body of the pencil case so it fits under the strap you will be adding next. Use your scissors to taper the top sides of the pencil case, trimming off about a half inch on each side.
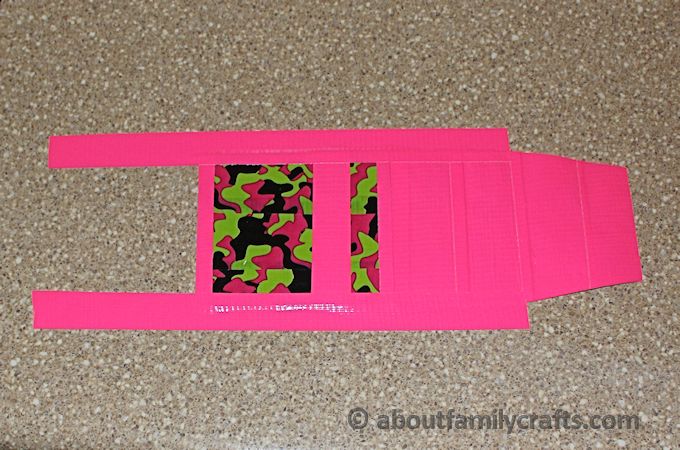
Set your pencil case, front side up, on your work surface. set the flap strap on top of the front piece, about an inch down from the top edge. Cut yourself a piece of duct tape that is about 12-inches long. Cut this piece in half lengthwise. Use these two pieces to attach the strap flap to the front of the pencil case and to seal the sides of the case.
Flip the pencil case over and fold up the tape. Trim the tape so it is flush with the edges of the pencil case. You can now fill your pencil case with pens or pencils. This case will hold about 6 to 8 pens/pencils.

To close your pencil case, simply fold the top piece over the pens and pencils and tuck it under the flap strap. Don’t be surprised if you need to taper the flap edges a little more.

How can you see why I am tempted to rename this project to be a pen or pencil wallet instead of a case? What do you think?


1 comment for “How to Make a Duct Tape Pencil Case”