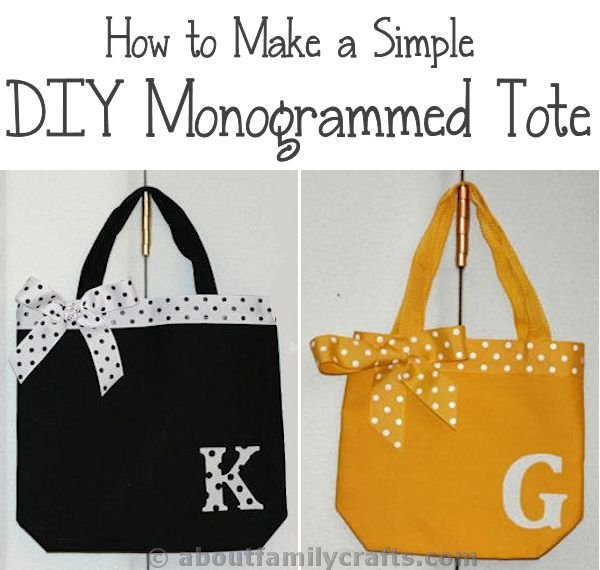
Lately, it seems I have been seeing a ton of monogrammed projects on Pinterest and other social media, and I was reminded of a fast and simple monogrammed project I made for my daughter’s wedding. She had bought her maid-of-honor, bridesmaids, personal attendant, and flower girl a bunch of small thank you gifts so I bought plain canvas totes and jazzed them up for each girl.
I am sorry I do not have step-by-step photos of this project. When I made them I had no idea I would be posting a tutorial. I will do my best to explain it in detail. Luckily, this is so easy that you can certainly figure it out without pictures.
Supplies Needed to Make a DIY Monogrammed Tote:
- Canvas Tote Bag
- 2-inch Wide Ribbon
- Fusible Web
- Paper
- Scrap of Fabric
- Craft Glue
Tools Needed:
- Scissors
- Iron
- Pressing Sheet
- Black Permanent Marker
Start off my testing your ribbon to make sure it is safe to iron. Grosgrain ribbon show be fine along with most satin ribbon, it is just better to be safe than sorry and waste a small piece of ribbon instead of a large one. The main thing you have to watch out for is if your ribbon has printing on it, like my polka dot ribbon. In some instances the iron can cause the printing to smear. If this is the case, use a press cloth over the ribbon and press the iron up and down – don’t slide it back and forth.
Cut a piece of ribbon long enough to fit around the top edge of the tote plus 1 inch. Cut a piece of fusible web the same size at your ribbon. Carefully press the fusible web onto the backside of the ribbon. Pull off the paper on the fusible web and press the ribbon around the top edge of the tote bag. Overlap the ends of the ribbon.
Draw your letter onto a piece of paper. Outline it with a black permanent marker. I cheated a bit and actually just went into my word processing program, typed the letter, sized it to about 400, and printed it out. You then need to trace the letter backwards onto the fusible web. You can use a light box for this, or simply hold the fusible web over the paper on a window and trace around it.
Lay your fabric, right side down, on your ironing board. Lay the letter you traced onto the fusible web on the back side of the fabric and press it in place. Let the fabric cook and then cut out your letter. Peel off the paper backing, set the letter in place on the tote (right side up), and press. Let it cool.
Finally, cut a piece of ribbon about 24-inches long and tie it into a bow. Use a generous amount of glue to adhere the bow near the top edge of the tote bag. Let the bag sit in one place until the glue is dry.
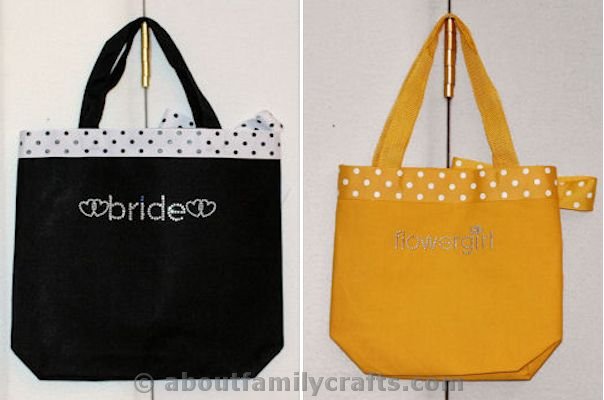
As I said above, I used these steps to make these tote bags for all of the girls involved in my daughter’s wedding. I also took them one step farther. IN the bridal section of our craft store we found iron on rhinestones that formed the words Bride, Maid-of-Honor, Bridesmaid, and Flower Girl. I bought these and simply ironed them on the backside of the tote.
If you have any questions about this project, please feel free to ask. It really is quite simply and you can make these for any occasion.


9 comments for “Simple DIY Monogrammed Tote”