
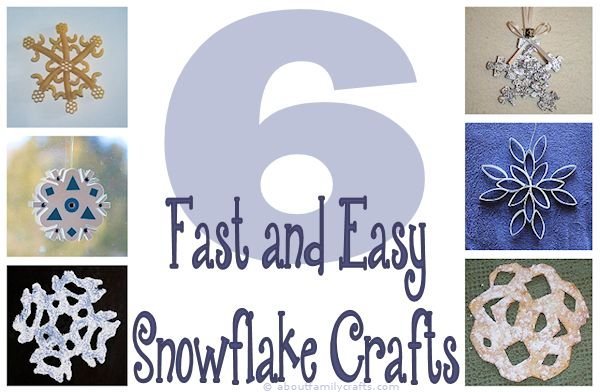
One thing I like to do to beat winter boredom is to craft, and what better thing to craft than snowflakes? Use them to decorate any room in your house or hang them in your windows. You can even get creative and make your snowflakes different colors to help brighten things up.
Next time you are stuck in the house and looking for something fun to do, gather the family together and make one or more of these 6 fast and easy snowflakes.

How to Make a Craft Foam Snowflake
To make these snowflakes, you can use scraps of craft foam and any other craft supplies you have on hand.
Supplies I Used:
- Craft Foam
- Rhinestones
- Craft Glue
- Scissors
- Thread
Start out by cutting a simple snowflake shape out of craft foam. The snowflake pictured here measures about 6-inches, but you can certainly make yours any size you like. Once the snowflake is cut out, you can decorate it using small scraps of craft foam and rhinestones, like I did, or use any other supplies you have on hand.
To hang your snowflake, cut a piece of thread about 12-inches long and tie the ends together to make a loop. Glue this to the back of the snowflake. Once the glue is dry your snowflake is ready to hang up.
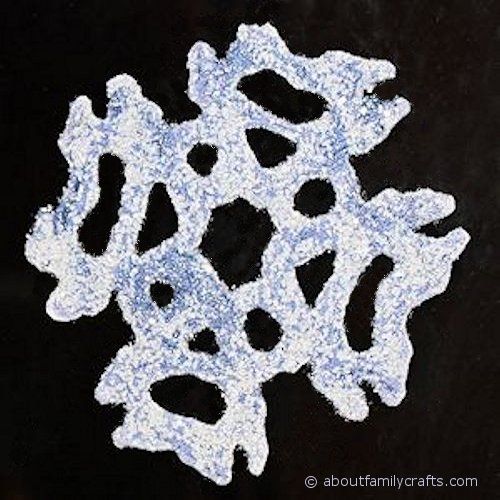
Glue Snowflake Craft
The only supplies you need to make this snowflake craft are a bottle of white glue, some glitter, a small piece of wax paper, and a pen. You might also want to find a snowflake pattern. If you like, you can download the snowflake coloring page I used.
Start off by drawing the snowflake onto the wax paper. If you are using a snowflake pattern, you can actually just tape the picture under the wax paper so you can see it. Use the glue to draw around the snowflake and then fill it in. While the glue is dry, sprinkle the glitter on it.
Let the glue dry. It may take a few days! Once the glue is dry, you can peel the snowflake off of the wax paper. Glue a magnet on the back of the snowflake to stick it to your fridge or a locker. If you want to hang it up, attach a thread loop to the back of it.
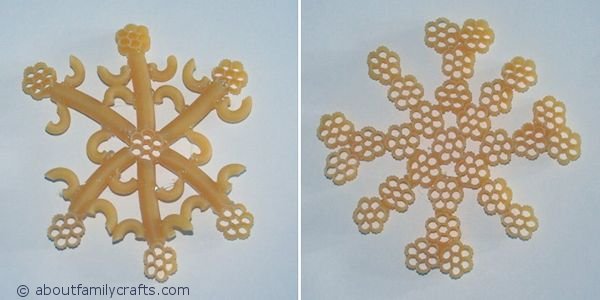
Noodle Snowflake Craft
Your family can have a lot of fun experimenting with different kinds of noodles to make unique snowflakes. Dig through your kitchen cupboards or go shopping and see what kind of noodles you can come up with. For my snowflakes, I used wagon wheels, elbow macaroni, and penne because that is what I had on hand.
Lay out some wax paper or freezer paper, grab some glue, and start experimenting. You may want to lay out your design before you start gluing. Once you have your snowflake looking how you want it, let it sit where it is until it is dry.
You can now hang up your noodle snowflake or you can decorate it further using paint, glitter, etc. You can now hang up your snowflake!
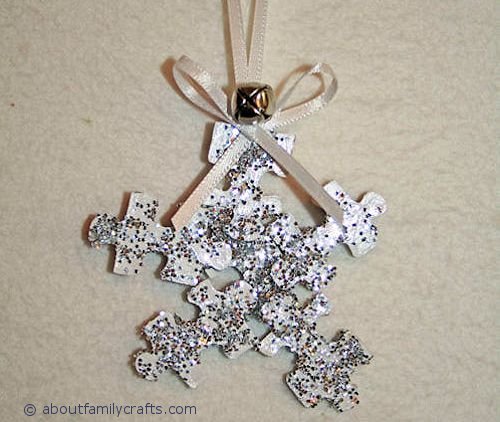
How to Make Snowflakes from Puzzle Pieces
You can easily make snowflakes using a handful of orphaned puzzle pieces. I used 5 puzzle pieces for this little snowflake, but you can use many more to make larger snowflake designs.
Supplies I used:
- 5 Puzzle Pieces
- Glue
- White Paint
- Glitter
- Ribbon
- Jingle Bell
You may want to lay out your puzzle pieces to make a snowflake shape before you use any glue. Once you have the arranged how you want them, glue the pieces together. Let them sit undisturbed until the glue dries.
Paint your snowflake using white paint. Let the paint dry and them brush a thin layer of white glue over the paint and sprinkle on some glitter.
Cut two 10- to 12-inch pieces of ribbon. Hold two ends of one of the piece of ribbon together to form a loop and glue them to the back of the snowflake. Tie the other ribbon into a bow, trimming the ends if necessary, and glue it to the top of the snowflake. Finally, glue a jingle bell in the middle of the bow.

Toilet Paper Roll Snowflake Craft
Can you believe this snowflake is made using a couple of cardboard toilet paper rolls?
Supplies I Used:
- 2 Toilet Paper Rolls
- White Paint
- Glue
- Thread
Cut the toilet paper rolls so you get eight circles from each one, each circle will be about 1/2- to 1-inch tall. Pinch each circle so it almost looks diamond shaped. Arrange the pieces on your work surface until you get a shape you like and then glue them all together.
Once your glue is dry, paint your snowflake. I used white spray paint but you can use acrylic paint if you prefer. Make a look with a piece of thread and glue it to the top of the snowflake.
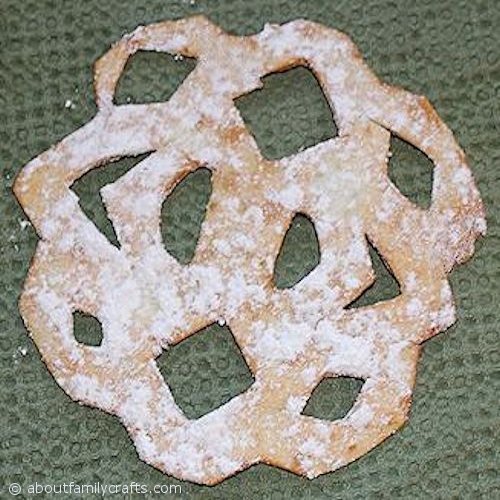
Tortilla Snowflake
After you are done crafting, why not make a snowflake inspired snack? All you need to make this sweet treat is a flour tortilla, some powdered sugar, and a pan of oil. You will also need a pair of kitchen shears.
Start off by folding your tortilla in fourths. You may need to warm it in a microwave for a few seconds to get it to fold without breaking. Use the shears to cut a design in the tortilla.
Place the tortilla in a pan that has a little hot oil in it. Fry the tortilla until it is crisp. Remove it and dab it on a paper towel to absorb any excess oil. Sprinkle it with powdered sugar and serve!
If you prefer, you can brush the cut tortillas with a little bit of oil and bake them instead. Once one side starts browning, turn the snowflake over.


1 comment for “6 Fast and Easy Snowflake Crafts”