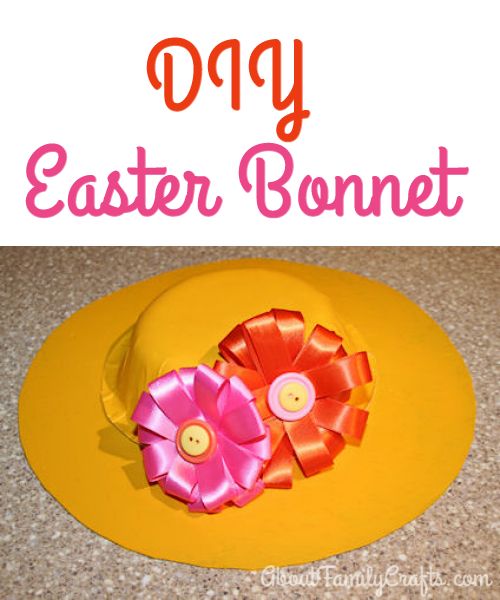
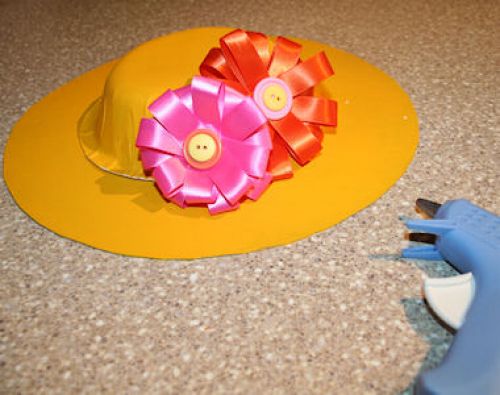
This festive Easter bonnet is easy for kids to make and fun for them to wear. Of course, it could also be used as an Easter decoration, or to brighten up your home or classroom for spring!
Gather together these basic supplies and you can make one or two before it is time for your Easter parade.
Supplies Needed to Make an Easter Bonnet:
- Piece of Cardboard
- Paper Bowl
- Paint
- Craft Glue or Hot Glue Sticks
- Ribbon
- Buttons
Tools Needed:
- Pen or Pencil
- Scissors
- Paint Brush
- Hot Glue Gun
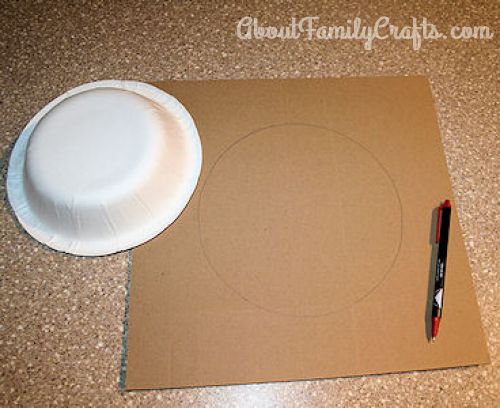
The first thing you need to do is make sure you have a piece of cardboard that is at least 3-inches larger on all sides that the top edge of the paper bowl. Set the bowl, upside down, on the center of the cardboard and trace around it.
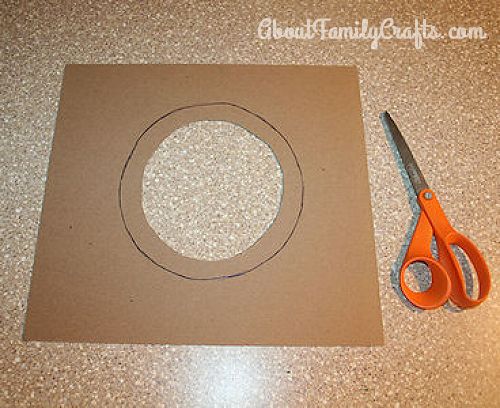
Use the scissors to cut out the center of the cardboard. You want to cut about an inch in from where you traced around the bowl. This will ensure the bowl can easily be glued to the cardboard hat brim you are making.
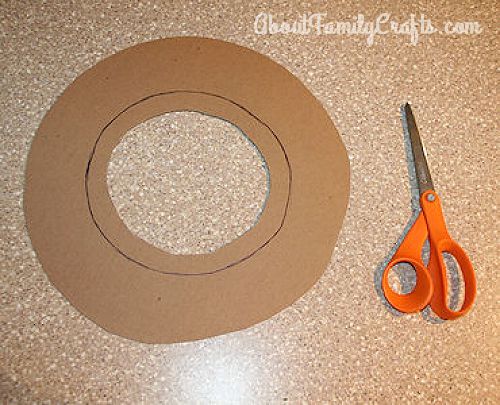
Now, cut a larger circle, about 3-inches thick, around the circle you cut out. You will end up with a piece of cardboard that looks like a donut. This will be the hat brim.
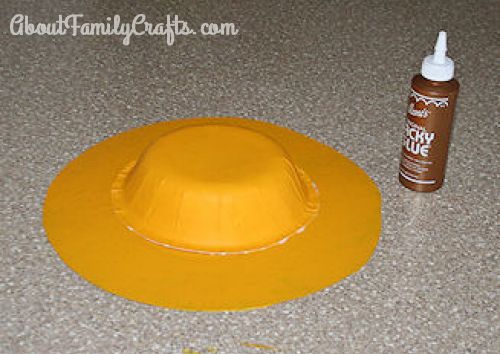
Paint the hat brim and the bottom side of the bowl. It might take a few coats to get good coverage. Let the paint dry and then glue the bowl, upside down, to the hat brim, centered over the hole. Set it aside so the glue can dry.
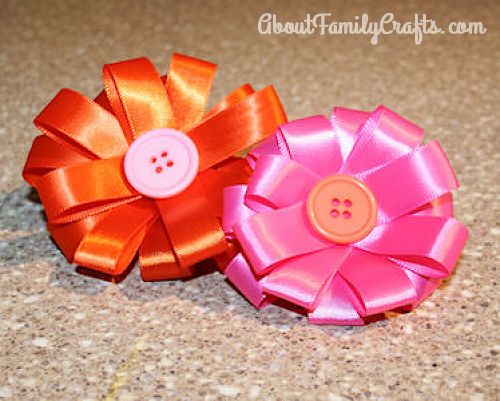
The next step is to decorate your Easter bonnet. You can use artificial flowers, or something similar, if you like. If you prefer, you can make your own ribbon flowers like I did.
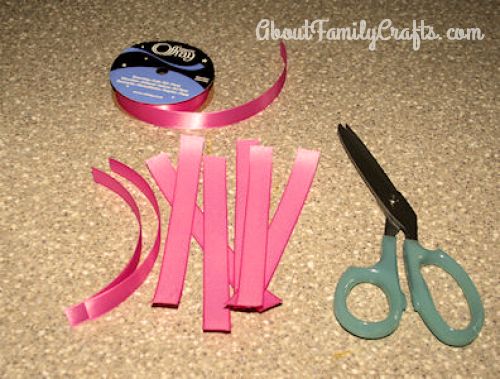
You need to cut 8 piece of ribbon for your flowers. I made my flowers two different sizes so my ribbon was cut to 2 different sizes. For the pink flower, I cut 8 pieces of ribbon that were approximately 6-inches long. The ribbons I cut for the orange flower were about 8-inches long.
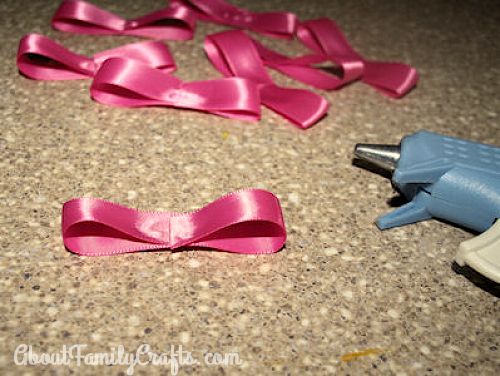
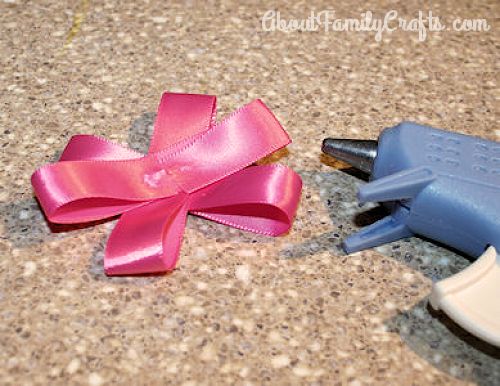
Using a hot glue gun, carefully glue the ends of each piece of ribbon so they meet in the center.
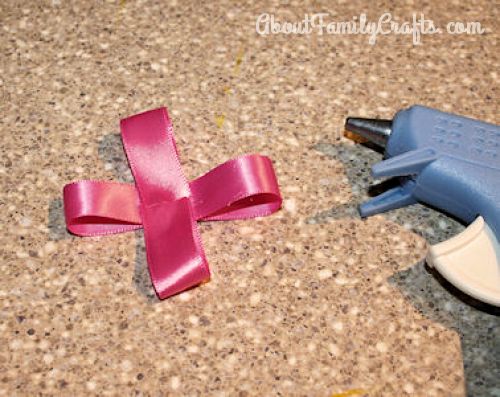
To construct the flower, start off by gluing 2 ribbon pieces together. You want them to look like a plus sign.
Grab a third ribbon piece and glue it on top of the first two.
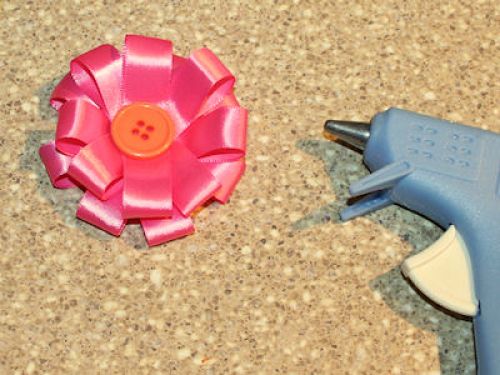
Continue adding ribbon pieces until all 8 are glued together to form the flower. To finish the flower, glue a button to the center of it.
Finally, all you need to do is glue the ribbon flowers to the Easter bonnet.
You might also want to cut two pieces of ribbon, about 24-inches long, to use to tie the Easter bonnet on. Glue one end of each piece of ribbon to the underside of the bonnet.
Happy Easter!

