
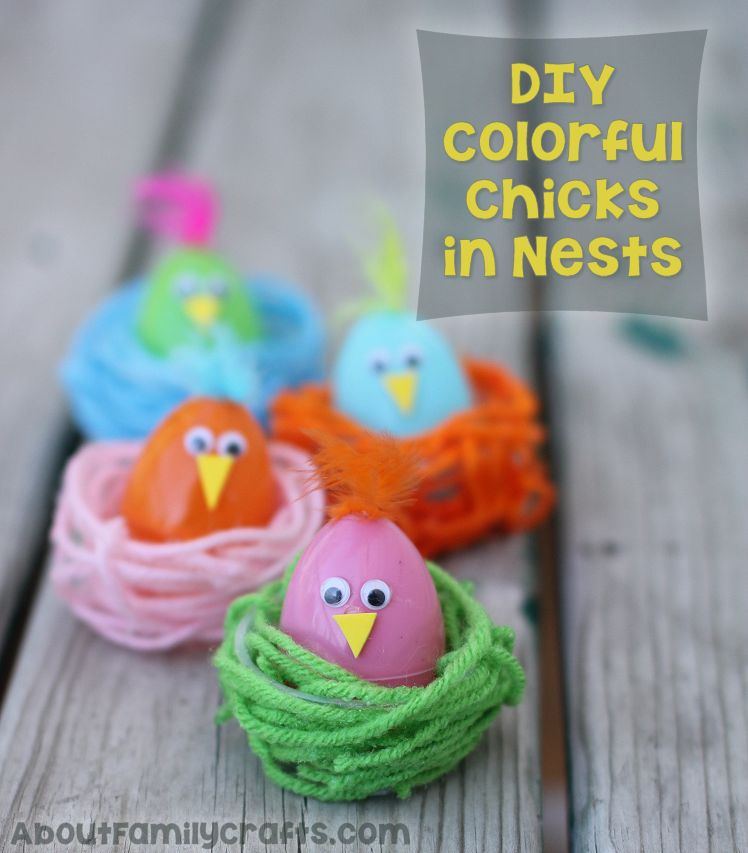
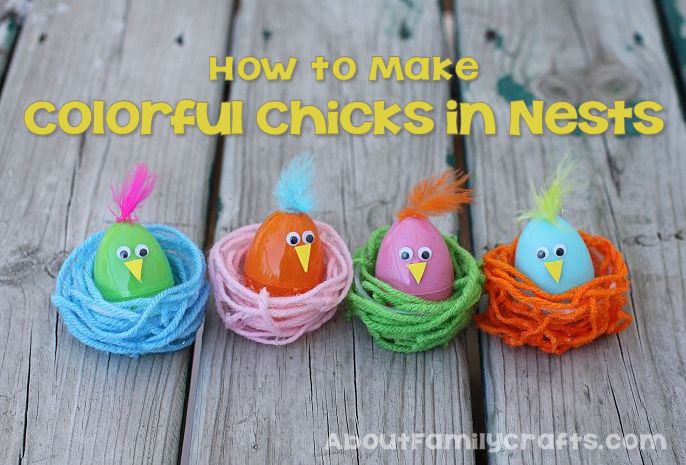
When this craft idea popped into my mind, I originally thought I would make a nest using a variety of brown yarns. I was thinking it would look more realistic. When I was trying to figure out what I would put in the nest, I ran across some colorful plastic eggs and that is when my train of thought shifted… I thought it would be fun to make a collection of colorful chicks that were tucked into nests. Lucky for me, I had all of these supplies on hand already!
Supplies Needed to Make a Colorful Chick in a Nest:
- Yarn
- Small Plastic Cup
- Mod Podge
- Plastic Eggs
- Wiggle Eyes
- Craft Foam or Felt
- Feather
- Hot Glue Sticks
Tools Needed:
- Scissors
- Foam Brush or Paint Brush
- Hot Glue Gun
The first thing you may want to do (that I forgot to do) is lay down some wax paper or freezer paper on your work surface. If you do this, you don’t have to worry about the Mod Podge drying and sticking to the table.
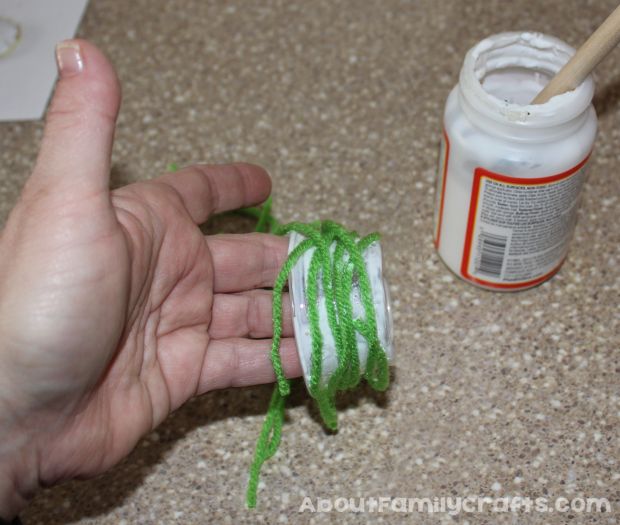
Once your work surface is protected, grab your yarn and cut about 20 pieces that are around 6-inches long. You don’t have to worry about them all being the same size. Just eyeball the length and cut them. Set the yarn aside.
Using a foam brush or paint brush, spread a somewhat thick layer of Mod Podge all over the outside of the small plastic cup. I used one of these Plastic Jello Shot Cups (affiliate link). Don’t worry if the ends flop off or about getting all areas of the yarn to touch the Mod Podge.
Once you have the outside covered as much as you can, set the cup down and wipe some Mod Podge on the inside of the cup. Add more piece of yarn inside, and even pull some of the outside ends over the top and inside the cup.
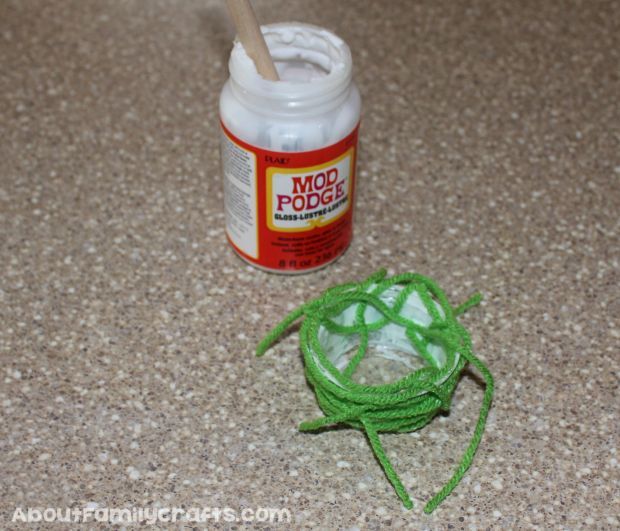
Let the cup dry. Don’t throw away any extra pieces of yarn yet! Once it is dry, you can touch up any areas that look bare using the Mod Podge and more yarn.
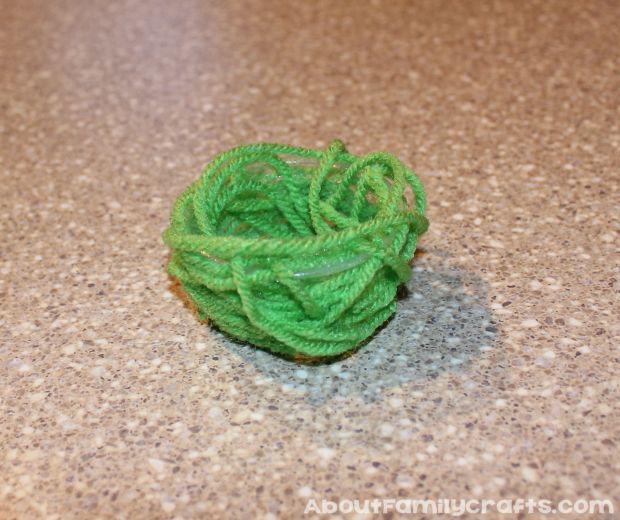
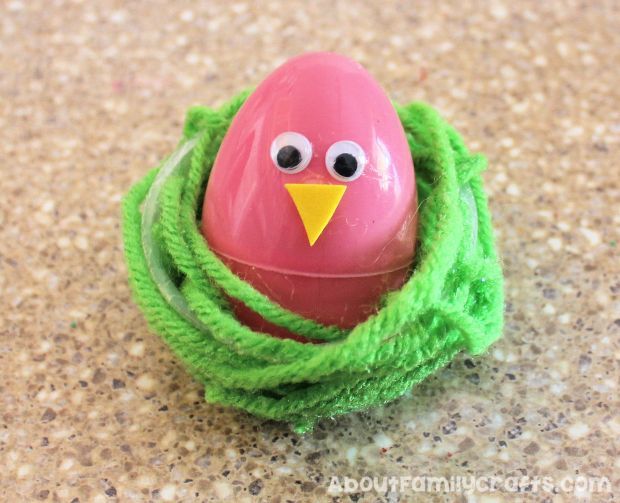
Place the plastic egg into the dry yarn nest you made. Glue the wiggle eyes onto the egg. I used a hot glue gun and hot glue sticks, but you can use craft glue if you prefer.

Cut a small triangle from a piece of craft foam of felt. Glue it onto the egg, just below the wiggle eyes.
Cut a little piece from a colorful feather. Glue that to the top of the plastic egg.
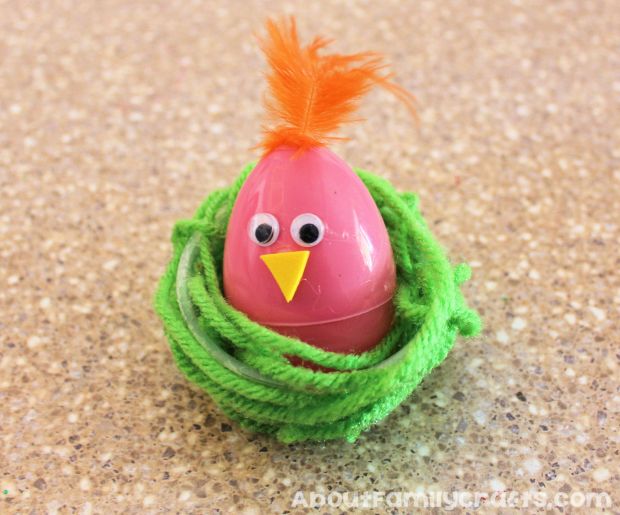
Your Easter chicks and nests are now done! You can use these as decorations or you can fill them with Easter treats and give them away.
What will you do with your Easter chicks in nests?
Disclosure: As noted above, this post contains affiliate links. See my disclosure policy for details.


18 comments for “DIY Colorful Chicks in Nests”