
Those who are regular visitors here might remember the DIY Colorful Chicks in Nests I posted for Easter… If you read that post, I had mentioned playing around with brown yarns to make a bird nest — this is the yarn bird nest made using some of my left over brown and tan yarn. I figured I would share this now as nests, filled with real bird eggs, will be popping up all over the place soon, at least where I live. Some of you in warmer climates probably have had them around for awhile already!
Supplies Needed to Make a DIY Yarn Bird Nest
- Yarn Scraps
- Dessert-Sized Plastic or Paper Plate
- Mod Podge
- Plastic Eggs
Tools Needed:
- Scissors
- Foam Brush or Paint Brush
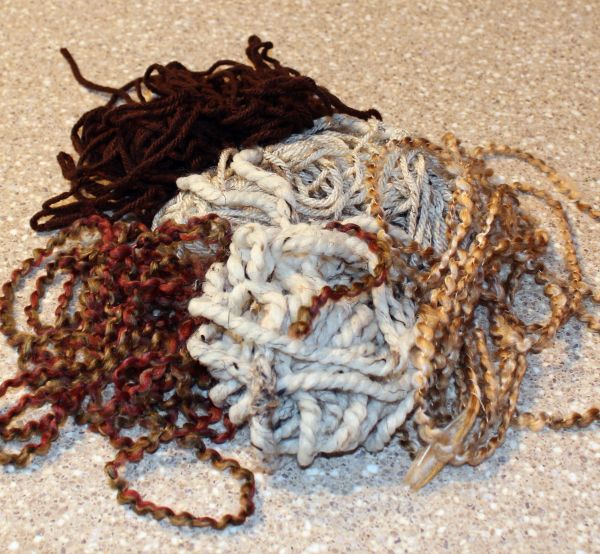
Start out by gathering together some scraps of brown yarn. I used a variety of yarns which were different colors and also different textures. Cut several pieces from the yarn. The pieces can be anywhere from 6-inches to 12-inches long. There is no need to try to cut them all the same. Set the cut pieces of yarn aside.
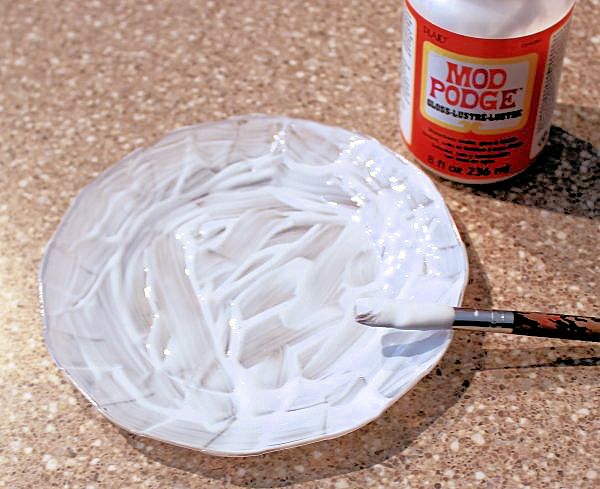
Using a foam brush or a paint brush, cover the small plate with a generous amount of Mod Podge.
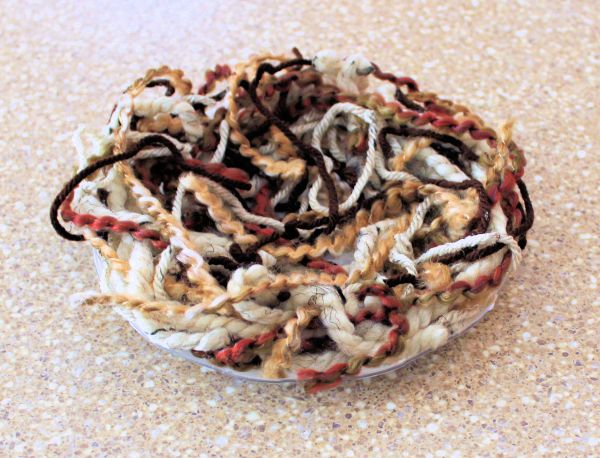
Once the plate is covered with Mod Podge, start sticking pieces of yarn to it, one at a time.

Keep piling on the yarn until your nest starts looking the way you want it. If you stack yours like mine, all of the yarn will not be stuck to the Mod Podge. That is fine because your your nest will be sitting flat somewhere. I built up the sides of my nest a little bit, so it will form a simple bowl shape like a real nest.
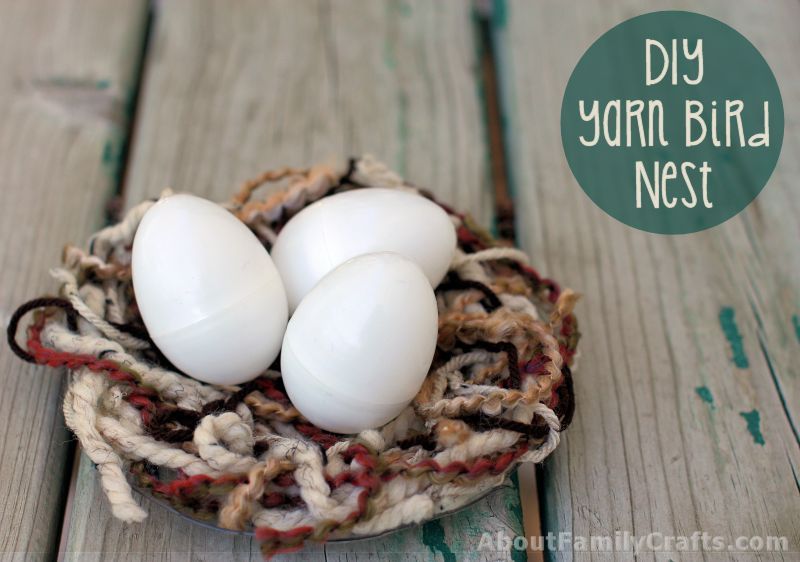
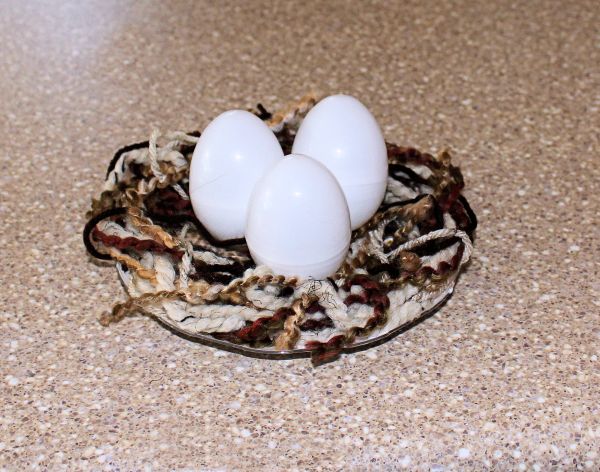
Let the Mod Podge dry and then you can fill your nest with eggs! All I had on hand were these white, plastic chicken eggs but as soon as I find some, I am going to fill the nest with robin eggs (plastic, of course).
What will you fill your nest with?